

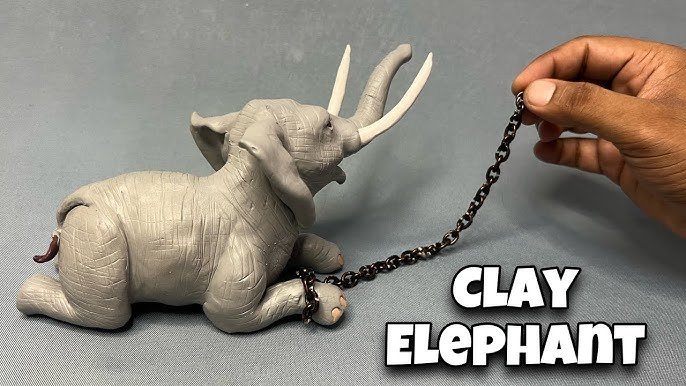
Have you ever wanted to create your own sculptures but felt held back by the cost or availability of clay? Imagine being able to make your own clay right at home with simple ingredients you already have.
Not only will this save you money, but it also gives you full control over the texture and consistency of your material. In this guide, you’ll discover easy steps to make clay that’s perfect for all your sculpting projects. Whether you’re a beginner or an experienced artist, this method will unlock new creative possibilities for you.
Ready to bring your ideas to life with homemade clay? Let’s get started!
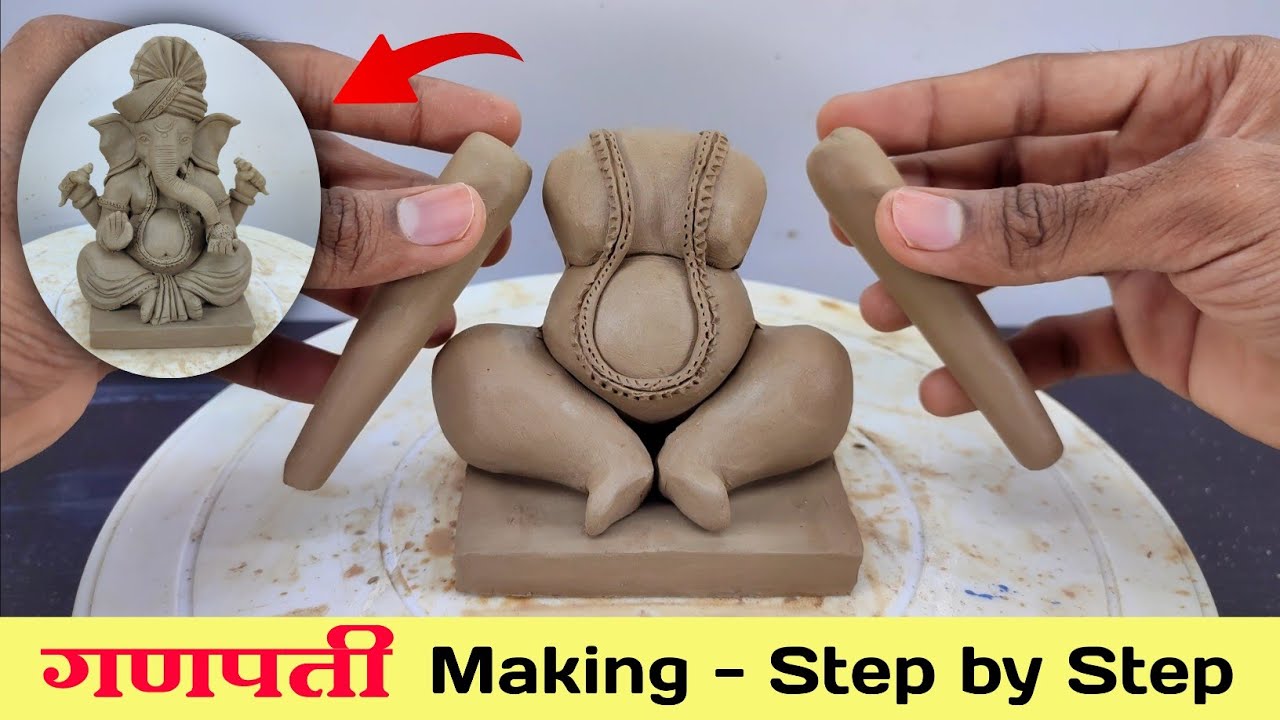
Materials Needed
Making clay at home for sculpture is simple and fun. You only need a few materials to get started. These materials help create a soft, moldable clay perfect for your art.
Below are the basic ingredients and some optional additives you can use to improve your homemade clay.
Basic Ingredients
These are the main items you need to make clay. They are easy to find and safe to use.
- All-purpose flour
- Salt
- Water
- Vegetable oil
- Cream of tartar (optional for elasticity)
Optional Additives
You can add these to change the texture or drying time of your clay. These additives help customize your sculpture clay for different projects.
| Additive | Purpose |
| White glue | Increases strength and smoothness |
| Lemon juice | Prevents mold and adds softness |
| Glycerin | Keeps clay moist longer |
| Food coloring | Adds color to the clay |
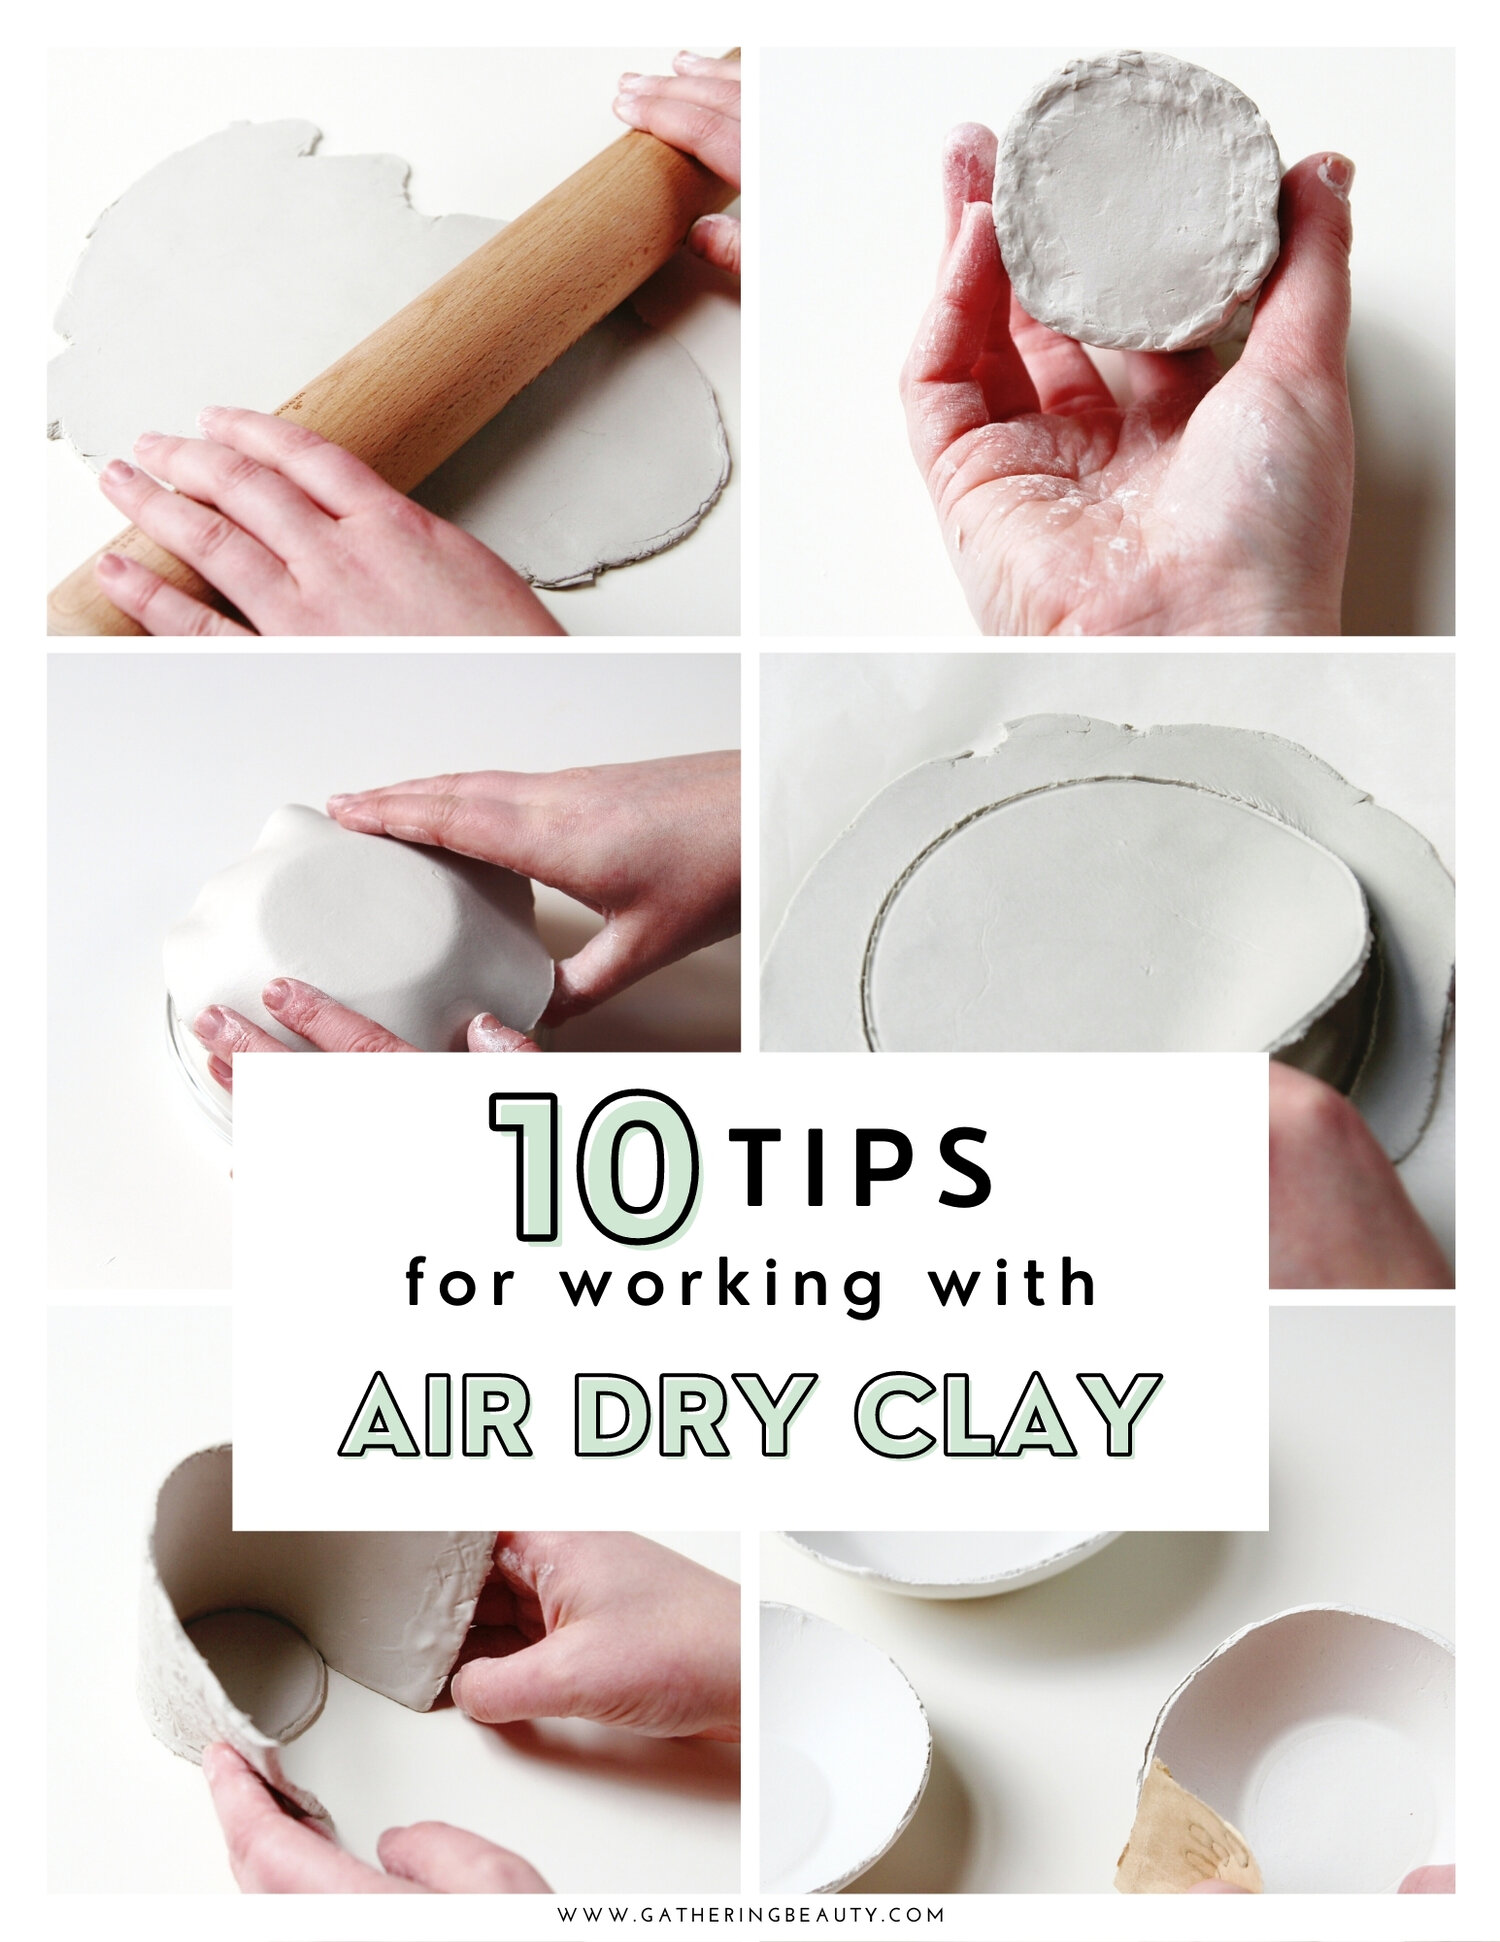
Step-by-step Clay Recipe
Making clay at home is easy and fun. You only need a few simple ingredients. This guide will help you create soft clay for sculpture projects.
Follow each step carefully to get the best results. You will learn how to mix, knead, and adjust the clay's texture.
Mixing Ingredients
Start by gathering the materials for your clay. Use common household items to make the dough soft and moldable.
- 1 cup of all-purpose flour
- 1/2 cup of salt
- 1/2 cup of water
- 1 tablespoon of vegetable oil
- Optional: food coloring for color
Kneading The Dough
Mix all dry ingredients first. Then, add water and oil slowly. Stir until the mixture forms a rough dough.
Next, knead the dough on a clean surface. Use your hands to press and fold the clay for about 10 minutes. This makes the clay smooth and soft.
Adjusting Consistency
Check the texture of your clay. It should not be too sticky or too dry. Adjust the dough by adding small amounts of water or flour.
| Problem | Fix |
| Clay too sticky | Add a little flour and knead again |
| Clay too dry | Add a few drops of water and knead |
| Clay cracks while shaping | Mix in a bit of vegetable oil |
Tips For Sculpting
Making clay at home is fun and lets you create your own sculptures. Knowing some tips helps your work look better.
These tips focus on shaping, tools, and stopping cracks. They make sculpting easier and more enjoyable.
Shaping Techniques
Start by softening your clay to make it easy to shape. Use your hands to form basic shapes before adding details.
Work slowly and gently press or pull the clay. Smooth rough edges with a damp sponge or your fingers.
- Roll clay into balls or coils for different shapes
- Pinch clay to create curves and textures
- Use gentle pressure to avoid breaking delicate parts
- Keep clay moist to prevent it from drying out
Tool Suggestions
You do not need fancy tools to sculpt clay at home. Everyday items can help shape and add details.
- Wooden sticks or toothpicks for carving small lines
- Spoons or butter knives for smoothing surfaces
- Wire or plastic knives for cutting clay pieces
- Old toothbrush to create texture
- Sponge to keep clay moist and smooth
Clean your tools often to keep your clay clean and easy to shape.
Preventing Cracks
Cracks happen when clay dries too fast or unevenly. Keep your clay moist while working to avoid cracks.
Thin parts dry quicker, so make sure they are thick enough or join them well to strong pieces.
- Cover your sculpture with plastic wrap when not working
- Dry your clay slowly in a cool, shaded place
- Use slip (liquid clay) to join pieces securely
- Smooth cracks as soon as they appear using wet fingers
Drying And Curing
After making clay at home for sculpture, you need to dry and cure it properly. This step makes your sculpture strong and long-lasting.
Drying and curing methods depend on the type of clay you use. Two common ways are air drying and oven baking.
Air Drying Methods
Air drying is the easiest way to harden homemade clay. It takes time but needs no special tools.
Place your sculpture in a dry place with good airflow. Avoid direct sunlight to stop cracks.
- Dry small pieces in 24 to 48 hours
- Large sculptures may need several days or weeks
- Turn the sculpture occasionally for even drying
- If cracks appear, smooth them with wet fingers
Oven Baking Options
Oven baking speeds up the curing process. Use it only if your clay recipe allows heat curing.
Bake your sculpture at low temperatures to avoid burning. Check the clay’s instructions for exact time and heat.
- Set oven to 200°F (93°C) for most clays
- Bake for 15 to 30 minutes per 1/4 inch thickness
- Place sculpture on parchment paper or baking sheet
- Let the sculpture cool slowly after baking
Storing Homemade Clay
Making clay at home for sculpture is fun and creative. Proper storage keeps the clay soft and ready to use.
Different storage methods help depending on how long you want to keep the clay.
Short-term Storage
For short-term use, keep clay moist and airtight. This prevents it from drying out quickly.
Use plastic wrap or airtight containers to seal the clay. Store it in a cool place away from heat.
- Wrap clay tightly in plastic wrap
- Place wrapped clay in an airtight container
- Keep container in a cool, dry place
- Check clay every few days for dryness
Long-term Preservation
For long-term storage, keep clay in a sealed bag with a damp cloth. This keeps moisture inside for weeks.
Store the clay bag inside an airtight container. Place it in the refrigerator to slow drying and spoilage.
- Put clay in a plastic bag with a damp cloth
- Seal the bag tightly to trap moisture
- Place the bag in an airtight container
- Store container in the refrigerator
- Bring clay to room temperature before use

Creative Project Ideas
Making clay at home is fun and easy. You can create many things with homemade clay.
Let's explore some creative project ideas using your homemade clay.
Simple Sculptures
Simple sculptures are a great way to start your clay journey. They are easy and fun to make.
- Create animals like cats or dogs
- Make a small human figure
- Shape simple abstract forms
Decorative Items
Decorative items can brighten up any room. Use your clay to make unique pieces.
Consider making:
- Clay vases for flowers
- Colorful clay beads for necklaces
- Clay ornaments for holidays
Frequently Asked Questions
What Ingredients Do I Need To Make Clay At Home?
You need flour, salt, water, and cream of tartar. These common ingredients mix to create a smooth, moldable clay perfect for sculptures.
How Long Does Homemade Clay Last?
Homemade clay lasts up to 2 weeks if stored in an airtight container. Keep it cool and moist to prevent drying out.
Can I Bake Homemade Clay Sculptures?
Yes, you can bake homemade clay at 250°F for 30 minutes. Baking hardens the clay, making your sculpture durable and long-lasting.
Is Homemade Clay Safe For Kids?
Yes, homemade clay is non-toxic and safe for kids. Always supervise children during use to avoid ingestion or choking hazards.
Conclusion
Making clay at home is simple and fun. You only need a few common ingredients. This process saves money and lets you create anytime. Experiment with different textures and colors. Practice shaping your clay to improve skills. Homemade clay is perfect for small sculptures.
Enjoy crafting with your own clay mix. Keep your clay airtight to stay fresh. Try this easy method and start sculpting today!






