Have you ever wanted to create your own clay at home but thought it might be too tricky? What if you could make soft, moldable clay using simple ingredients you already have?
Imagine the fun and creativity you can unlock without spending a dime on store-bought materials. You’ll discover easy steps to make your own clay quickly and effortlessly. Whether you want to craft with your kids or start a new hobby, this guide will give you everything you need to get started right now.
Keep reading, and you’ll be surprised at how simple and rewarding it can be!

Credit: www.youtube.com
Materials Needed
Making clay at home is fun and easy. You only need a few simple ingredients.
Gathering the right materials helps you create soft and moldable clay.
Common Household Ingredients
You can find most ingredients in your kitchen. These items mix well to make soft clay.
- 1 cup of all-purpose flour
- 1/2 cup of salt
- 1/2 cup of water
- 1 tablespoon of vegetable oil
- Optional: food coloring for color
Tools To Prepare Clay
Using the right tools makes mixing and shaping easier. You do not need special equipment.
| Tool | Purpose |
| Mixing bowl | To combine ingredients |
| Measuring cups | To measure ingredients correctly |
| Wooden spoon or spatula | To stir the clay mixture |
| Clean surface | To knead the clay |
| Plastic wrap or airtight container | To store leftover clay |
Basic Clay Recipe
Making clay at home is easy and fun. You only need a few simple ingredients.
This basic recipe helps you create soft clay for crafts or play.
Measuring Ingredients
Precise measuring helps you get the best clay texture. Use kitchen tools for accuracy.
- 1 cup of flour
- 1/2 cup of salt
- 1/2 cup of water
- 1 tablespoon of vegetable oil
- Optional: food coloring for color
Mixing Process
Mixing ingredients well creates smooth and soft clay. Follow these steps for best results.
- Combine flour and salt in a bowl.
- Add water and vegetable oil slowly.
- Stir the mixture with a spoon until it forms a dough.
- If using, add food coloring and knead the dough to mix the color evenly.
- Knead the dough on a flat surface for 5 minutes to make it smooth.
Alternative Clay Recipes
Making clay at home is easy and fun. You can use simple ingredients from your kitchen.
These alternative clay recipes are safe and great for crafts and play. Try them to create your own clay.
Salt Dough Clay
Salt dough clay is a popular homemade clay. It uses common ingredients like salt, flour, and water.
This clay is easy to shape and air dries hard. It is good for making ornaments and decorations.
- 1 cup flour
- 1/2 cup salt
- 1/2 cup water (adjust as needed)
Mix flour and salt well. Slowly add water and knead until smooth. Shape your clay and let it dry.
Flour And Cornstarch Clay
This clay is soft and smooth. It uses flour and cornstarch to create a dough that feels like real clay.
You can mold it easily. It dries to a firm texture and is good for small craft projects.
- 1 cup flour
- 1/2 cup cornstarch
- 3/4 cup water
Mix flour and cornstarch in a pot. Add water and cook on low heat. Stir until it forms a ball.
Let it cool, then knead until smooth. Use your clay for crafting and air dry your creations.
Shaping And Molding Tips
Making clay at home is fun and creative. Shaping and molding clay lets you make many different items.
These tips will help you work with clay easily and make your projects look great.
Keeping Clay Soft
Clay can dry out and become hard quickly. Keep it soft by storing it properly and adding moisture when needed.
Use a damp cloth or plastic wrap to cover your clay. This stops air from drying it out.
- Store clay in an airtight container
- Wrap clay in a damp cloth before sealing
- Add a few drops of water if clay feels dry
- Knead clay well to keep softness uniform
Using Molds And Tools
Molds and tools help you shape clay quickly and cleanly. They make details easier to form.
You can use household items or buy special clay tools to create patterns and shapes.
- Use cookie cutters as molds for shapes
- Try toothpicks or needles for fine details
- Roll clay with a smooth bottle or roller
- Press patterns using textured stamps or fabric
Drying And Hardening
After making clay at home, drying and hardening are important. They help your clay hold its shape and last longer.
Two common ways to dry and harden clay are air drying and oven baking. Each method works well for different types of clay projects.
Air Drying Methods
Air drying is the simplest way to harden clay. Just leave your clay item in a dry, warm place.
- Place the clay on wax paper or a clean surface.
- Keep it away from direct sunlight to avoid cracks.
- Turn the clay piece occasionally for even drying.
- Drying time depends on thickness; thin pieces dry faster.
- Usually takes 24 to 72 hours to fully dry.
Once dry, the clay feels hard and solid. You can paint or decorate it after drying.
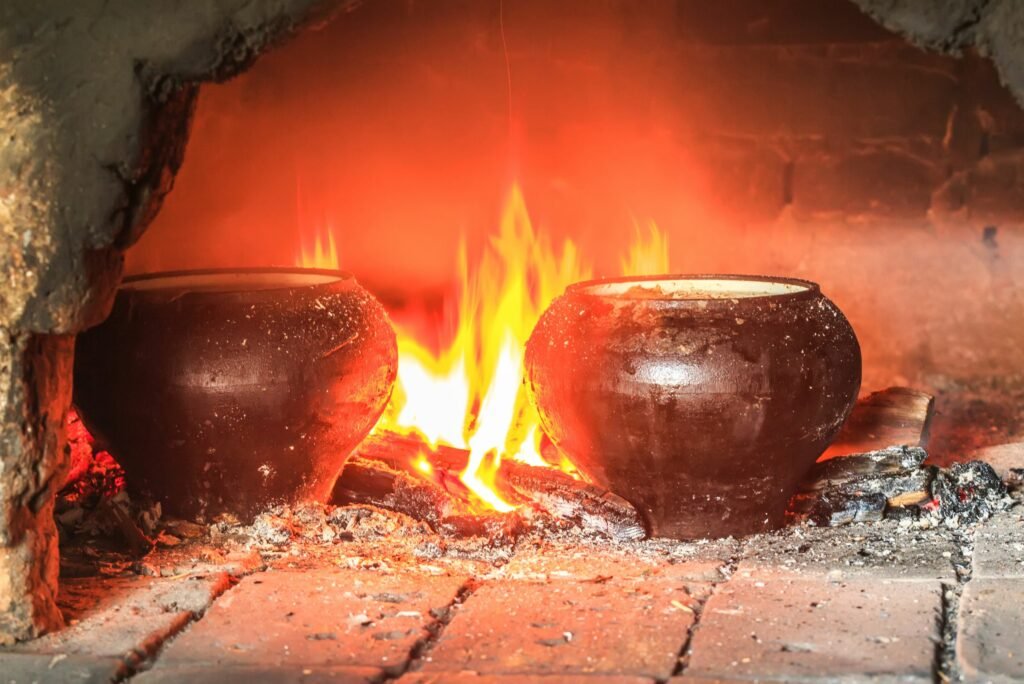
Oven Baking Techniques
Oven baking speeds up hardening. Use this for clay types safe to bake, like polymer clay.
| Temperature | Time | Tips |
| 265°F (130°C) | 15-30 minutes | Check package instructions for exact time |
| 275°F (135°C) | 20-40 minutes | Use low heat to avoid burning |
| 300°F (150°C) | 10-20 minutes | Watch closely to prevent color change |
Preheat your oven and bake on a baking sheet covered with parchment paper. Let the clay cool before handling.

Credit: www.youtube.com
Painting And Finishing
After crafting your clay masterpiece, it's time to add color. Painting adds life and personality. Finishing helps protect your work.
Choosing the right paint and sealant is important. It ensures your clay project looks great and lasts longer.
Choosing Paints
Different paints create different effects on clay. Some are bright, while others are subtle. Choose what suits your creation best.
Acrylic paints are popular for clay. They dry fast and come in many colors. Watercolors can give a soft finish. Test on a small piece first.
- Acrylics offer bright, bold colors
- Watercolors provide a gentle touch
- Oil paints need more time to dry
Sealing Your Creations
Sealing protects your painted clay. It keeps colors bright and guards against moisture. Choose the right sealant for your project.
Some sealants are glossy, while others are matte. A glossy finish makes colors pop. Matte gives a natural look. Spray or brush it on carefully.
- Glossy sealants enhance shine
- Matte sealants offer a subtle finish
- Apply thin layers for best results
Common Issues And Fixes
Making clay at home can be fun, but it comes with challenges. Understanding common issues and their fixes can help you create perfect clay.
Let's explore some common problems, like cracking and texture issues, and learn how to solve them easily.
Cracking Prevention
Cracking is a frequent problem when making clay. It happens when the clay dries unevenly.
- Keep the clay covered with a damp cloth when not in use.
- Mix the clay thoroughly to ensure even moisture distribution.
- Dry the clay slowly, away from direct sunlight.
Texture Problems
Texture issues often arise from incorrect ingredient ratios. The clay might feel too sticky or too dry.
| Problem | Solution |
| Sticky Clay | Add more flour to balance moisture. |
| Dry Clay | Add small amounts of water gradually. |
| Grainy Texture | Mix ingredients longer for smoothness. |
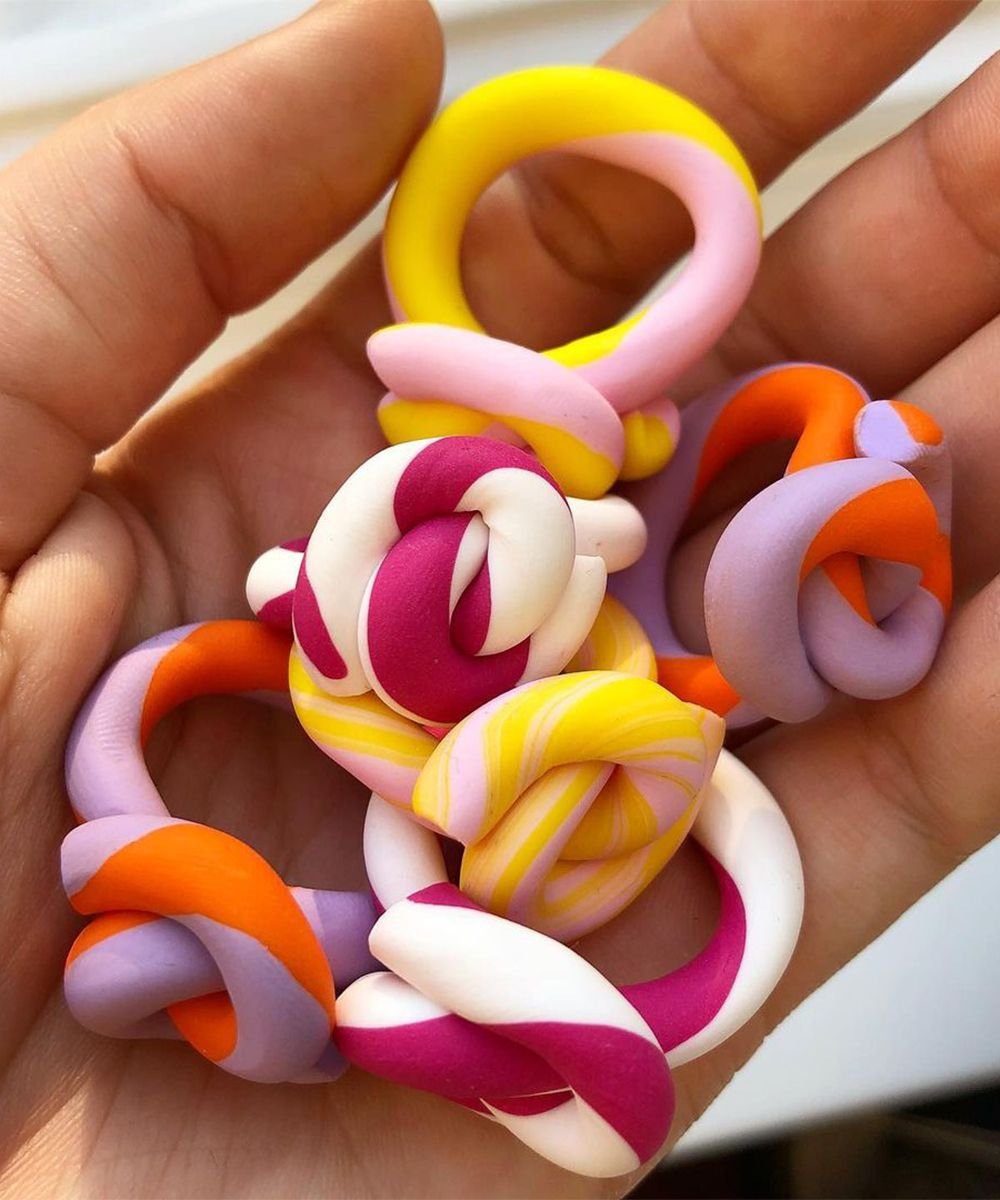
Creative Project Ideas
Making clay at home can be fun and easy. You can use it to create many projects.
This guide shows simple ideas to make decorative and useful items with clay.
Decorative Items
Clay is great for making pretty decorations. You can shape it into many forms.
Try making small sculptures, beads, or wall hangings to brighten your home.
- Miniature animals or flowers
- Colorful beads for jewelry
- Custom fridge magnets
- Decorative bowls or plates
- Wall art with textured patterns
Functional Pieces
Clay can also be used to make items you can use every day. These pieces are both pretty and practical.
Try creating small containers, coasters, or key holders for your home or office.
- Pen holders for your desk
- Coasters to protect surfaces
- Soap dishes for the bathroom
- Keychains or small trays
- Plant pots for small plants

Credit: www.youtube.com
Frequently Asked Questions
How Can I Make Clay At Home Easily?
You can make clay using common ingredients like flour, salt, water, and oil. Mix them well until smooth. This homemade clay is safe, non-toxic, and perfect for crafting projects.
What Ingredients Are Needed For Homemade Clay?
Basic ingredients include all-purpose flour, salt, water, and vegetable oil. Optionally, add cream of tartar for better elasticity. These items are usually available in most kitchens.
How Long Does Homemade Clay Last?
Homemade clay lasts about 1 to 2 weeks if stored properly. Keep it in an airtight container to prevent drying. If it hardens, add a little water and knead again.
Is Homemade Clay Safe For Children?
Yes, homemade clay made from edible ingredients is safe for children. It contains no harmful chemicals and is non-toxic. Always supervise young kids during play to avoid ingestion.
Conclusion
Making clay at home is simple and fun. You only need a few common ingredients. Mix them well, and your clay is ready to use. It’s a great activity for kids and adults alike. Homemade clay saves money and allows creativity to flow.
Try different recipes to find what suits you best. Enjoy crafting with your own clay anytime at home. Start today and see how easy it is to make your own clay!