Are you ready to get creative with air dry clay but don’t have cornstarch on hand? Making your own air dry clay at home is easier than you think—and you can do it without cornstarch!
Imagine crafting beautiful, personalized projects with a simple recipe using ingredients you probably already have. In this guide, you’ll discover a foolproof way to make smooth, soft clay that dries perfectly, so your creations last. Keep reading to unlock the secret to homemade air dry clay that’s budget-friendly, safe, and fun for everyone.
Your next masterpiece is just a few steps away!
Ingredients Needed
Making air dry clay at home without cornstarch is simple. You only need a few ingredients that are easy to find.
This guide lists the basic supplies and some alternative materials you can use to create your clay.
Basic Supplies
These supplies form the base of your air dry clay. You will use flour and salt as the main ingredients, plus water to mix everything.
- All-purpose flour
- Table salt
- Water (room temperature)
- Vegetable oil (optional for smoothness)
Alternative Materials
If you want to try different textures or effects, use these alternative materials with your clay mixture.
| Material | Purpose |
|---|---|
| Baking soda | Creates a smoother texture and helps drying |
| White glue | Adds strength and flexibility to the clay |
| Lemon juice | Prevents cracking and adds slight elasticity |
| Baby oil | Keeps clay soft and easy to mold |

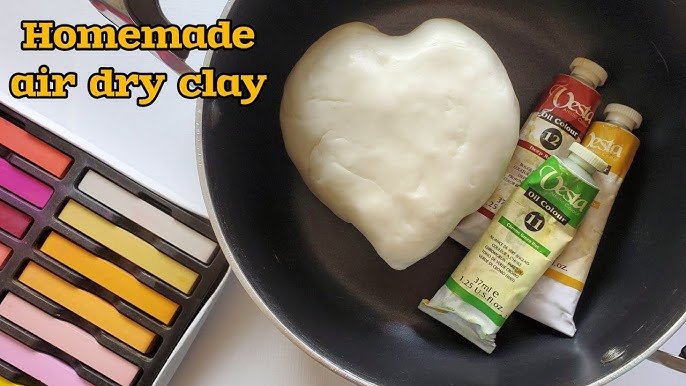
Credit: www.youtube.com
Step-by-step Preparation
Making air dry clay at home is simple and fun. You can create clay without using cornstarch.
This guide will show you easy steps to prepare the clay from basic ingredients.
Mixing The Ingredients
Start by gathering all the materials you need. You will use flour, salt, water, and oil.
Mix the dry ingredients first. Then slowly add water and oil to form a dough.
- 2 cups of all-purpose flour
- 1 cup of fine salt
- 1 cup of warm water
- 2 tablespoons of vegetable oil
Stir the flour and salt in a large bowl. Pour water and oil slowly while mixing.
Kneading The Clay
Once the mixture starts to form dough, take it out of the bowl. Place it on a clean surface.
Knead the dough for about 10 minutes. Press and fold it until smooth and soft.
- If sticky, add a little flour while kneading
- If dry, add a few drops of water
- Keep kneading until the clay feels like playdough
After kneading, your air dry clay is ready to use for crafts and projects.
Tips For Perfect Texture
Making air dry clay at home without cornstarch can be easy. The texture matters a lot for good clay.
Follow these tips to get soft and smooth clay that dries well without cracks.
Adjusting Consistency
The right consistency helps your clay hold shapes and stay soft. Add small amounts of water if it feels dry.
If the clay is too sticky, mix in more flour or glue little by little. Work the clay well to blend ingredients.
- Add water drop by drop to avoid making it too wet
- Use flour or glue to fix sticky or crumbly clay
- Knead the clay until smooth and even
Avoiding Cracks
Cracks appear if the clay dries too fast or is too thick. Keep your clay thin and dry it slowly.
Cover your clay pieces with plastic wrap while drying to keep moisture. Sand lightly after drying for smooth finish.
- Make thin layers to prevent cracking
- Dry clay in a cool, shaded place
- Cover clay with plastic to keep moisture
- Sand dry clay gently for smooth results

Credit: www.youtube.com
Drying And Curing
Drying and curing air dry clay is an important step in making strong crafts. Proper drying helps the clay harden well without cracks.
This guide shows simple ways to dry and cure air dry clay made without cornstarch.
Air Drying Techniques
Place your clay item on a clean, flat surface to dry naturally. Use wax paper or a silicone mat to stop sticking.
Keep the clay in a dry room with good air flow. Avoid direct sunlight to stop uneven drying and cracks.
- Use a fan for gentle air circulation
- Turn the clay piece occasionally for even drying
- Dry small pieces separately from large ones
- Keep humidity low in the drying area
Speeding Up Drying
You can use some tricks to help your air dry clay dry faster. Use low heat but avoid ovens or microwaves.
A warm, dry room with a fan helps speed up drying. Thin clay pieces dry faster than thick ones.
- Place clay near a heater but not too close
- Use a small fan to improve air flow
- Make thinner shapes for quicker drying
- Do not rush drying with high heat to avoid cracks
Storage And Preservation
Making air dry clay at home without cornstarch is easy. To keep your clay good for later use, proper storage is important.
Finished clay pieces also need care to last long. This section explains how to keep your clay fresh and store your creations safely.
Keeping Clay Fresh
Air dry clay can dry out quickly if not stored well. Keep your clay in an airtight container or a sealed plastic bag to stop air from drying it.
Store the container in a cool, dry place away from sunlight. Check the clay often and add a few drops of water if it feels dry.
- Use airtight containers or plastic bags
- Keep clay in a cool, dry place
- Add water drops if clay feels dry
- Do not store clay near heat or sunlight
Storing Finished Pieces
Air dry clay pieces become fragile after drying. Store them carefully to avoid cracks or breaks.
Keep finished pieces in a dry area. Avoid stacking them to stop damage. If needed, wrap pieces in soft cloth or bubble wrap for extra protection.
- Place pieces in a dry, safe place
- Avoid stacking pieces on top of each other
- Use soft cloth or bubble wrap to protect
- Keep away from moisture and direct sunlight
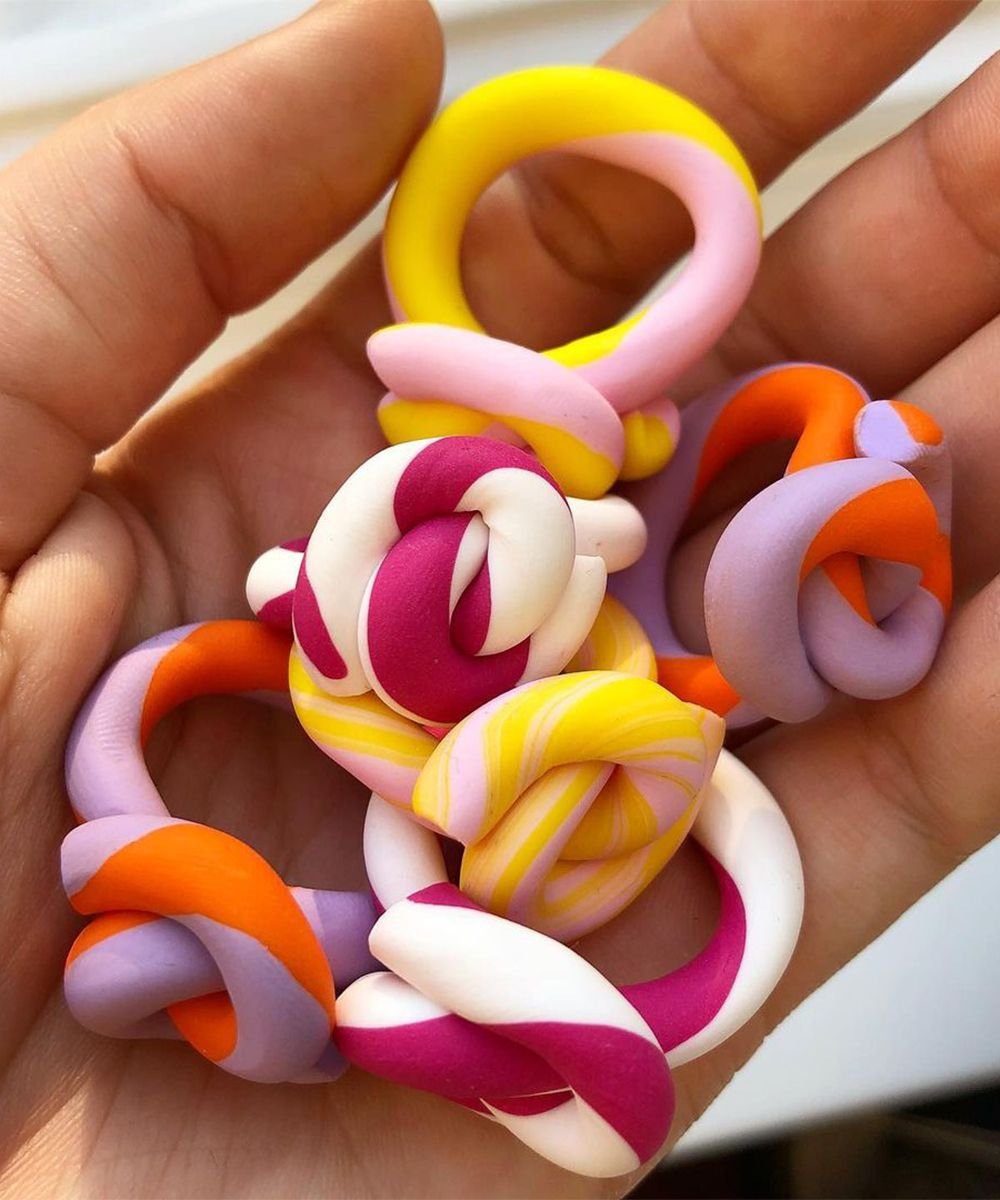
Creative Uses
Making air dry clay at home is fun and easy. You don't need cornstarch for great results.
Discover creative ways to use your homemade clay. Explore craft ideas and how to paint and decorate your creations.
Craft Ideas
Homemade air dry clay is perfect for crafting. You can make many different items with it.
- Make small figurines or animals.
- Create unique jewelry like pendants and earrings.
- Design decorative bowls for small items.
Painting And Decorating
Once your clay items are dry, painting and decorating them is exciting. Use colors to bring your creations to life.
| Paint Type | Finish |
| Acrylic | Glossy |
| Watercolor | Matte |
| Gouache | Opaque |

Credit: www.youtube.com
Frequently Asked Questions
What Ingredients Are Used To Make Air Dry Clay Without Cornstarch?
You can use baking soda, white glue, and water to make air dry clay. These ingredients create a smooth, moldable clay that dries hard without cornstarch. This homemade clay is safe, non-toxic, and perfect for crafts and DIY projects.
How Long Does Homemade Air Dry Clay Take To Dry?
Typically, air dry clay takes 24 to 48 hours to dry fully. Drying time depends on the thickness and humidity. Thin pieces dry faster, while thicker ones may need more time. Ensure your clay is completely dry before painting or sealing.
Can I Store Air Dry Clay For Later Use?
Yes, store unused air dry clay in an airtight container or plastic wrap. This prevents it from drying out and keeps it soft for future use. Store it in a cool, dry place to maintain its quality and flexibility.
Is Air Dry Clay Without Cornstarch Strong And Durable?
Air dry clay without cornstarch is moderately strong and durable when fully dried. It’s suitable for light crafts and decorations but not for heavy or load-bearing items. Sealing your dried clay can improve its strength and longevity.
Conclusion
Making air dry clay at home without cornstarch is simple and fun. You only need a few basic ingredients found in most kitchens. This homemade clay dries hard and works well for crafts. It saves money and avoids special ingredients.
Try different shapes and let your creativity flow. Keep your clay covered to stay soft longer. Enjoy crafting with this easy, natural clay recipe anytime. Give it a try and see how easy crafting can be!