Have you ever wanted to create your own music right at home? Imagine the sound of a steel drum filling your space—bright, lively, and unique.
Making a steel drum yourself might seem tricky, but it’s easier than you think. In this guide, you’ll learn simple steps to build your own steel drum with everyday materials. Not only will you save money, but you’ll also feel the joy of crafting an instrument that’s truly yours.
Ready to bring music to your fingertips? Keep reading and discover how to make a steel drum at home!

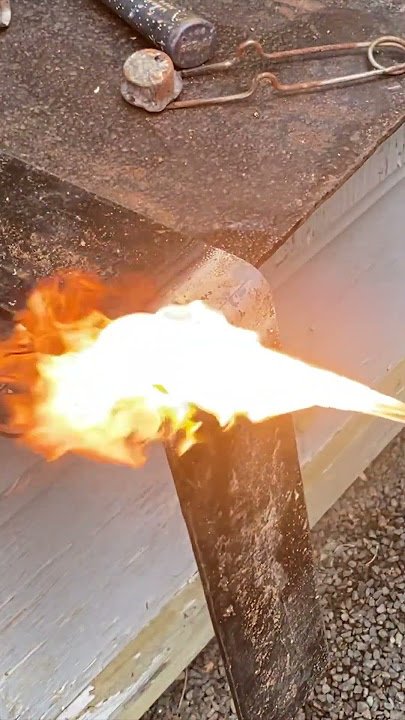
Credit: www.reddit.com
Materials Needed
Making a steel drum at home requires specific materials and tools. Choosing the right supplies helps you create a good sound.
This guide covers the main materials you need to start your project.
Choosing The Right Drum Container
Select a drum container that is made of steel and has no holes or rust. The size affects the sound you will get.
- Empty steel oil drum (around 55 gallons)
- Clean and free of dents
- Closed top with removable lid
- Preferably smooth surface for tuning
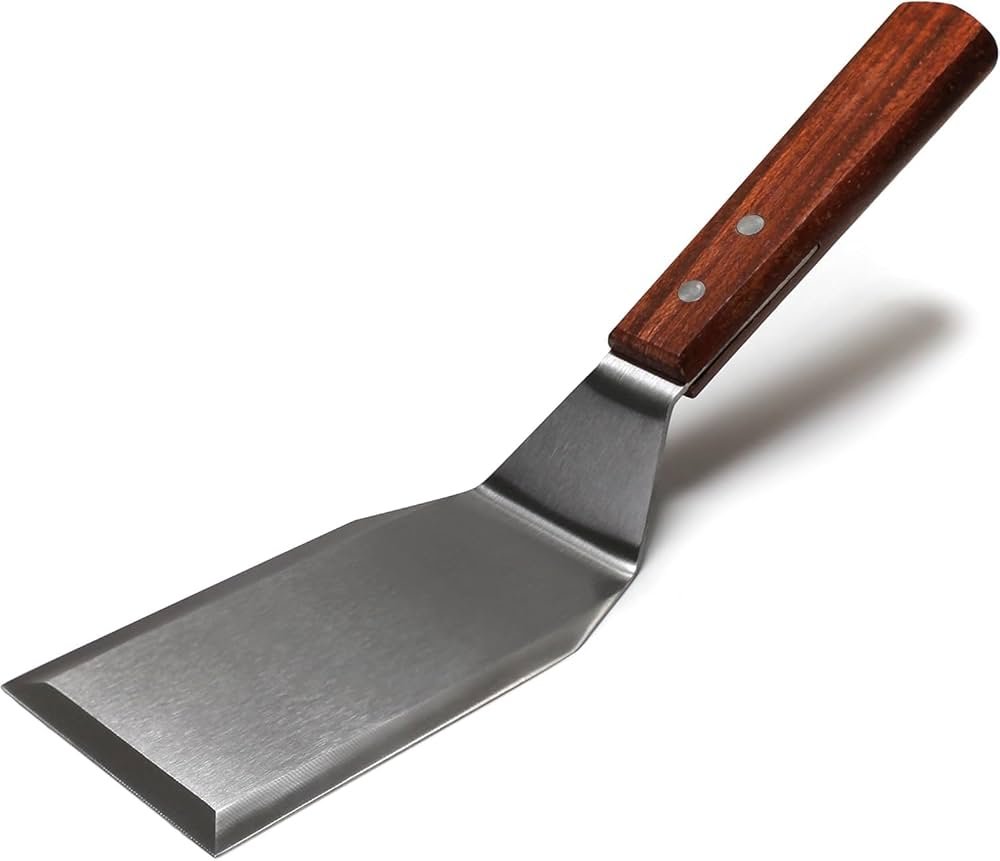
Essential Tools And Supplies
You need tools to shape and tune the steel drum properly. Safety gear is important too.
| Tool or Supply | Purpose |
| Hammer | Shape and dent the steel surface |
| Dent puller or dolly | Form tuning notes |
| Drill with metal bits | Make holes for mounting |
| Marker or chalk | Mark note areas on the drum |
| Metal file | Smooth rough edges |
| Safety gloves and goggles | Protect hands and eyes |
| Sandpaper | Clean and prep the surface |

Credit: www.familyhandyman.com
Preparing The Drum
Making a steel drum at home starts with preparing the drum. This step is important for safety and sound quality.
Cleaning the drum and removing its lid carefully will help you create a better instrument.
Cleaning And Safety Measures
Before working on the drum, clean it thoroughly. Dirt and rust can affect the sound and your safety.
Wear gloves and goggles to protect your hands and eyes during cleaning and cutting.
- Use a wire brush to remove rust and dirt
- Wash the drum with soap and water
- Dry the drum fully to avoid rust
- Wear safety gloves and goggles
- Work in a well-ventilated area
Removing The Drum Lid
Removing the drum lid is necessary to shape the steel drum. Use the right tools to avoid damage.
Cut the lid carefully using a metal cutter or angle grinder. Mark the cut line before cutting.
- Mark the lid’s edge with a marker
- Wear gloves and goggles for protection
- Use an angle grinder or metal cutter
- Cut slowly to avoid bending the drum
- Remove sharp edges with a file
Marking The Notes
Marking the notes on your steel drum is an important part of making it playable. This helps you find the right sounds when you play. Careful marking ensures each note is clear and easy to hit.
In this guide, you will learn how to mark notes by understanding tuning basics and drawing note patterns on your steel drum surface.
Tuning Basics
Tuning means adjusting the metal areas so each note sounds correct. You must know where each note lies before marking it. Use a tuner or tuning app to check the pitch of each note area.
- Strike the note area gently with a mallet.
- Listen to the sound and check the pitch with a tuner.
- Adjust the note area by gently hammering or pressing.
- Repeat until the note matches the desired pitch.
- Mark the tuned note clearly before moving to the next.
Drawing Note Patterns
After tuning, draw the note patterns on the drum. This shows where each note lies and helps you play faster. Use clear lines and shapes to separate notes.
| Note | Shape | Color (optional) |
| Low notes | Large circles | Blue |
| Mid notes | Medium circles | Green |
| High notes | Small circles | Red |
| Rest areas | Blank spaces | N/A |
Use a pencil first to draw patterns lightly. Once happy with the layout, trace over with a permanent marker. This makes the notes visible during play.

Credit: www.familyhandyman.com
Shaping The Drum Surface
Shaping the surface of a steel drum is key to making music. The surface holds the notes you will play. You need to carefully form it to get clear sounds.
This part takes time and patience. You will shape the metal by creating dimples and using hand tools. These actions create different tones on the drum.
Creating Dimples For Notes
Dimples are small dents made on the drum’s surface. Each dimple plays a different note when struck. You place them in specific spots for correct sound.
Use a round hammer or ball-peen hammer to create dimples. Tap gently at first and deepen the dimple slowly. Check the sound often to get the right tone.
- Mark the dimple spots with a pencil or marker.
- Start with light taps to form the shape.
- Make dimples deeper for lower notes.
- Keep the dimples smooth and round.
Using Hand Tools For Shaping
Hand tools help shape the drum surface evenly. You can use hammers, mallets, and metal shaping tools. These tools shape the metal without cutting it.
Work slowly and check the drum’s shape often. Use soft mallets to avoid sharp dents. Even shaping makes the drum sound better and last longer.
- Use a rubber mallet to smooth rough areas.
- Around the edges, use smaller hammers for detail work.
- Shape the metal on a solid surface like an anvil or wood block.
- Keep the drum surface round and balanced.
Tuning The Drum
Tuning a steel drum is an important step in making it sound good. It means changing the metal so each note plays the right pitch.
You will shape the drum’s surface by hammering and adjusting areas to get the correct sound. This process takes patience and a careful ear.
Adjusting Note Pitch
To change the pitch, you hit specific areas on the drum surface. Larger areas produce lower notes, smaller areas create higher notes.
Use a hammer to carefully raise or lower the metal sections. Raising the metal will raise the pitch. Lowering it will lower the pitch.
- Tap gently around the note area to raise the pitch.
- Tap the edges to lower the pitch slightly.
- Check the pitch often with a tuner or by ear.
- Work slowly to avoid over-tuning.
Fine-tuning Techniques
Fine-tuning means making small changes to get perfect sound. It helps each note blend well with others on the drum.
Use light taps and listen carefully. Sometimes small changes make a big difference in tone and pitch.
- Tap very softly around the note edges.
- Use a rubber mallet for gentler adjustments.
- Play notes in sequence to check harmony.
- Repeat tuning until the sound is clear and steady.
Adding Finishing Touches
Once you have assembled your steel drum, it's time to add the finishing touches. This will make your drum look attractive and protect it from damage.
These final steps will ensure that your drum not only sounds great but also lasts longer.
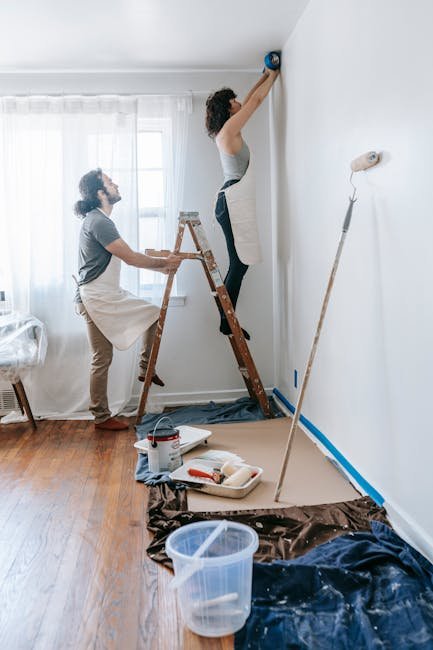
Painting And Decorating
Painting your steel drum can give it a unique and personal look. Choose colors that resonate with you and apply them evenly.
- Use a primer to prepare the surface.
- Select paint that is suitable for metal.
- Apply at least two coats for durability.
- Allow each coat to dry completely before applying the next.
Protective Coating Application
Applying a protective coating is crucial to shield your drum from rust and wear. This will help maintain its appearance and sound quality.
Consider using a clear sealant or lacquer for protection.
Ensure the coating is evenly applied across the entire surface.
Leave the drum to dry in a well-ventilated area.
| Step | Description |
| 1 | Clean the drum thoroughly |
| 2 | Apply the protective coating |
| 3 | Let the coating dry completely |
Playing Tips For Beginners
Learning to play the steel drum can be fun and rewarding. Beginners should focus on simple rhythms and proper technique to build a strong foundation.
In this guide, you'll find tips on basic rhythms and how to maintain your steel drum for the best sound and longevity.
Basic Rhythms To Start
Starting with simple rhythms helps you get comfortable with your steel drum. Practice regularly to improve your timing and confidence.
- Begin with single beats using your dominant hand.
- Practice playing basic two-beat patterns slowly.
- Increase speed gradually as you gain confidence.
Maintaining Your Steel Drum
Proper maintenance ensures your steel drum stays in excellent condition. Regular care will keep it sounding great for years.
Here are some essential maintenance tips:
- Wipe your drum with a soft cloth after each use.
- Avoid leaving it in direct sunlight or extreme temperatures.
- Store it in a protective case when not in use.
- Check for any dents and address them promptly.
Frequently Asked Questions
What Materials Are Needed To Make A Steel Drum At Home?
You need a clean steel drum, metal tools, a hammer, and tuning equipment. Safety gloves and eye protection are essential. These materials help shape and tune the drum accurately.
How Do You Tune A Homemade Steel Drum?
Tuning involves carefully hammering specific drum areas to create notes. Use a tuning hammer and electronic tuner for precision. Tuning ensures the drum produces clear, melodic sounds.
Is It Safe To Make A Steel Drum At Home?
Yes, with proper safety gear and tools, it is safe. Always wear gloves and eye protection. Work in a well-ventilated area and handle tools carefully to avoid injury.
How Long Does It Take To Craft A Steel Drum?
Crafting takes several hours to days, depending on skill level. Shaping, tuning, and finishing require patience for quality sound. Beginners may take longer to perfect the drum.
Conclusion
Making a steel drum at home takes time and patience. You need basic tools and careful steps. The process helps you understand music and craft. Playing your drum will bring joy and pride. Keep practicing to improve your sound and skills.
This project is fun and rewarding for anyone. Try it today and enjoy creating your own music.