

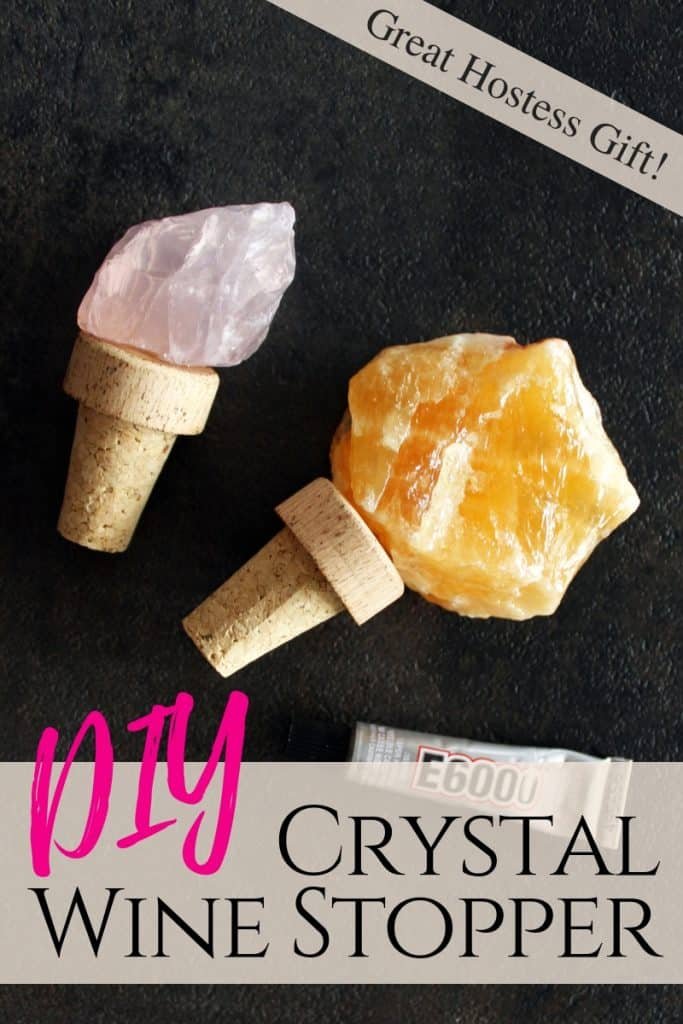
Have you ever needed a cork but didn’t want to buy one? Making a cork at home is easier than you think.
Imagine saving money and adding a personal touch to your bottles or crafts. You’ll discover simple steps to create your own cork using everyday materials. By the end, you’ll feel confident to make a cork that fits your needs perfectly.
Ready to learn how? Keep reading and let’s get started!
Materials Needed
Making a cork at home requires some basic materials. These materials help you create a sturdy and useful cork.
Gathering the right items before you start will make the process easier and more enjoyable.
Choosing The Right Cork Material
You can use natural or synthetic cork for your project. Natural cork comes from cork oak trees and is light and flexible. Synthetic cork is made from plastic or rubber and can be easier to shape.
- Natural cork sheet or block
- Synthetic cork block or roll
- Recycled cork pieces from old wine stoppers
Essential Tools
Using the right tools helps you cut and shape the cork safely and accurately. Make sure you have these items ready before you begin.
| Tool | Purpose |
| Sharp utility knife | Cut cork cleanly |
| Sandpaper (fine grit) | Smooth rough edges |
| Ruler or measuring tape | Measure cork pieces |
| Pencil or marker | Mark cutting lines |
| Cutting mat | Protect your work surface |
Optional Supplies For Customization
You can add some extra supplies to personalize your cork. These items help decorate or improve the cork's look and feel.
- Acrylic paint or markers for color
- Small brushes for detailed work
- Clear sealant to protect the surface
- Craft glue for adding decorations
- Stencils or stamps for patterns

Preparing The Cork
Making a cork at home starts with preparing the cork material properly. This step ensures the cork fits well and looks neat.
Focus on cutting, smoothing, and shaping the cork carefully. Each part makes a difference in the final result.
Cutting Cork To Size
Use a sharp knife or craft blade to cut the cork. Measure the size you need before cutting.
- Mark the cork with a pencil for accuracy.
- Cut slowly to avoid cracking.
- Cut on a flat surface for better control.
- Trim small pieces if the cork is too large.
Smoothing Edges
After cutting, the edges may be rough or uneven. Smoothing them helps the cork fit tightly and look clean.
Try these smoothing methods:
- Use fine sandpaper to gently rub the edges.
- Trim jagged parts with scissors or a sharp knife.
- Press edges with a cloth to remove dust.
Shaping Techniques
Shaping the cork can improve its fit and function. Use tools to create the desired form.
| Tool | Purpose |
| Knife | Cut shapes or make grooves |
| Sandpaper | Round edges or smooth surfaces |
| File | Refine small details and corners |
| Scissors | Trim thin parts or soft cork |
Creating The Cork Shape
Making a cork at home needs shaping the material correctly. The shape helps the cork fit well in bottles.
You can shape cork by hand or use molds. Each way has its benefits for making good corks.
Hand Carving Methods
Hand carving lets you shape cork with simple tools. You can use knives or small files to cut the cork.
Start by cutting a rough shape, then smooth the edges. Take your time to avoid cracking the cork.
- Use a sharp knife for clean cuts
- Carve slowly to keep the shape even
- Smooth edges with sandpaper
Using Molds For Consistency
Molds help make corks that look the same every time. You press the cork material into the mold to shape it.
This method is good if you want many corks with one size and shape. It saves time and effort.
- Choose a mold the right size for your cork
- Press firmly to fill the mold completely
- Let the cork dry or set before removing
Tips For Uniformity
To make corks that all look the same, keep your process steady. Measure and check your work often.
Use the same tools and materials each time. This helps avoid changes in size or shape.
- Use a ruler or caliper for size checks
- Work in a clean, stable workspace
- Keep your tools sharp and clean
- Repeat steps carefully for each cork
Sealing And Finishing
After shaping your cork, sealing and finishing protect it. These steps make the cork last longer.
Sealing stops moisture from damaging the cork. Finishing gives the cork a nice look and feel.
Applying Sealants
Choose a sealant made for natural materials like cork. Brush or spray it evenly over the cork surface.
Apply thin layers. Let each layer dry before adding the next. This prevents clumps and bubbles.
- Use a soft brush for even coverage
- Avoid thick coats to prevent peeling
- Seal all sides of the cork
Drying And Curing
Let the sealed cork dry in a warm, dry place. This helps the sealant stick well to the cork.
Curing time can vary. Wait at least 24 hours before handling. Check the sealant instructions for exact times.
- Keep cork away from dust and dirt
- Do not touch the surface during drying
- Allow extra time if the room is cold or humid
Adding Decorative Touches
Decorate your cork with paint, markers, or wood-burning tools. Make simple designs or patterns.
Apply a clear finish after decorating. This protects the decorations and keeps colors bright.
- Use acrylic paint for bright colors
- Try fine-tip markers for detailed work
- Seal decorations with a clear coat
Common Mistakes To Avoid
Making a cork at home takes patience and care. Avoiding common mistakes helps you get better results. This guide covers key errors to watch out for.
Focus on each step carefully. Small errors can cause big problems with your cork's quality and safety.
Overcutting And Fragility
Cutting the cork too thin makes it fragile and easy to break. Overcutting also reduces the cork's ability to seal bottles well.
- Do not slice cork pieces thinner than 1 cm.
- Use a sharp, steady blade to avoid jagged edges.
- Handle cork gently to prevent cracks.
- Test small cuts before shaping the final cork.
Improper Sealing
Sealing the cork poorly causes leaks and spoilage. Using the wrong glue or skipping drying time weakens the seal.
| Common Sealing Problems | Cause | Fix |
| Loose fit | Wrong cork size | Measure bottle neck carefully |
| Glue failure | Using water-based glue | Use cork-safe adhesive |
| Sticky surface | Not drying glue fully | Let glue dry 24 hours |
Ignoring Safety Precautions
Safety is important when cutting and sealing cork. Ignoring safety can cause injuries or damage.
- Always cut on a stable surface.
- Wear gloves to protect your hands.
- Keep sharp tools away from children.
- Work in a well-ventilated area when using glue.
- Keep a first aid kit nearby for emergencies.

Using Your Homemade Cork
Creating corks at home is both fun and useful. They help seal bottles and preserve liquids. Here, we'll explore how to fit, store, and maintain your homemade corks.
Learn the best methods to ensure your corks last long. This guide covers fitting corks in bottles, storage tips, and maintaining them for longevity.
Fitting Corks In Bottles
Properly fitting corks ensure your bottles are sealed tightly. This prevents leaks and keeps contents fresh.
Storage Tips
Storing corks correctly helps them last longer. Proper storage keeps them from drying out or becoming too moist.
- Store corks in a cool, dry place.
- Avoid direct sunlight to prevent drying.
- Keep them away from strong odors.
Maintenance For Longevity
Maintaining your corks ensures they remain effective. Regular checks help identify issues early.
| Maintenance Task | Frequency |
| Inspect for cracks | Monthly |
| Clean with mild soap | Every 3 months |
| Condition with wax | Bi-annually |

Frequently Asked Questions
How Can I Make A Cork At Home Easily?
To make a cork at home, use natural cork sheets or bottle corks. Cut and shape them to fit your needs. Sand the edges smooth for a perfect fit. This simple process requires minimal tools and materials.
What Materials Are Needed To Create A Homemade Cork?
You need natural cork sheets or recycled corks, a sharp knife, sandpaper, and a ruler. Optional tools include glue for reinforcement and sealant for durability. These materials are easy to find and affordable.
Is Homemade Cork Safe For Wine Bottles?
Yes, homemade corks can be safe if you use natural cork and clean tools. Ensure the cork fits snugly and is free from contaminants. Proper sealing helps maintain wine quality and prevents leakage.
Can I Customize The Size Of My Homemade Cork?
Absolutely! Homemade corks can be cut and shaped to any size. Measure the bottle opening accurately before cutting. Sand and adjust the cork to ensure a tight, secure fit.
Conclusion
Making a cork at home is simple and fun. You only need a few materials and some patience. This small project lets you reuse old corks or create new ones. It saves money and helps the environment. Try different shapes and sizes to fit your needs.
With practice, your corks will look great and work well. Enjoy crafting and adding a personal touch to your bottles. Give it a try today!






