Have you ever wanted to create something beautiful and useful with your own hands? Making a clay bowl at home is easier than you think, and it’s a fun way to express your creativity.
Imagine holding a bowl you crafted yourself—unique, personal, and made just for you. In this guide, you’ll discover simple steps to turn a lump of clay into a stunning bowl, even if you’ve never tried pottery before. Ready to unleash your inner artist and make something truly special?
Keep reading, and let’s get started!
Materials Needed
Making a clay bowl at home is a fun and creative project. You need some basic materials to get started.
This guide will help you gather everything you need before you begin shaping your clay bowl.
Types Of Clay
There are different clays you can use for making a bowl. Each type has special qualities.
Choose the clay that fits your skill level and the bowl's final use.
- Air-dry clay: Easy to use, dries without baking.
- Polymer clay: Cures in a home oven, stays flexible before baking.
- Earthenware clay: Needs kiln firing, good for pottery.
- Stoneware clay: Strong and durable after firing.
Essential Tools
Using the right tools makes shaping and finishing your bowl easier. You do not need many tools to start.
- Clay modeling tools: For shaping and smoothing the clay.
- Rolling pin: To flatten the clay evenly.
- Cutting wire or knife: To cut the clay cleanly.
- Water container and sponge: To keep clay moist and smooth surfaces.
- Plastic sheet or board: For working on your clay without sticking.
Workspace Setup
Set up a clean and comfortable workspace before you start. This helps keep your clay project neat.
Make sure your workspace has good light and is easy to clean.
- Flat surface: Use a table or desk with a smooth top.
- Protective cover: Use newspaper or plastic to protect your surface.
- Chair: Sit comfortably to work on your clay.
- Storage container: Keep unused clay fresh and covered.
- Trash bin: Dispose of clay scraps and waste easily.
Preparing The Clay
Preparing the clay is the first step to making a clay bowl at home. You need to work the clay to make it soft and even.
This process helps remove air bubbles and makes the clay easier to shape.
Wedge The Clay
Wedge the clay by kneading it like dough. This action mixes the clay and removes lumps.
- Cut the clay into smaller pieces.
- Press and fold the clay repeatedly.
- Use a sharp tool to slice and stack clay layers.
- Repeat until the clay feels smooth and soft.
Check For Air Bubbles
Air bubbles can cause cracks when firing your bowl. It is important to find and remove them.
| Signs of Air Bubbles | How to Remove |
|---|---|
| Soft spots in the clay | Press the clay firmly and wedge again |
| Hollow sound when tapping | Cut and re-wedge the clay pieces |
| Visible holes or cracks | Fill holes with fresh clay and smooth |
Shaping The Bowl
Shaping a clay bowl is an exciting part of pottery. It helps you turn soft clay into a useful object.
You can shape your bowl by hand or use a potter’s wheel. Both ways need care and patience.
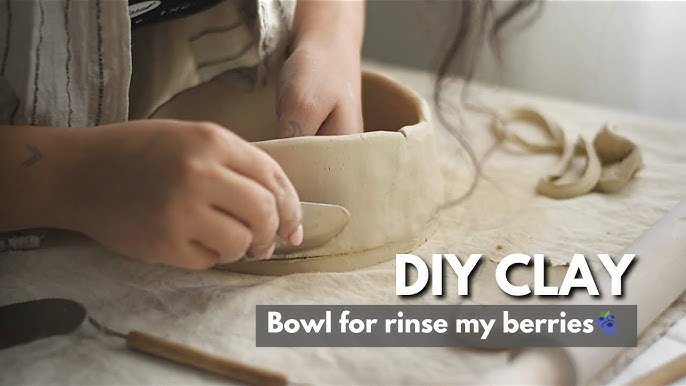
Hand-building Techniques
Hand-building lets you shape the bowl without special tools. You use your hands and simple tools.
Pinching is a common hand-building technique. Start with a ball of clay and press your thumb inside it.
- Press your thumb into the clay ball to make a hole.
- Pinch the walls evenly to widen the bowl shape.
- Use your fingers to smooth and shape the edges.
- Keep the walls even in thickness to avoid cracks.
Coiling is another hand-building method. Roll out clay into long ropes and stack them in circles.
- Lay the first coil as the bowl’s base.
- Stack coils on top to build the walls.
- Blend the coils together with your fingers or tools.
- Smooth the surface to create a nice finish.
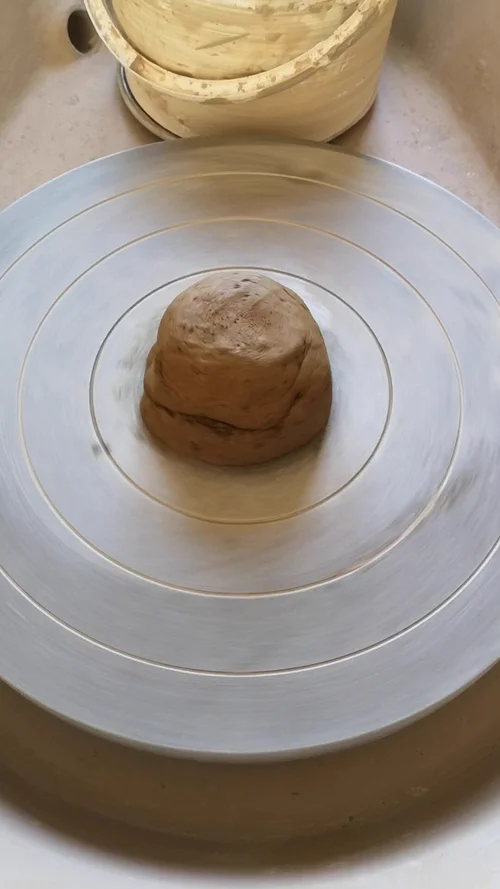
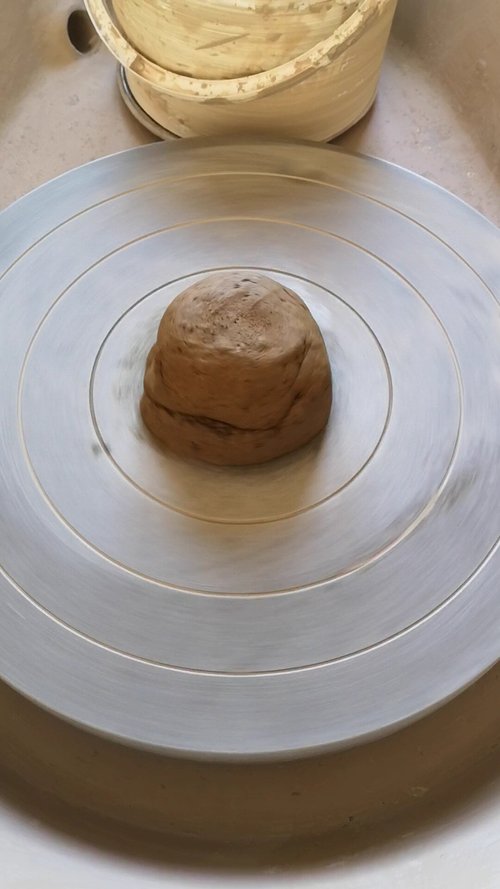
Using A Potter’s Wheel
The potter’s wheel spins the clay fast. It helps create smooth, round bowls quickly.
Start by centering the clay on the wheel. Keep your hands steady and wet to shape the bowl.
- Press the clay down and inward to center it on the wheel.
- Open the center by pushing your thumbs down gently.
- Pull the walls up slowly to form the bowl shape.
- Use a sponge to keep the clay moist and smooth.
- Trim the base when the bowl is shaped but still soft.
Smoothing And Refining
Smoothing and refining your clay bowl makes it look neat and polished. This step helps remove bumps and rough spots.
Taking time to smooth the surface improves the bowl’s final shape and feel. It also prepares the clay for decorating.
Trimming Edges
Trim the edges of your clay bowl to give it a clean finish. Use a small knife or clay trimming tool for this.
Cut away extra clay slowly, shaping the rim evenly. Be careful not to cut too much or make the edges too thin.
- Hold the bowl steady on a soft surface
- Trim small amounts at a time
- Check the thickness of the edges often
- Smooth any rough cuts with a damp sponge
Adding Texture And Designs
Add texture or simple designs to your clay bowl for a personal touch. Use tools like toothpicks or forks to make patterns.
Press gently to avoid cutting too deep. You can also create lines, dots, or shapes on the bowl’s surface before it dries.
- Use a toothpick to draw fine lines
- Press a fork for parallel lines
- Make small dots with the end of a paintbrush
- Try rolling textured fabric over the clay
Drying And Firing
Making a clay bowl at home needs two important steps: drying and firing. Drying removes water from the clay. Firing makes the clay hard and strong.
These steps keep your bowl safe to use and help it last a long time. Follow simple tips for good drying and firing results.
Air Drying Tips
Air drying is the first step after shaping your clay bowl. Dry it slowly to avoid cracks. Keep the bowl in a cool, dry place away from direct sunlight.
Turn your bowl often to dry it evenly. Thin parts dry faster, so watch them carefully. Drying can take several days depending on the size and thickness.
- Place bowl on a soft cloth or paper towel
- Turn bowl every 12 hours for even drying
- Avoid direct sunlight and heat sources
- Keep room temperature steady
- Wait until bowl feels completely dry and cool
Kiln Firing Options
A kiln uses high heat to harden clay. It changes clay into ceramic, making the bowl strong and waterproof. Kilns reach temperatures above 1,000 degrees Celsius.
There are electric, gas, and wood-fired kilns. Electric kilns are best for home use. Gas and wood kilns need more skill but give unique effects.
- Electric kiln: easy to control temperature
- Gas kiln: creates natural glaze effects
- Wood kiln: adds smoky texture to clay
- Firing takes 6 to 12 hours depending on clay
- Allow the bowl to cool slowly inside the kiln
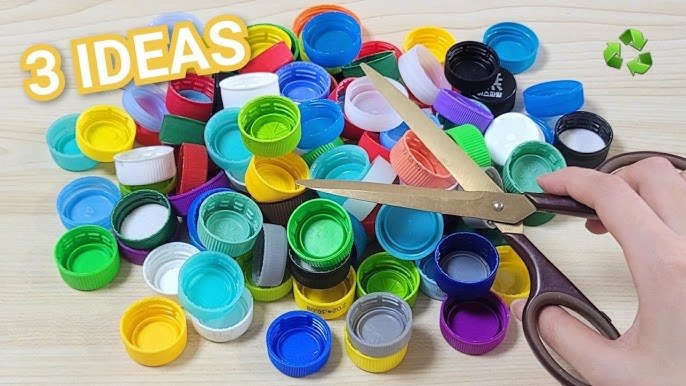
Alternative Baking Methods
If you do not have a kiln, you can bake air-dry clay in a home oven. This method works only with special air-dry clays, not natural clay.
Bake the bowl at low heat for a short time. This hardens the clay and makes it more durable, but it is not as strong as kiln-fired ceramic.
- Preheat oven to 275°F (130°C)
- Place bowl on a baking sheet
- Bake for 15 to 30 minutes depending on thickness
- Do not use natural clay in a home oven
- Let bowl cool completely before handling

Credit: www.youtube.com
Glazing The Bowl
Glazing adds color and shine to your clay bowl. It also makes the bowl waterproof and safe for use. Follow these steps to glaze your bowl at home.
Choosing The Right Glaze
The glaze you choose affects the bowl's appearance. Pick a glaze color that matches your style. Some glazes create a glossy finish, while others are matte.
Consider the glaze's safety for food use. Always read the label to ensure it is non-toxic and safe for bowls that will hold food.
Applying Glaze Evenly
Apply glaze to your bowl with a brush or by dipping it. Ensure the glaze covers the bowl evenly to avoid patchy spots.
Avoid thick layers of glaze, as they can cause drips. Thin, even coats work best for a smooth finish.
- Use a clean brush for each color
- Stir glaze well before using
- Let each coat dry before applying another
Glaze Firing Process
Firing the glazed bowl is the final step. Place the bowl in a kiln to set the glaze. Follow the glaze instructions for the correct firing temperature.
Ensure the kiln reaches the right temperature for the glaze to mature. Once cooled, your bowl is ready to use.
Care And Maintenance
Taking care of your clay bowl is important. It helps the bowl last longer and look good.
Proper cleaning and storage make a big difference. Let's learn how to do it right.
Cleaning Tips
Cleaning a clay bowl is simple. Use mild soap and warm water for the best results.
Avoid harsh chemicals. They can damage the clay and make it lose color.
- Wash with a soft sponge or cloth
- Rinse thoroughly to remove soap
- Air dry on a towel
Handling And Storage
Handle your clay bowl with care. It is fragile and can break easily.
Store it in a safe place. This prevents chips and cracks.
- Keep away from high shelves
- Use padding if stacking bowls
- Avoid extreme temperatures
Credit: www.leelachakravarti.com

Credit: www.youtube.com
Frequently Asked Questions
How Do I Start Making A Clay Bowl At Home?
Begin by kneading air-dry or natural clay to soften it. Shape the clay into a ball, then press your thumb inside to form the bowl's base. Smooth edges with your fingers or a damp sponge for a neat finish.
What Materials Are Needed To Make A Clay Bowl?
You need air-dry clay, a rolling pin, a bowl for shaping, a sponge, and sculpting tools. Optionally, use paint or glaze for decoration once the bowl dries. These basic materials are easy to find at craft stores.
How Long Does It Take For A Clay Bowl To Dry?
Drying time depends on clay type and thickness. Air-dry clay usually takes 24 to 48 hours to harden fully. Ensure the bowl is in a well-ventilated area to speed up drying and prevent cracks.
Can I Decorate My Homemade Clay Bowl?
Yes, you can paint or glaze your clay bowl after it dries. Use acrylic paints or ceramic glazes for vibrant, lasting colors. Always allow paint or glaze to dry completely before use.
Conclusion
Making a clay bowl at home is a fun and simple craft. It lets you create something useful and personal. You only need a few materials and some patience. Each step helps you shape your own unique bowl. This project also teaches you about working with clay.
Try different shapes and sizes to find what you like best. Keep practicing, and your skills will improve quickly. Enjoy the process and the bowl you make. Crafting at home brings joy and creativity to your day.