Are you looking to transform your space quickly and affordably? Installing wall paneling might be the perfect solution for you.
It’s a simple way to add style, texture, and warmth to any room. Imagine stepping into a room that feels inviting and polished—all because of the walls around you. In this guide, you’ll discover easy steps to install wall paneling yourself, even if you’ve never done a home improvement project before.
By the end, you’ll have the confidence and know-how to give your walls a fresh, new look that stands out. Ready to get started? Let’s dive in!

Credit: www.youtube.com
Choosing Wall Panels
Choosing the right wall panels is important for your room’s look and feel. It also affects how easy the installation will be.
Think about style, material, and size before you buy your wall panels. This helps you get the best fit for your space.
Types Of Wall Panels
Wall panels come in many types. Some add texture, while others give a smooth finish. Choose one that matches your style.
- Shiplap panels create a classic, lined look.
- Beadboard panels have small vertical grooves.
- 3D panels add depth and design to walls.
- Wood panels offer a natural and warm feel.
- MDF panels are smooth and easy to paint.
Materials And Finishes
Wall panels come in different materials like wood, MDF, or PVC. Each material has its own look and care needs.
Finishes can be painted, stained, or natural. Choose a finish that fits your room’s style and lighting.
- Wood panels: warm and natural, may need sealing.
- MDF panels: smooth and paintable, budget-friendly.
- PVC panels: water-resistant and easy to clean.
- Metal panels: modern look, good for some designs.
Measuring Your Space
Measure your wall’s height and width before buying panels. Accurate measurements help avoid waste and extra costs.
Check for doors, windows, and outlets. Subtract these areas from the total wall space to get the right panel amount.
- Use a tape measure for width and height.
- Write down each wall’s measurements.
- Subtract openings like windows and doors.
- Buy a little extra for mistakes or cuts.
Gathering Tools And Materials
Installing wall paneling needs the right tools and materials. Getting everything ready saves time and helps your work go smoothly.
This guide lists the tools and gear you need before starting your project. Prepare well for a safe and easy installation.
Essential Tools
You need a few key tools to install wall paneling correctly. These tools help you measure, cut, and fix panels on your walls.
- Measuring tape for accurate dimensions
- Level to keep panels straight
- Utility knife for cutting panel edges
- Hammer or nail gun for fastening panels
- Stud finder to locate wall studs
- Power drill with screwdriver bits
Safety Gear
Safety is important when working with tools and panels. Use the right gear to protect yourself from accidents.
- Safety goggles to protect your eyes
- Work gloves to protect your hands
- Dust mask to avoid breathing sawdust
- Ear protection if using loud power tools
- Knee pads for comfort when working low
Paneling Accessories
Besides tools, you need some accessories to complete your wall paneling project. These help with installation and finishing touches.
| Accessory | Purpose |
|---|---|
| Panel adhesive | Secures panels to the wall |
| Finishing nails or screws | Hold panels firmly in place |
| Wood filler | Fills nail holes and gaps |
| Sandpaper | Smooths edges and surfaces |
| Caulk | Seals joints and seams |
Preparing The Wall
Installing wall paneling starts with preparing the wall properly. A clean, smooth surface helps panels stick well and look great.
Check the wall for damage and moisture before you begin. Fix any problems to ensure a strong base for the paneling.
Cleaning And Repairing
Remove dirt, dust, and grease from the wall. Use a mild detergent and water to clean the surface. Let it dry completely before moving on.
Repair holes or cracks with spackle or filler. Sand the patched areas smooth once dry. This creates an even surface for your panels.
Marking Guidelines
Mark your wall to guide panel placement. Use a pencil and a level to draw straight, even lines. This keeps panels aligned and neat.
- Measure the wall width and height
- Mark vertical lines where panel edges will go
- Mark horizontal lines for panel height or seams
- Double-check lines with a level for accuracy
Moisture And Surface Checks
Check for moisture to avoid damage under the panels. Use a moisture meter or look for stains and damp spots.
| Check | How to Inspect | Action Needed |
|---|---|---|
| Moisture | Use moisture meter or look for damp spots | Dry wall fully before installing panels |
| Surface Flatness | Run a straight edge along the wall | Fill any dips or bumps with filler and sand smooth |
| Loose Paint or Wallpaper | Touch wall to feel for peeling or bubbles | Remove loose material before installation |
Cutting Panels To Size
Cutting wall panels to the right size is important for a neat finish. It helps the panels fit the wall perfectly.
Taking your time while measuring and cutting can save you from mistakes and wasted material.
Measuring Panels
Start by measuring the wall area where you will place the panels. Use a tape measure for accuracy.
Mark the panel where you need to cut using a pencil. Double-check your measurements before cutting.
- Measure the height and width of the wall space
- Mark panels clearly with a pencil
- Check measurements twice to avoid mistakes
Using Cutting Tools
Choose the right tool for cutting your wall panels. A handsaw or a power saw works well for most materials.
Cut slowly and follow the marked lines to get clean edges. Wear safety glasses to protect your eyes.
- Use a handsaw for small or thin panels
- Use a power saw for thick or large panels
- Cut along the pencil lines carefully
- Wear safety gear like goggles and gloves
Handling Corners And Edges
Cutting corners and edges needs extra care to fit panels well. Make small test cuts if needed.
Use a miter saw or a utility knife for angled cuts. Sand the edges smooth for a better look.
- Measure angles carefully before cutting
- Use a miter saw for precise corner cuts
- Smooth edges with sandpaper after cutting
- Test fit panels before final installation
Installing The Panels
Installing wall panels can change the look of your room quickly. It is important to place them carefully for the best result.
Good installation helps the panels last longer and stay safe on the wall.
Starting Point Selection
Choose a flat and clean wall to start installing panels. Avoid walls with bumps or moisture.
Begin at a corner or a straight edge. This helps keep the panels aligned and looks neat.
Mounting Techniques
Use nails, screws, or adhesive to mount panels. The choice depends on the panel type and wall material.
Measure and mark where each fastener will go. This keeps the panels secure and prevents damage.
- Nails or screws work well for wooden or drywall walls
- Strong adhesives suit smooth surfaces like concrete
- Use a level to keep panels straight
Securing Panels Properly
Press panels firmly against the wall after placing them. Check for gaps or uneven spots.
Fill gaps with wood filler or caulk if needed. This gives a smooth, finished look.
- Use a rubber mallet to tap panels gently into place
- Secure edges tightly to avoid movement
- Clean any excess adhesive or filler immediately
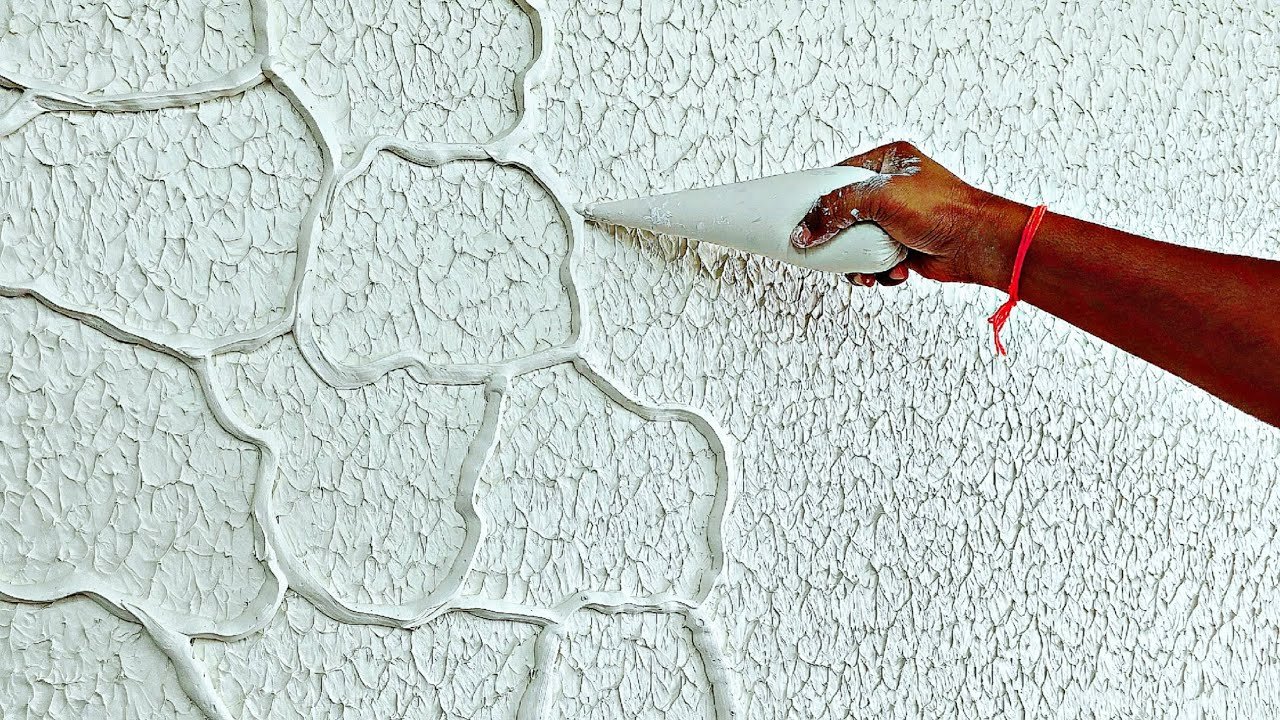
Credit: jane-athome.com
Finishing Touches
After installing wall paneling, finishing touches make it look complete. These final steps ensure a smooth and professional appearance.
This guide covers filling gaps, painting, staining, and adding trim. Each step is simple and enhances your wall paneling.
Filling Gaps And Seams
Gaps and seams may appear between panels. Filling them creates a smooth surface.
Use a caulking gun and filler to fill these areas. Smooth out with a damp cloth for an even finish.
Painting And Staining
Painting or staining your panels adds color and protects the wood. Choose a finish that suits your room's style.
Apply primer first if painting. For staining, ensure the wood is clean and sanded. Both methods require a brush or roller for application.
Adding Trim And Molding
Trim and molding add elegance to your wall paneling. They cover edges and corners, making the installation look polished.
Measure and cut trim pieces to fit. Secure them with nails or adhesive for a lasting hold. Choose styles that match your decor.
Maintenance Tips
Wall paneling adds style and warmth to any room. Keeping it clean and in good shape helps it last longer.
Follow simple steps to care for your wall panels. These tips help prevent damage and fix small problems quickly.
Cleaning Wall Panels
Use a soft cloth or microfiber duster to remove dust. For sticky spots, dampen the cloth slightly with water.
- Avoid harsh chemicals that can damage the finish.
- Do not soak panels with water; use light moisture only.
- Clean regularly to prevent buildup of dirt and grime.
Preventing Damage
Protect your panels from scratches and dents by following these tips. Keep heavy furniture away and handle items carefully near walls.
| Cause | Prevention |
| Sharp objects | Use corner guards or avoid contact |
| Moisture | Keep area dry and use sealant if needed |
| Sunlight | Use curtains or blinds to reduce fading |
Repairing Minor Issues
Fix small scratches or dents quickly to keep panels looking good. Use wood filler or touch-up markers made for your panel type.
- Clean the damaged area before repairing.
- Apply filler or marker and let it dry fully.
- Lightly sand if needed to smooth the surface.
- Apply a matching finish or sealant to protect.

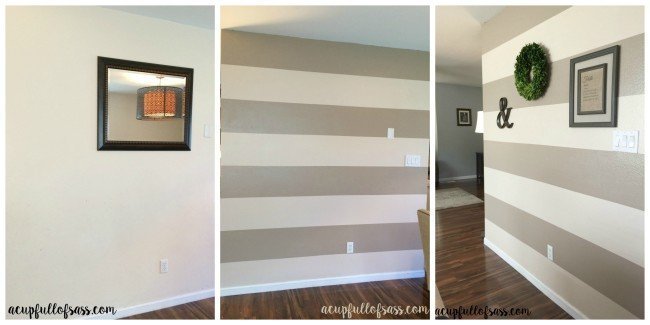
Credit: adawalls.com
Frequently Asked Questions
What Tools Do I Need To Install Wall Paneling?
You need a measuring tape, level, saw, adhesive, nails, and a hammer. These tools ensure precise cutting and secure installation of your wall paneling.
How Do I Prepare Walls Before Paneling Installation?
Clean the wall surface thoroughly and remove any nails or debris. Ensure walls are dry, smooth, and free from dust for better adhesion.
Can I Install Wall Paneling Over Wallpaper?
Yes, but remove loose wallpaper first. Ensure the surface is flat and stable to avoid bubbles or peeling after paneling installation.
How Long Does It Take To Install Wall Paneling?
Installation time varies by wall size and panel type. Typically, it takes a few hours for an average-sized room.
Conclusion
Installing wall paneling can change a room quickly and easily. Follow each step carefully for the best results. Take your time to measure and cut panels correctly. Use the right tools to keep the work smooth. Enjoy the new look and feel of your walls.
Wall paneling adds style and warmth to any space. You can do this project with patience and care. Now, your walls will look fresh and neat. Simple steps lead to great results. Give your room a brand-new touch today.