Are you ready to upgrade your bathroom with a stylish double sink vanity? Installing one might seem tricky, but you can do it yourself with the right steps.
Imagine having extra space for you and your family, making busy mornings smoother and your bathroom more functional. In this guide, you’ll discover clear, simple instructions to install a double sink bathroom vanity without stress. Keep reading to transform your bathroom and enjoy the convenience you deserve.
Tools And Materials Needed
Installing a double sink bathroom vanity requires specific tools and materials. Having everything ready helps the process run smoothly.
This guide covers all the essentials you will need before starting your installation.
Basic Tools
You will need common household tools to complete the installation. These help with measuring, cutting, and assembling parts.
- Tape measure
- Level
- Power drill with drill bits
- Adjustable wrench
- Pipe wrench
- Screwdriver set (flathead and Phillips)
- Jigsaw or handsaw
- Caulking gun
Plumbing Materials
These plumbing parts connect your vanity to water and drainage systems. Make sure they fit your bathroom setup.
| Material | Description |
| Double sink drain assembly | Includes strainers, tailpieces, and traps |
| Water supply lines | Flexible hoses for hot and cold water |
| Shutoff valves | Allows water flow control to each sink |
| Plumber’s putty or silicone sealant | Seals drain connections and prevents leaks |
Vanity And Sink Components
Your vanity and sinks come with parts you must have on hand for installation. Check that all are included before starting.
- Double sink bathroom vanity cabinet
- Two sink basins
- Countertop with pre-cut holes for sinks
- Faucets for each sink
- Mounting hardware and brackets
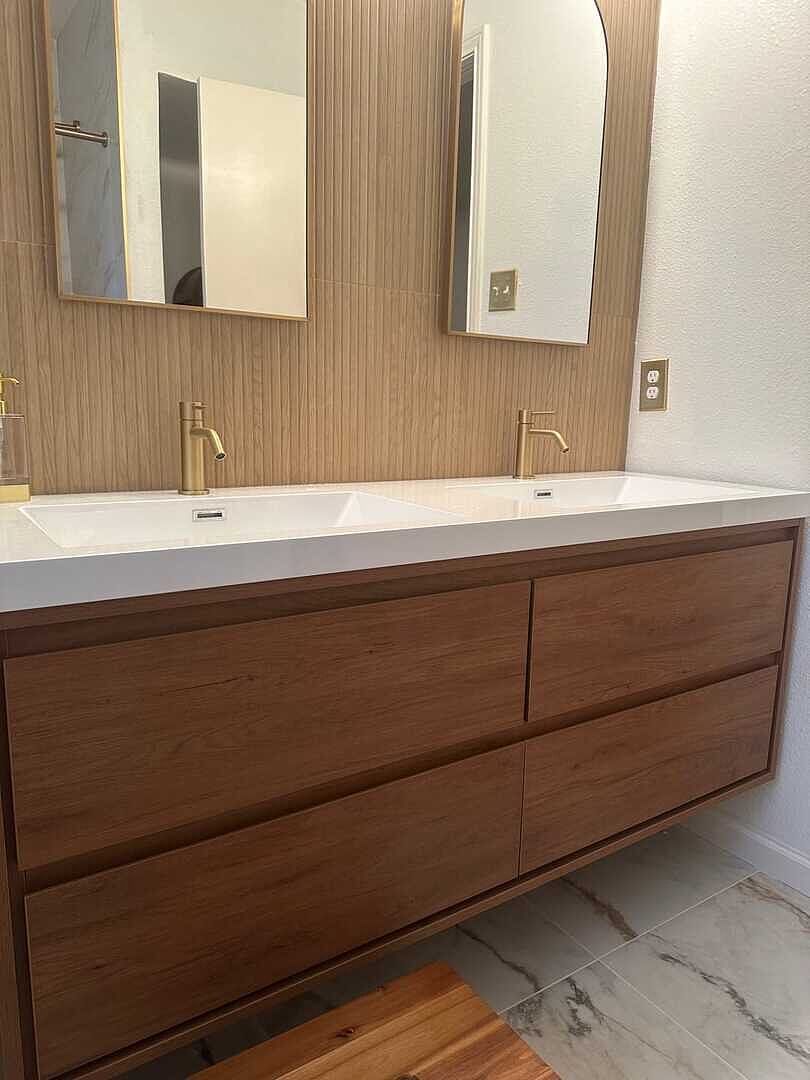
Credit: morenobath.com
Prepare The Installation Area
Preparing the space is important before installing your double sink bathroom vanity. This ensures a smooth and safe installation process.
Check the area carefully and make any needed repairs. Clear the space for the new vanity.
Remove Old Vanity
Start by disconnecting the water supply lines. Turn off the main water valve to avoid leaks.
Take out the screws or nails holding the old vanity in place. Carefully remove the vanity from the wall.
- Turn off water valves
- Disconnect supply lines and drain pipes
- Remove screws or nails
- Lift out the old vanity
- Clean the floor and wall area
Check Plumbing And Wall Condition
Inspect the pipes and wall where the vanity will go. Fix any leaks or damage before installing the new unit.
| Item | Check | Action Needed |
| Water Pipes | Leaks or corrosion | Repair or replace |
| Drain Pipes | Blockages or damage | Clear or fix |
| Wall Surface | Dryness and stability | Dry or reinforce |
| Electrical Outlets | Safety and position | Move or cover |
Assemble The Vanity Cabinet
Assembling the vanity cabinet is the first step in installing your double sink bathroom vanity. This process creates the main structure that holds everything together.
Make sure you have all parts and tools ready before you start. Follow the instructions carefully for a strong cabinet.
Attach Legs And Supports
Attach the legs to the bottom of the vanity cabinet. Legs provide stability and keep the cabinet off the floor.
Next, fix the support braces inside the cabinet. These supports help hold the weight of the sinks and countertop.
- Align legs with pre-drilled holes
- Use screws to secure legs tightly
- Install support braces evenly inside
- Check that all legs touch the floor
Install Shelves And Drawers
Install shelves inside the cabinet to create storage space. Shelves hold toiletries and cleaning supplies.
Slide the drawers into their tracks carefully. Drawers provide easy access to smaller items and keep the area neat.
- Place shelves on support pegs or brackets
- Secure shelves if needed with screws
- Align drawers with slide rails
- Push drawers fully to test smooth movement
Install The Vanity Cabinet
Installing the vanity cabinet is an important step for your double sink bathroom vanity. This guide will help you place and secure the cabinet properly.
Follow simple instructions to ensure the cabinet fits well and stays stable.
Position Cabinet Against Wall
Move the vanity cabinet close to the bathroom wall. Make sure it lines up with the plumbing fixtures. Keep space for the sinks and faucets.
Check that the cabinet sits flat on the floor. Adjust the placement so the back is flush with the wall. This helps prevent gaps and uneven surfaces.
Level And Secure Cabinet
Use a level tool to check if the cabinet is even from side to side and front to back. Make small adjustments by placing shims under the cabinet if needed.
- Place the level on top of the cabinet.
- Check for any tilt or uneven spots.
- Insert shims under low corners to raise them.
- Recheck the level until the cabinet is perfectly flat.
- Secure the cabinet to the wall studs using screws.
Make sure to find the wall studs before screwing in. This will keep the cabinet firmly attached and avoid damage to the wall.
Install The Countertop And Sinks
Installing a double sink bathroom vanity needs care and focus. This guide shows how to fit the countertop and sinks properly.
Follow simple steps to apply sealant, place the countertop, and secure the sinks tightly.
Apply Sealant
Sealant prevents water from leaking under the countertop. Use a waterproof silicone sealant for the best results.
Apply a thin, even bead of sealant along the edges of the vanity cabinet where the countertop will sit.
- Clean surfaces before applying sealant
- Use a caulk gun for smooth application
- Do not use too much sealant to avoid mess
Place Countertop
Carefully place the countertop on the vanity. Align it so the sinks fit in their cutouts.
Check that the countertop sits flat and even. Press down lightly to spread the sealant.
- Lift the countertop with help to avoid damage
- Make sure the edges line up with the vanity
- Wipe off any sealant that squeezes out
Secure Sinks
Attach the sinks firmly to the countertop. Use clips or brackets provided with the sinks.
Tighten the fasteners evenly to avoid cracks. Connect the plumbing before final tightening.
- Place sinks in cutouts carefully
- Use mounting clips under the countertop
- Check for a snug fit without gaps
- Seal around the sink edges with silicone

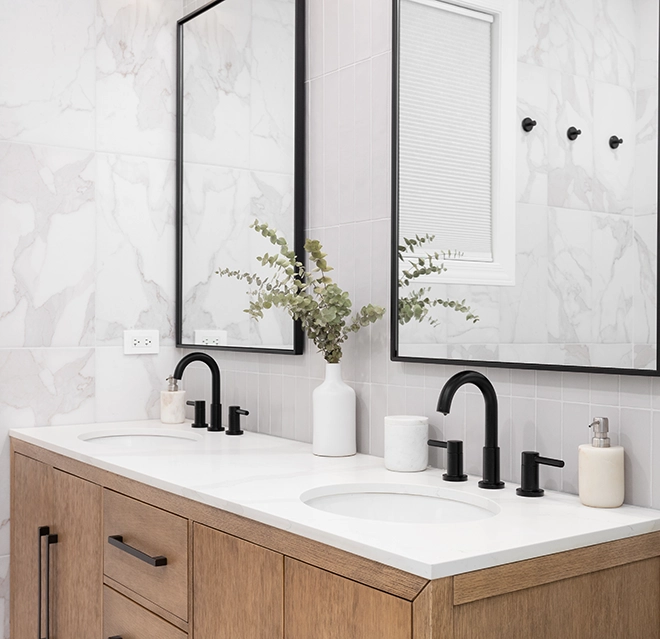
Credit: www.lowes.com
Connect The Plumbing
Installing a double sink bathroom vanity involves connecting the plumbing correctly. This guide will help you connect the faucets, water supply lines, and check for leaks.
Make sure you have all the necessary tools and materials before starting. Follow each step carefully to ensure a proper installation.
Install Faucets And Drain Assemblies
Begin by installing the faucets and attaching the drain assemblies. Make sure each part is securely fastened to avoid leaks.
- Place the faucets into the sink holes.
- Tighten the mounting nuts underneath the sink.
- Insert the drain assembly into the sink drain hole.
- Seal it with plumber’s putty to prevent leaks.
Connect Water Supply Lines
Once the faucets are in place, connect the water supply lines. This ensures water flows properly to your new sink.
| Part | Action |
| Hot water line | Connect to left faucet inlet |
| Cold water line | Connect to right faucet inlet |
| Valves | Ensure they are tightly secured |
Test For Leaks
After everything is connected, it's important to test for leaks. Turn on the water and check all connections.
Finishing Touches
Installing a double sink bathroom vanity involves careful attention to detail. Finishing touches are important for a polished look.
These final steps ensure everything is secure and aesthetically pleasing. Here’s how to complete the installation.
Caulk Edges
Caulking the edges prevents water from seeping underneath. It also gives a clean finish.
Use a silicone caulk for the best seal. Apply it evenly along the edges.
- Cut the tip of the caulk tube at a 45-degree angle
- Apply a steady bead of caulk along all joints
- Smooth with a wet finger or caulk tool for a neat finish
Install Hardware
Installing the hardware is the next step. This includes knobs, pulls, and any additional fixtures.
Hardware should be aligned properly for the best function. Use a screwdriver to secure them in place.
- Align knobs and pulls with pre-drilled holes
- Tighten screws carefully to avoid damage
- Check that all hardware moves smoothly
Clean Up Work Area
Cleaning up the work area is crucial. It ensures that the vanity looks great and is ready to use.
Remove any debris or dust from the installation. Wipe down all surfaces for a spotless finish.
- Dispose of all packaging materials properly
- Vacuum or sweep the floor around the vanity
- Use a damp cloth to clean the vanity surface
Credit: www.mrhandyman.com
Frequently Asked Questions
How Do I Prepare The Bathroom For Double Sink Vanity Installation?
Clear the area, turn off water supply, and remove the old vanity. Measure space accurately for the new vanity dimensions. Ensure plumbing aligns with the new sink locations to avoid extra adjustments.
What Tools Are Needed To Install A Double Sink Vanity?
You need a drill, adjustable wrench, screwdriver, level, plumber’s putty, silicone sealant, and pipe wrench. Measuring tape and safety gear like gloves and goggles are also essential for a safe, precise installation.
How To Connect Plumbing For Double Sink Bathroom Vanity?
Attach the supply lines to the faucet and connect the drain pipes securely. Use plumber’s tape on threaded joints to prevent leaks. Check all connections for tightness and test water flow before finalizing.
Can I Install A Double Sink Vanity Myself?
Yes, if you have basic plumbing and carpentry skills. Follow detailed instructions carefully. If unsure, consult a professional plumber to avoid costly mistakes and ensure proper installation.
Conclusion
Installing a double sink bathroom vanity can improve your space and convenience. Follow the steps carefully for a smooth process. Take your time to measure and align everything correctly. Secure all parts tightly to avoid leaks or damage. This project can add value to your home.
Enjoy the extra sink and storage space every day. Simple tools and patience make the job easier. Soon, you will have a fresh, functional bathroom setup. Keep your work area clean and safe throughout the installation. Small efforts bring great results.