Are you ready to transform your walls without drilling endless holes or cluttering your space? Hanging picture ledges is a simple, stylish way to showcase your favorite photos, artwork, or keepsakes.
But if you’ve ever wondered how to hang picture ledges on your wall the right way, you’re in the right place. In this guide, you’ll discover easy steps that save you time and frustration, ensuring your ledges look perfect and stay secure.
Keep reading, and you’ll soon have a beautiful display that turns any room into a personal gallery.

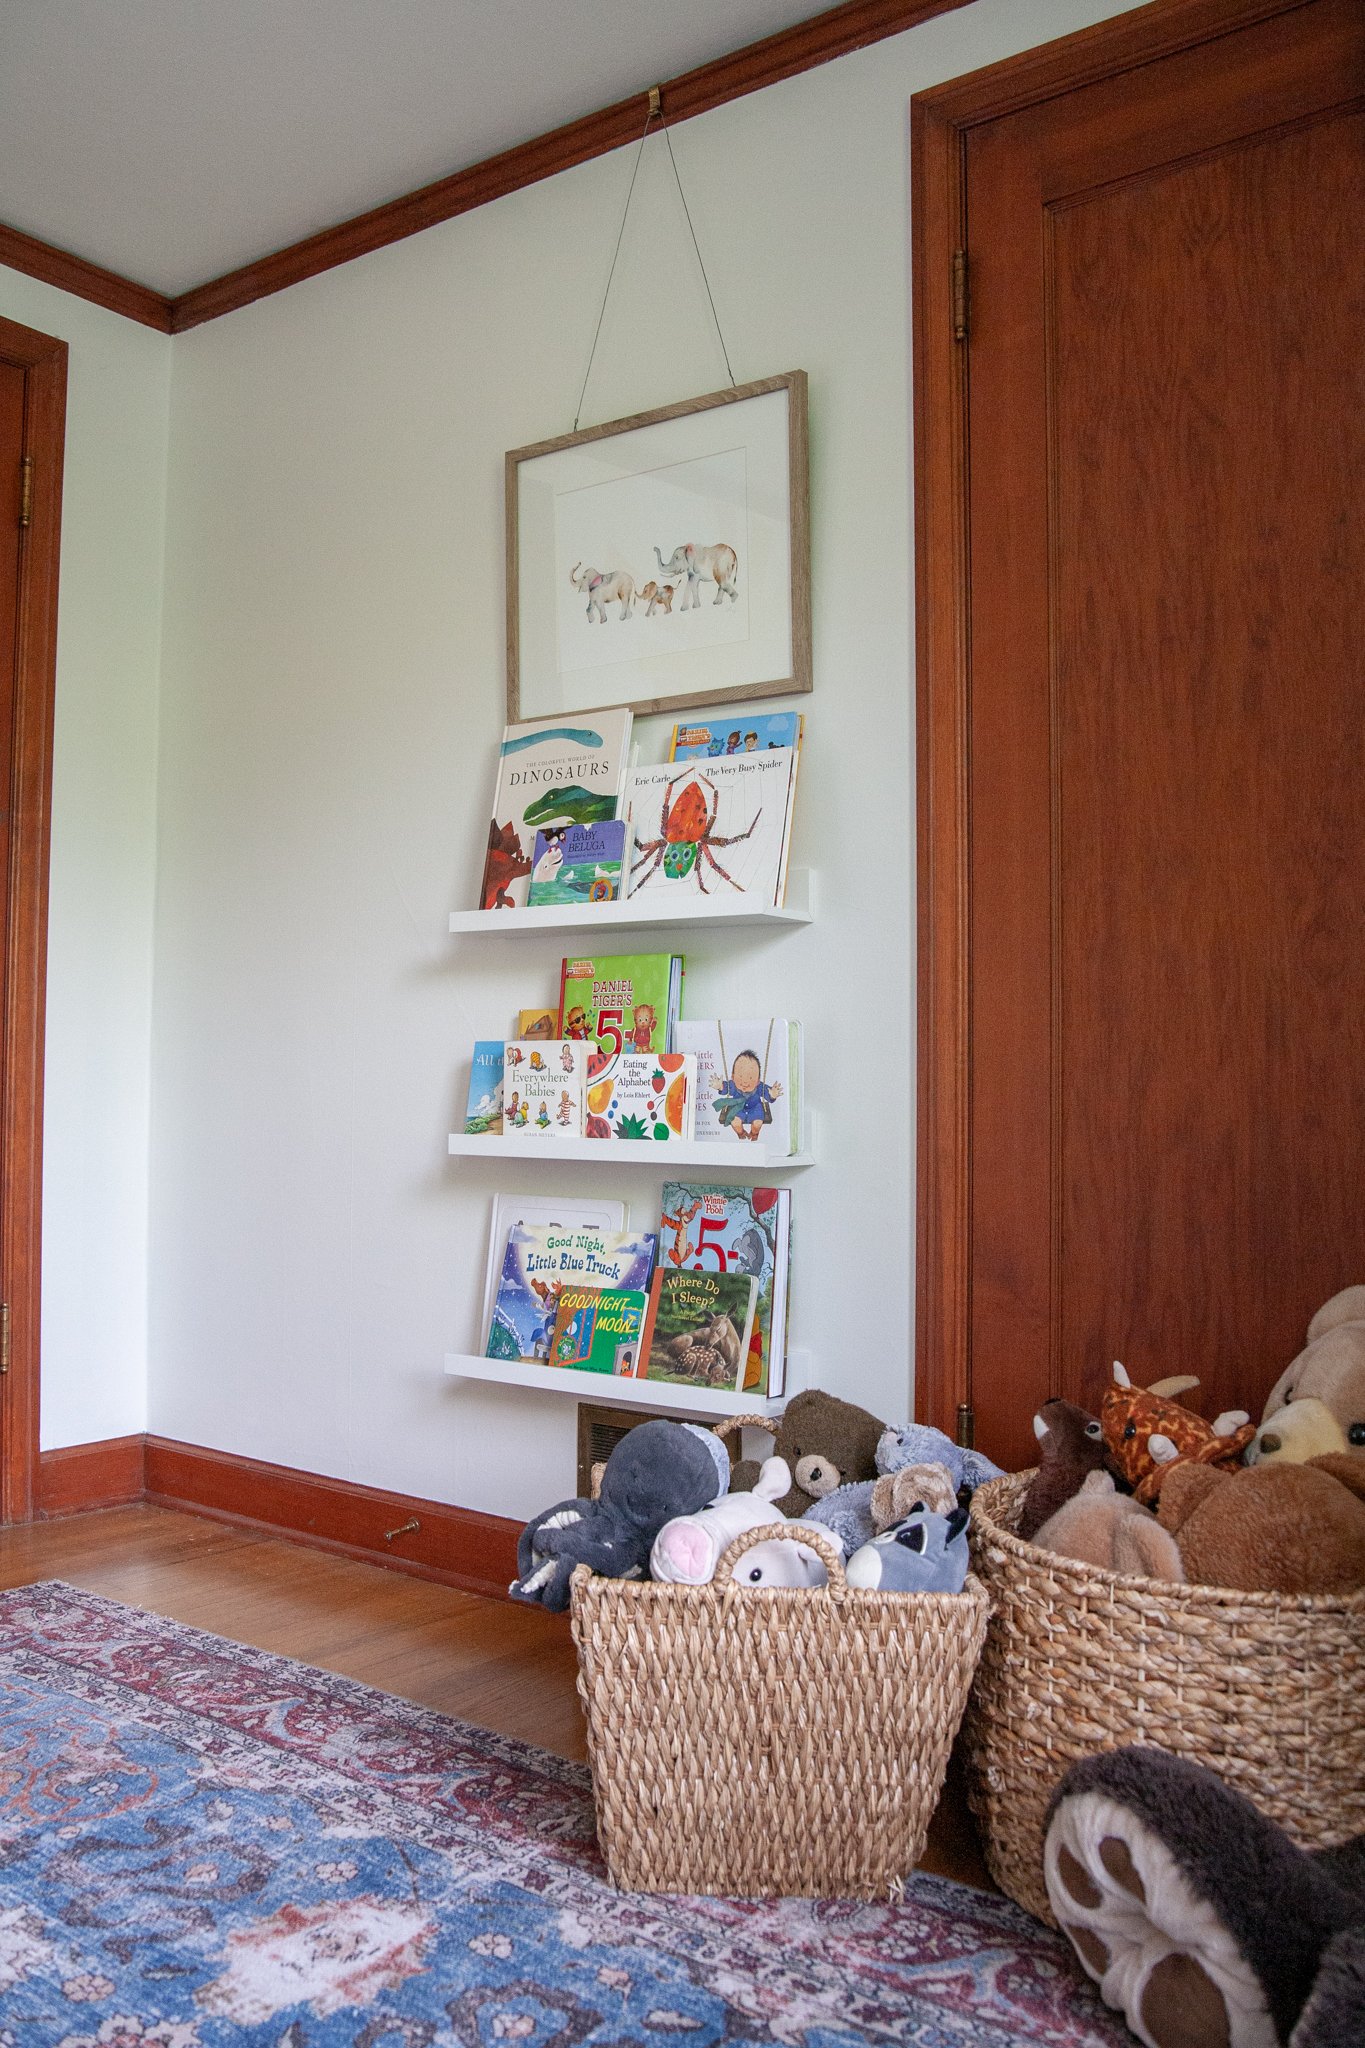
Credit: www.jessicabrigham.com
Choosing The Right Ledges
Picture ledges are a simple way to display art and photos. Choosing the right ledges helps your items look their best. It also makes sure the ledges hold up well on your wall.
This guide covers the main points to think about before buying or installing ledges. Focus on materials, styles, and the right size for your space.
Materials And Styles
Material affects both the look and strength of your ledges. Wood and metal are popular choices. Wood gives a warm, classic feel. Metal looks modern and sleek. Some ledges come painted or stained.
- Wood:Easy to paint or stain; good for traditional rooms.
- Metal:Strong and thin; fits well in modern spaces.
- Floating Ledges:Hide mounting hardware for a clean look.
- Rustic Styles:Use reclaimed wood for a natural charm.
Size And Length Considerations
Choosing the right size ledge is important for your wall space and the items you want to display. Too small or too long ledges can look unbalanced. Measure your wall before buying.
| Wall Space (Width) | Ledge Length | Recommended Use |
|---|---|---|
| Less than 24 inches | 18 to 22 inches | Small photos or art pieces |
| 24 to 48 inches | 30 to 40 inches | Multiple frames or medium artwork |
| More than 48 inches | 48 inches or longer | Large collections or wide artwork |
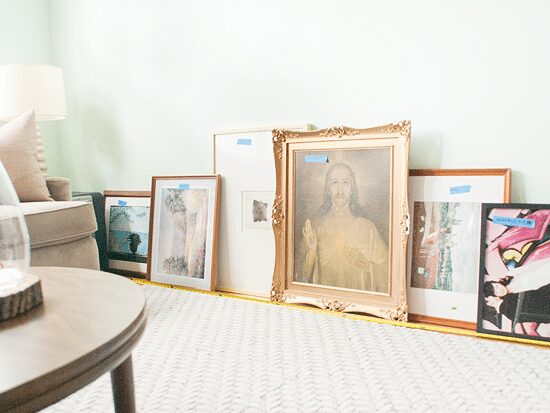
Credit: yellowbrickhome.com
Tools And Supplies Needed
Hanging picture ledges on a wall needs the right tools and supplies. Using the correct items makes the job easier and safer.
This guide lists the essential tools and some optional accessories that help you hang picture ledges properly.
Essential Tools List
These tools are needed to hang picture ledges securely on the wall. Make sure you have them before starting.
- Drill with drill bits – for making holes in the wall
- Screwdriver – to tighten screws
- Level – to keep the ledge straight
- Measuring tape – for accurate placement
- Pencil – to mark drill points
- Wall anchors – to support screws in drywall
- Screws – to attach the ledge to the wall
- Stud finder – to locate wall studs for extra support
Optional Accessories
These accessories can help make the process easier or improve the finished look. They are not always required.
- Painter’s tape – to mark spots without damaging the wall
- Rubber mallet – to gently tap anchors into the wall
- Masking tape – to hold ledges in place temporarily
- Drop cloth – to protect the floor from dust and debris
- Safety goggles – to protect eyes while drilling
- Dust mask – to avoid inhaling dust
Preparing The Wall
Hanging picture ledges starts with preparing the wall properly. This step makes sure your shelves stay safe and look great.
Careful preparation includes picking the right spot and measuring exactly where the ledges will go.
Selecting The Location
Choose a wall area that fits the size of your picture ledges. Avoid places near doors or heavy traffic to prevent damage.
- Check for studs inside the wall for strong support.
- Look for a flat, smooth surface to mount the ledges.
- Avoid walls with moisture or damage.
- Consider eye-level height for easy viewing.
- Make sure the wall space matches the length of the ledges.
Measuring And Marking
Use a tape measure and a pencil to mark where the ledges will go. Measure twice to avoid mistakes.
| Tool | Purpose | Tip |
| Tape Measure | Measure wall space and ledge length | Start from floor or ceiling |
| Level | Ensure ledge is straight | Check both ends |
| Pencil | Mark placement points | Make light marks for easy erasing |
| Stud Finder | Locate studs behind wall | Scan slowly for accuracy |
Mounting The Ledges
Hanging picture ledges on your wall adds style and storage. Proper mounting keeps ledges secure and safe. Choosing the right method depends on your wall type and weight needs.
Below are ways to mount ledges using studs or drywall anchors. Then, follow a clear installation guide to get the job done.
Using Studs Vs. Drywall Anchors
Studs offer strong support for heavy items. Drywall anchors work well for lighter loads or when studs are not available. Knowing the difference helps choose the best option.
- Studs:These are vertical wood frames behind your wall. Mounting into studs gives the ledge maximum strength.
- Drywall anchors:These expand inside the drywall to hold screws securely. They come in plastic or metal types.
- Weight limits:Stud mounting supports heavier pictures. Drywall anchors hold moderate weight but need careful selection.
- Tools needed:A stud finder is essential to locate studs. For drywall anchors, a drill and screwdriver are required.
Step-by-step Installation
Follow these steps to hang your picture ledges safely and straight. Gather your tools and hardware before starting.
- Use a stud finder to locate studs or mark spots for drywall anchors.
- Hold the ledge against the wall at your desired height and mark screw holes.
- If using studs, drill pilot holes on the marks. If drywall anchors, drill holes for the anchors.
- Insert drywall anchors into the holes if needed.
- Align the ledge with the holes and screw it into place securely.
- Check the ledge is level and adjust screws if necessary.
| Tool | Use |
|---|---|
| Stud finder | Locate studs behind the wall |
| Drill | Create holes for screws or anchors |
| Screwdriver | Tighten screws securely |
| Level | Ensure ledge is straight |
Ensuring Level And Stability
Hanging picture ledges requires careful attention to keep them level and stable. Proper leveling prevents your items from sliding off or looking crooked.
Stability is key to make sure the ledges hold weight safely. Follow these tips to hang ledges that look good and stay strong.
Leveling Tips
Use the right tools to find a perfect level line on your wall. This helps the ledge sit straight and hold your pictures evenly.
- Mark the wall with a pencil using a spirit level or laser level.
- Measure equal distances from a fixed point like the floor or ceiling.
- Double-check your marks before drilling holes.
- Use a level again after fixing screws to confirm alignment.
Securing The Ledges Firmly
Strong mounting keeps the ledges from wobbling or falling. Choose anchors and screws that fit your wall type and ledge weight.
| Wall Type | Recommended Anchor | Tip |
| Drywall | Toggle or Molly bolts | Use anchors rated for the ledge weight |
| Brick or Concrete | Plastic anchors with masonry screws | Drill pilot holes with masonry bit |
| Wood Stud | Wood screws | Secure directly into studs for best hold |
Styling Your Display
Picture ledges offer a flexible way to style your walls. You can change the display anytime.
Let's explore how to arrange your items to create a stunning display.
Arranging Pictures And Decor
Mixing different sizes and shapes adds interest. Consider balance and symmetry.
- Start with larger pieces as anchors
- Fill gaps with smaller frames or objects
- Leave some space for a clean look
Mixing Frames And Objects
Diverse frames and objects enhance the visual appeal. Choose colors and textures that complement each other.
| Frame Type | Suggested Object |
| Wooden Frame | Ceramic Vase |
| Metal Frame | Glass Figurine |
| Black Frame | Colorful Book |
Maintaining Your Ledges
Picture ledges are a great way to display artwork and photos. Keeping them clean and secure is important.
Regular maintenance ensures they stay looking nice. Here’s how to maintain them effectively.
Cleaning Tips
Dust can collect on ledges. Regular cleaning helps them look fresh and neat.
Use a soft cloth or duster to remove dust. Avoid using water or liquids.
- Dust weekly to prevent buildup
- Use a microfiber cloth for delicate surfaces
- Do not use harsh chemicals
Periodic Checks
Check your ledges regularly. Make sure they are still secure and level.
Loose screws or unbalanced ledges can be dangerous. Fix them immediately.
- Inspect monthly for loose screws
- Ensure ledges are level
- Tighten screws as needed
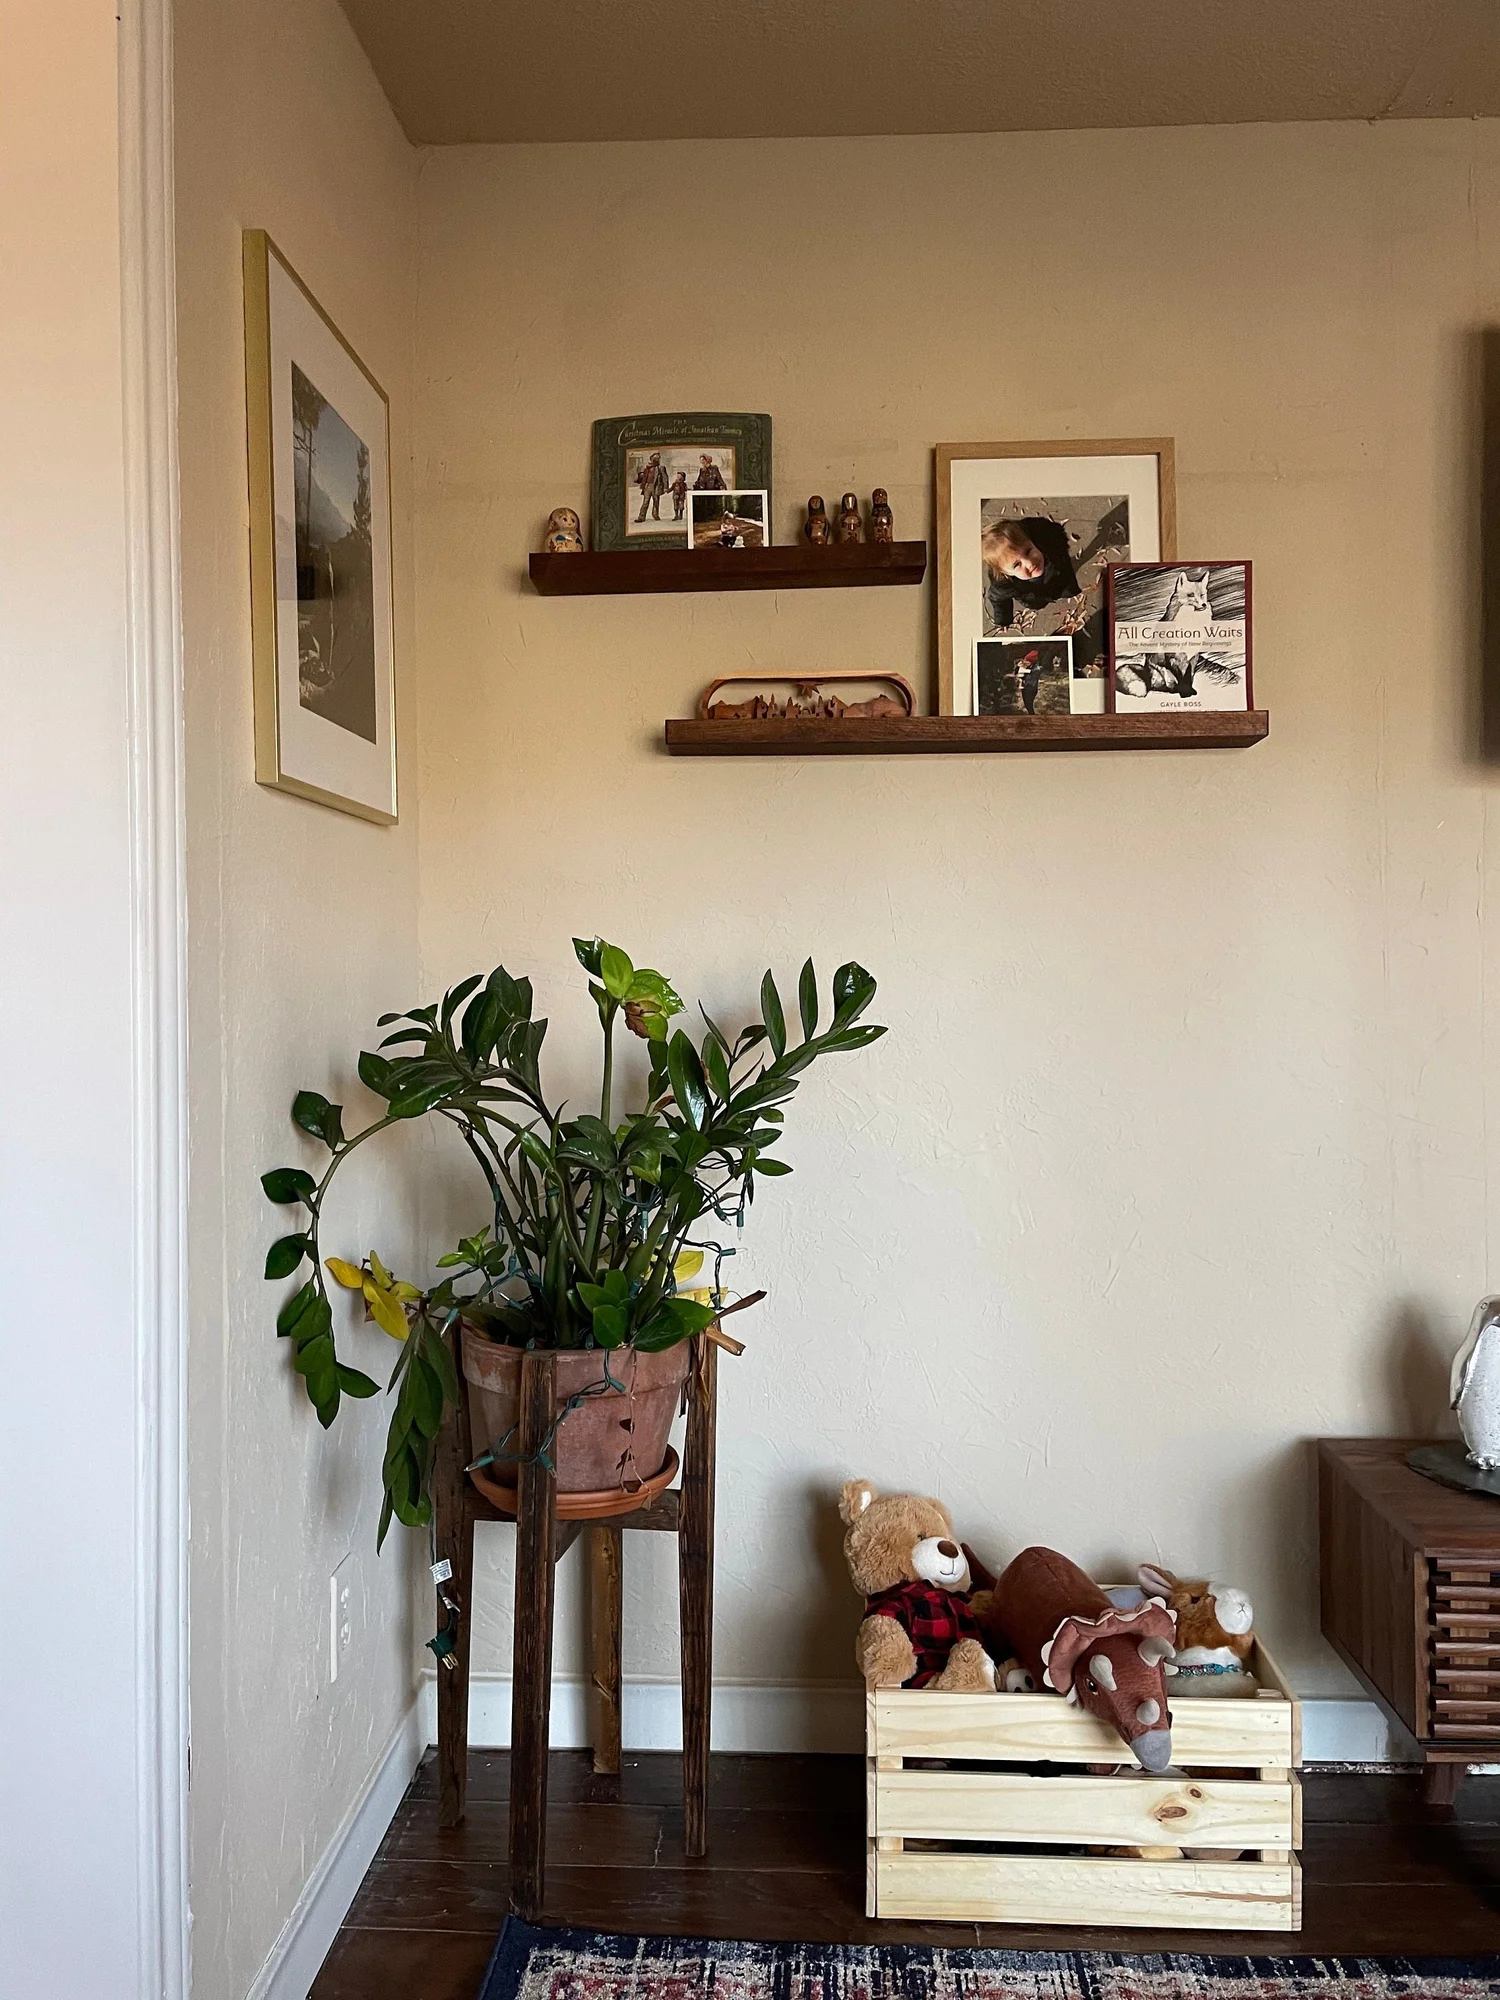
Credit: www.hurdandhoney.com
Frequently Asked Questions
How Do I Find Studs To Hang Picture Ledges?
Use a stud finder to locate wooden studs behind the wall. Mark the stud positions with a pencil. Anchoring ledges into studs ensures strong support and prevents damage or falling.
What Tools Do I Need To Hang Picture Ledges?
You need a drill, level, measuring tape, pencil, screws, wall anchors, and a screwdriver. These tools help you measure accurately and install ledges securely and evenly.
Can I Hang Picture Ledges On Drywall Without Studs?
Yes, use heavy-duty wall anchors designed for drywall. These anchors hold the screws firmly and support the ledge weight safely without relying on studs.
How High Should I Mount Picture Ledges?
Mount ledges at eye level or slightly above, around 57 to 60 inches from the floor. This height allows easy viewing and access for placing pictures or decorations.
Conclusion
Hanging picture ledges on your wall is simple and rewarding. Measure carefully and use the right tools for best results. Choose the right spot to highlight your favorite photos or art. Secure the ledges firmly to avoid any accidents. With these steps, your space will look fresh and stylish.
Try different arrangements to find what suits your room best. Enjoy your new display and the personal touch it brings. Small changes can make a big difference in your home’s look.