

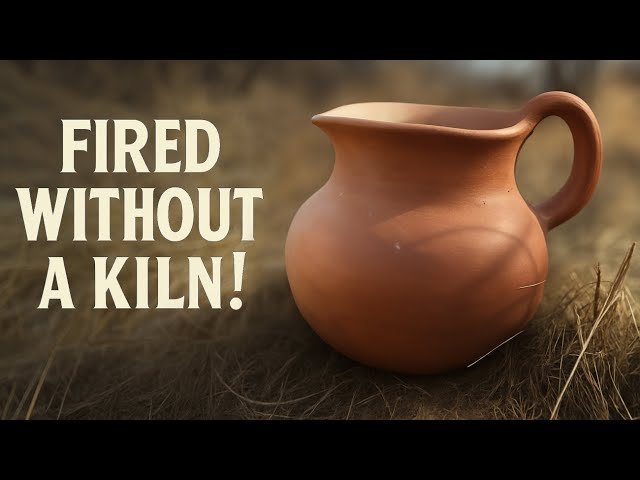
Have you ever wondered how you can turn your pottery clay into beautiful, durable creations right at home? Firing pottery clay is the key step that transforms your soft, fragile pieces into strong, lasting art.
But if you’re new to this, the process might seem tricky or expensive. Don’t worry—this guide will show you simple, practical ways to fire your pottery clay without needing a professional kiln. By the end, you’ll feel confident to bring your clay projects to life with your own hands.
Ready to discover how easy and rewarding firing pottery clay at home can be? Let’s dive in!
Choosing The Right Clay
Firing pottery clay at home starts with picking the right clay. Each clay type has unique features. These affect how your pottery looks and lasts after firing.
Knowing the clay types helps you choose the best one for your home kiln. This guide covers common clays and those good for home firing.
Types Of Pottery Clay
Pottery clay comes in many forms. Each type changes in texture, color, and firing temperature. Here are the main types:
- Earthenware:Low firing, porous, usually red or brown.
- Stoneware:Medium to high firing, dense, often gray or brown.
- Porcelain:High firing, white, smooth, and very strong.
- Ball Clay:Plastic and smooth, often mixed with other clays.
- Fire Clay:Heat-resistant, used in kiln bricks and some pottery.
Clay Suitable For Home Firing
Not all clays work well with small home kilns. You want clays that fire at lower temperatures. This saves energy and reduces cracking risk.
| Clay Type | Firing Temperature | Best For |
|---|---|---|
| Earthenware | 1,000 - 1,150°C (1,832 - 2,102°F) | Beginners, decorative pieces |
| Low-fire Stoneware | 1,100 - 1,200°C (2,012 - 2,192°F) | Durable pots, functional ware |
| Porcelain | 1,200 - 1,400°C (2,192 - 2,552°F) | Advanced firing, fine pottery |
Preparing Your Workspace
Firing pottery clay at home needs a clean and safe workspace. Setting up well helps you work better and stay safe.
Organize your area before you start. This makes the process smooth and avoids accidents.
Safety Precautions
Firing pottery involves heat and chemicals. Protect yourself by following safety rules.
Keep fire extinguishers nearby. Work in a well-ventilated space to avoid smoke buildup.
- Wear heat-resistant gloves and safety glasses
- Keep children and pets away from the kiln
- Have a clear fire escape route
- Do not leave the kiln unattended while firing
- Use a smoke detector in your workspace
Required Tools And Equipment
Gather all necessary tools before you start firing. This saves time and keeps things organized.
You need equipment that can handle high temperatures safely and properly.
- Electric or gas kiln for firing clay
- Heat-resistant gloves to handle hot items
- Protective eyewear to shield from heat and debris
- Thermocouples or pyrometers to monitor temperature
- Fire bricks or kiln shelves to support pottery
- Ventilation system or exhaust fan
- Fire extinguisher for emergencies
Shaping Your Pottery
Shaping pottery clay is a key step in creating your own ceramic pieces. It allows you to form the basic structure before firing.
Good shaping makes your pottery strong and beautiful. Use simple tools and steady hands to get the best results.
Basic Techniques
Start shaping by hand or with a pottery wheel. Pinching, coiling, and slab building are common methods. Each technique gives a different look and feel.
- Pinching:Press your thumb into the clay ball and pinch the walls evenly.
- Coiling:Roll clay into long ropes and stack them to build shapes.
- Slab building:Roll clay flat and cut shapes to join together.
Tips For Even Thickness
Keeping your pottery walls even helps prevent cracks during firing. Use tools to measure and shape the clay carefully.
| Tip | Description |
| Use Calipers | Measure the thickness of your pottery walls regularly. |
| Consistent Pressure | Apply equal pressure when shaping by hand or wheel. |
| Check with Fingers | Feel for thin or thick spots as you work. |
| Trim Excess Clay | Remove extra clay from the base or walls to keep uniform thickness. |
Drying Your Pottery
Drying is a key step before firing pottery clay at home. Proper drying helps keep your piece strong and ready for the kiln.
Slow and even drying prevents damage. It takes time but protects your work from breaking.
Optimal Drying Conditions
Keep your pottery in a cool, dry place with good air flow. Avoid direct sunlight or heat sources.
Maintain a stable environment. Sudden changes in temperature or humidity can cause problems.
- Place pottery on shelves or boards to allow air circulation
- Use a fan to gently move air if the room is still
- Keep the room temperature between 60-75°F (15-24°C)
- Avoid drafts from open windows or vents
Avoiding Cracks And Warping
Cracks and warping happen when pottery dries unevenly or too fast. Take steps to slow drying.
Cover your pottery lightly with plastic to keep moisture in. Remove the cover slowly over several days.
- Dry pottery on a flat, stable surface
- Turn pieces occasionally for even drying
- Use damp cloths or plastic covers to slow drying
- Do not stack pieces while drying
Firing Methods At Home
Firing pottery clay at home can be a rewarding experience. There are several methods to explore, each with its own unique benefits.
Whether you have a kiln or not, you can still enjoy creating pottery. Let's look at some popular options for firing clay at home.
Using A Kiln
Using a kiln is the most common way to fire pottery. Kilns provide controlled heat, ensuring even firing of your clay pieces.
Electric kilns are easy to use and widely available. They offer precise temperature settings, which is ideal for beginners.
- Electric kilns are safe for home use
- Gas kilns offer faster firing times
- Wood kilns give pottery a unique texture
Alternative Firing Options
If you don't have a kiln, there are other ways to fire your pottery. These methods can be just as effective and add character to your creations.
Raku firing is a popular alternative. It involves removing pottery from the kiln while it is still hot and placing it in a container with combustible materials.
- Raku firing produces beautiful crackled glazes
- Pit firing uses a hole in the ground as the kiln
- Smoke firing adds a natural, smoky finish

Firing Process Steps
Firing pottery clay at home needs care and patience. The firing process turns soft clay into hard pottery.
Each step in firing affects the final strength and look of your pottery. Follow these steps for good results.
Loading Pottery Safely
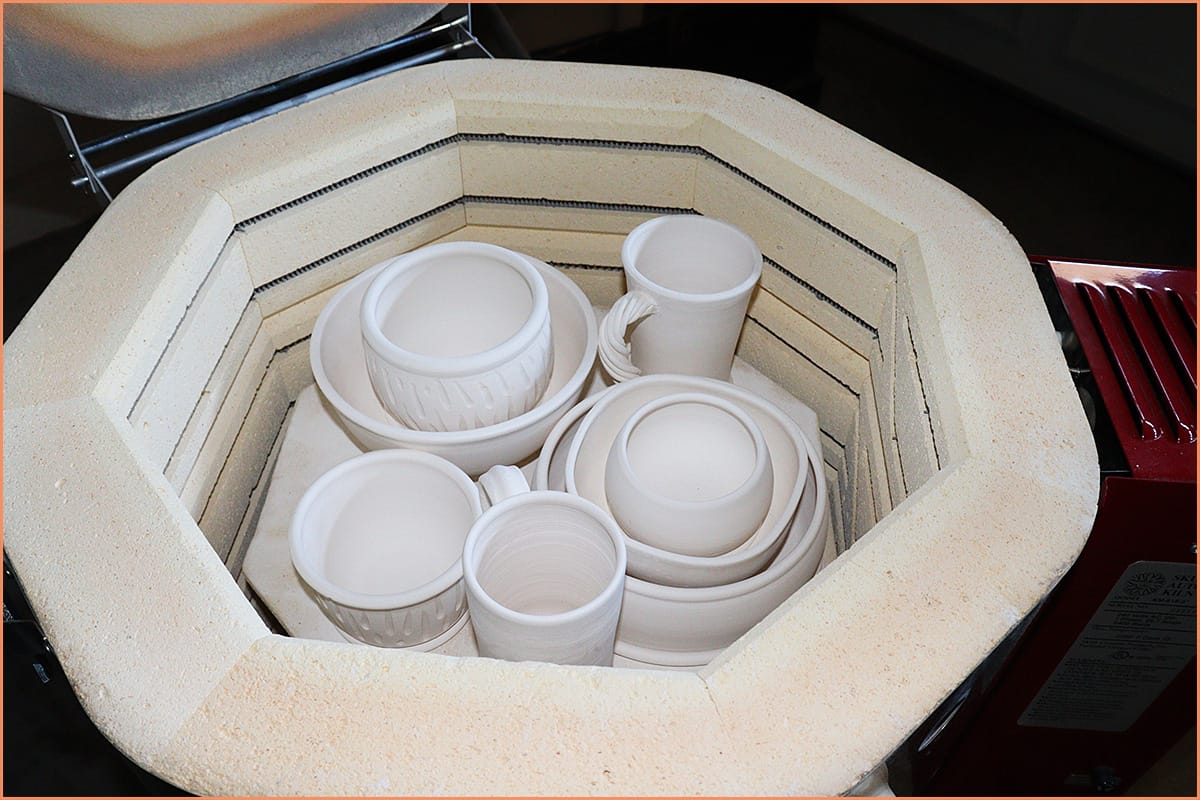
Place pottery pieces in the kiln with space between them. This helps heat reach all sides evenly.
Use kiln shelves and stilts to keep pieces stable. Avoid stacking pottery to prevent damage.
- Check that pieces do not touch each other
- Keep larger pieces at the bottom
- Use kiln wash on shelves to protect them
- Handle pottery gently to avoid cracks
Temperature Control
Heat the kiln slowly to prevent pottery from breaking. Rapid changes cause cracks or explosions.
Follow the recommended temperature for your clay type. Use a kiln controller or pyrometer for accuracy.
- Start with a low temperature for drying
- Increase heat gradually to the target temperature
- Hold temperature for the required time
- Do not exceed the clay’s firing temperature
Cooling Down Properly
Let the kiln cool down slowly after firing. Sudden cooling can cause cracks in your pottery.
Keep the kiln closed until it reaches room temperature. Remove pieces only when they are fully cool.
- Turn off the kiln and allow it to cool inside
- Do not open the kiln early to check pottery
- Wait at least 8 hours or overnight for cooling
- Handle cooled pottery with care to avoid damage
Glazing And Second Firing
Firing pottery clay at home requires two stages. First, you create the piece. Next, you glaze and fire it again. Glazing adds color and shine to your pottery. The second firing sets the glaze.
Getting the glazing and firing right is important. It can change how your pottery looks. Let's explore how to glaze and fire your pottery at home.
Choosing The Right Glaze
Picking the right glaze is key for beautiful pottery. Glazes come in different colors and finishes. Choose one that fits your style.
Consider how the glaze will look after firing. Some glazes change color in the kiln. Read the glaze instructions carefully.
- Glossy glazes shine brightly
- Matte glazes have a soft look
- Transparent glazes show the clay color
Applying Glaze Evenly
Applying glaze evenly is crucial. Uneven glaze can lead to bad results. Use a brush or dip the pottery for even coverage.
Make sure the pottery is clean before glazing. Dirt can ruin the finish. Apply the glaze in thin, even layers.
- Use a soft brush for small areas
- Dip pottery for complete coverage
- Check for drips and clean them
Firing After Glazing
After glazing, it's time for the second firing. This is when the glaze sets and becomes shiny. Use a kiln for this step.
Set the kiln to the right temperature. Different glazes need different temperatures. Follow the instructions on the glaze package.
| Glaze Type | Temperature |
| Low-fire glaze | 1,800°F - 2,100°F |
| Mid-fire glaze | 2,100°F - 2,300°F |
| High-fire glaze | 2,300°F - 2,400°F |
Troubleshooting Common Issues
Firing pottery clay at home can bring great satisfaction. Still, some problems may arise during the process. Fixing these issues helps improve your final pieces.
Below are common firing problems and ways to solve them for better results in your pottery work.
Cracks And Breaks
Cracks and breaks happen when clay dries or fires unevenly. Stress builds up inside the piece causing it to split.
- Ensure even thickness of your clay walls.
- Let the clay dry slowly at room temperature before firing.
- Use proper firing speed; avoid heating too fast.
- Check your clay body for too much moisture or air bubbles.
- Use a kiln with good temperature control.
Uneven Firing
Uneven firing causes parts of your pottery to be under or over-fired. This leads to weak or brittle areas.
| Cause | Effect | Solution |
| Incorrect kiln placement | Uneven heat distribution | Arrange pieces with space around them |
| Faulty kiln elements | Hot or cold spots | Check and replace heating elements |
| Overcrowding | Poor air circulation | Fire fewer pieces at a time |
| Wrong firing schedule | Uneven temperature rise | Use recommended firing ramps and holds |
Glaze Problems
Glaze may blister, crawl, or look dull. These issues affect the look and feel of your pottery.
Common glaze problems and fixes:
- Blistering:Caused by trapped gases. Fire slower or clean bisque ware well.
- Crawling:Glaze pulls away from clay. Avoid thick glaze layers and ensure clean surfaces.
- Dull glaze:Underfiring or glaze formula error. Check firing temperature and glaze recipe.
- Pitting:Air bubbles in glaze. Stir glaze carefully and sieve before use.
Maintaining Your Firing Equipment
Keeping your pottery firing equipment in good shape is very important. It helps your kiln work well and last longer. Regular care saves you money and avoids problems during firing.
This guide covers simple cleaning tips and regular maintenance tasks. Follow these to keep your kiln safe and efficient at home.
Cleaning Tips
Clean your kiln after every use. Dust and debris can build up and cause damage or uneven heating. Use soft brushes and cloths to remove dust from inside the kiln.
- Remove leftover clay and glaze from shelves and kiln floor.
- Vacuum dust carefully without scratching surfaces.
- Wipe down the kiln’s exterior with a dry cloth.
- Check and clean the kiln vent for blockages.
Regular Maintenance
Perform regular checks to keep parts working well. Replace worn parts quickly to avoid bigger repairs. Keep a log to track maintenance dates and tasks.
| Maintenance Task | Frequency | Notes |
| Inspect heating elements | Every 6 months | Look for cracks or breaks |
| Check kiln shelves | Monthly | Replace if cracked or warped |
| Test thermocouples | Every 3 months | Ensure accurate temperature readings |
| Lubricate door hinges | Every 3 months | Use high-temperature lubricant |

Frequently Asked Questions
What Temperature Is Needed To Fire Pottery Clay At Home?
The ideal firing temperature depends on the clay type. Earthenware fires at 1,800°F, stoneware at 2,200°F. Use a kiln with accurate temperature control for best results.
Can I Fire Pottery Clay Without A Kiln?
Yes, you can use alternatives like a home oven or pit firing. However, results may vary, and proper temperature control is crucial for durability.
How Long Does It Take To Fire Pottery Clay?
Firing usually takes 6 to 12 hours, including heating and cooling. Slow, controlled firing prevents cracks and ensures stronger pottery pieces.
Is It Safe To Fire Pottery Clay At Home?
Firing pottery requires proper ventilation and safety gear. Follow kiln instructions and maintain a clean workspace to avoid accidents and harmful fumes.
Conclusion
Firing pottery clay at home can be simple and rewarding. You only need basic tools and patience. Controlling temperature carefully protects your work from cracks. Watch your kiln or oven closely during the process. Practice helps you improve with each firing.
Soon, you will create beautiful pottery pieces yourself. Enjoy the creative journey and the unique results. Keep experimenting and learning as you go. Pottery at home brings joy and satisfaction. Give it a try and see what you make!






