Have you ever wanted to bring your clay creations to life with a professional finish without leaving your home? Firing clay can seem tricky, but with the right steps, you can achieve beautiful, durable pieces right in your own space.
Imagine turning your handmade pottery, sculptures, or art projects into lasting works of art. In this guide, you’ll discover simple, practical ways to fire clay safely and effectively at home. Keep reading, and you’ll unlock the secrets to mastering this rewarding craft with confidence.
Choosing The Right Clay
Firing clay at home needs careful choice of the clay type. The right clay affects the success of your project. Some clays work better with home kilns or ovens.
Understanding clay types helps you pick the best one for your firing method. This guide covers common clays and their firing suitability.
Types Of Clay For Home Firing
There are several clay types suitable for home firing. Each type has different firing temperatures and textures. Knowing them helps you avoid cracks and breaks.
- Earthenware Clay:Fires at low temperatures, usually below 1200°C. It is porous and often needs glazing.
- Stoneware Clay:Fires at higher temperatures, between 1200°C and 1300°C. It is strong and less porous.
- Porcelain Clay:Requires very high temperatures, above 1300°C. It is smooth and translucent but harder to fire at home.
- Raku Clay:Designed for rapid cooling and special firing methods. It cracks easily in slow firings.
Clay Suitability For Kiln And Oven
| Clay Type | Suitable for Kiln | Suitable for Oven | Notes |
| Earthenware | Yes | Limited | Low firing temp fits some ovens but slow and uneven heat can cause issues. |
| Stoneware | Yes | No | Needs high heat that ovens can’t reach. |
| Porcelain | Yes | No | Very high temperatures needed, not for ovens. |
| Raku | Yes | No | Requires quick heating and cooling, best in specialized kilns. |
Choose clay based on your firing equipment. Kilns offer controlled heat for most clays. Ovens can work with some earthenware clays but expect limits.
Credit: www.leelachakravarti.com
Essential Tools And Equipment
Firing clay at home needs the right tools and equipment. Proper choices make the process safe and effective.
This guide covers key equipment options and safety gear for your workspace setup.
Kiln Vs. Alternative Firing Methods
A kiln is a common choice for firing clay. It heats evenly and reaches high temperatures needed for durable pottery.
Alternative methods include pit firing, raku, and pit kilns. These are less expensive but need more care and skill.
| Firing Method | Heat Source | Max Temperature | Cost |
| Electric Kiln | Electricity | Up to 2400°F (1300°C) | High |
| Gas Kiln | Natural Gas | Up to 2500°F (1370°C) | Moderate |
| Pit Firing | Wood or Charcoal | Up to 1500°F (815°C) | Low |
| Raku | Wood or Gas | Up to 1800°F (980°C) | Low |
Safety Gear And Workspace Setup
Wear safety gear to protect your skin, eyes, and lungs during firing. Set up your workspace to avoid accidents.
- Heat-resistant gloves to handle hot items
- Protective goggles to shield eyes from heat and debris
- Respirator mask to avoid inhaling dust and fumes
- Fire extinguisher nearby for emergencies
- Clear, ventilated area free of flammable materials
- Stable, heat-safe surface for kiln or firing pit
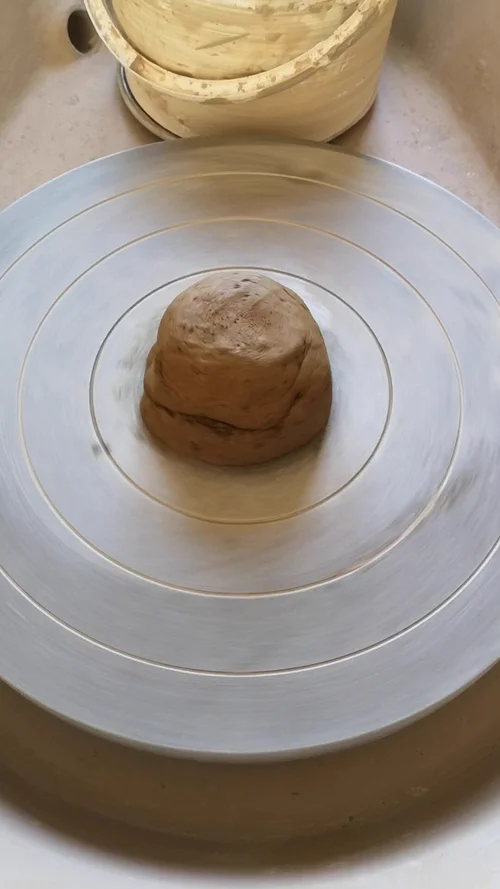
Preparing Your Clay Pieces
Preparing your clay pieces well is important for a successful firing. Good preparation helps avoid damage and improves the final result.
This section covers drying and cleaning your clay and how to prevent cracks and bubbles.
Drying And Cleaning
Dry your clay pieces slowly to stop warping or breaking. Clean the pieces before firing to remove dust and oils.
- Place pieces in a cool, dry place away from direct sunlight.
- Turn pieces regularly to dry evenly.
- Use a soft brush to remove any dust or dirt.
- Wipe the surface gently with a damp sponge if needed.
- Make sure pieces are completely dry before firing.
Avoiding Cracks And Bubbles
Cracks and bubbles can ruin your clay pieces during firing. Careful preparation helps stop these problems.
| Cause | How to Avoid |
| Trapped air bubbles | Knead clay well to remove air before shaping |
| Uneven drying | Dry pieces slowly and evenly, turn regularly |
| Too thick clay | Keep walls and bottoms thin and uniform |
| Rapid temperature changes | Fire pieces slowly, use a kiln with controlled heat |
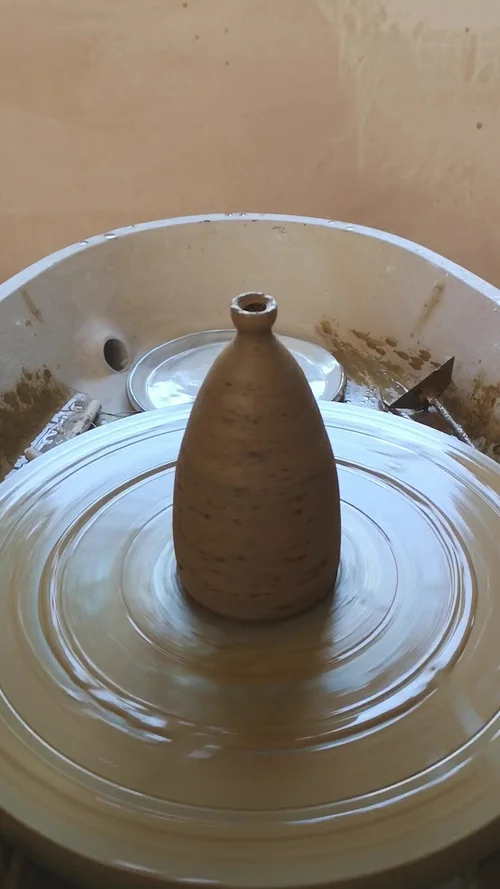
Credit: myslice.ca
Firing Techniques At Home
Firing clay at home can be a rewarding experience. You can use several methods to achieve great results. Each method has unique benefits and challenges.
This guide covers three popular techniques. Whether you use a kiln, an oven, or try pit and Raku firing, you’ll find helpful tips here.
Using A Home Kiln
A home kiln is a popular choice for firing clay. It allows for precise temperature control. This results in consistent outcomes for your pottery projects.
| Feature | Benefit |
| Temperature Control | Ensures consistent results |
| Variety of Sizes | Fits different project needs |
| Safety Features | Reduces risk of accidents |
Oven Firing Methods
Oven firing is a simple technique for small clay pieces. It uses a kitchen oven. This method is convenient for beginners.
- Preheat your oven to the required temperature.
- Place your clay pieces on a baking sheet.
- Fire for the recommended time.
- Let the clay cool slowly inside the oven.
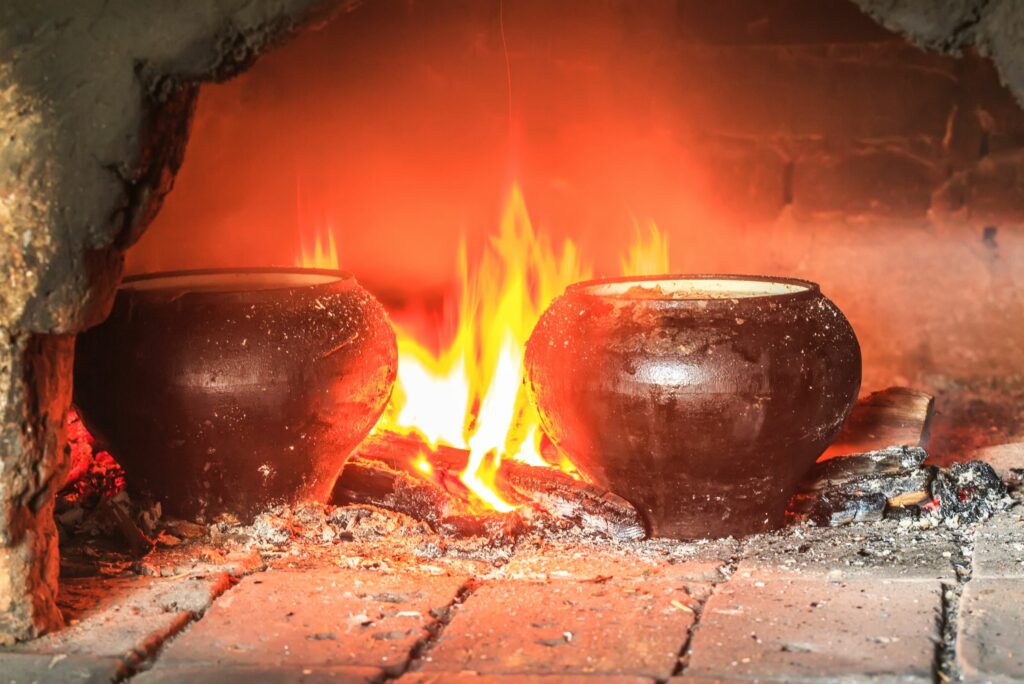
Pit And Raku Firing Basics
Pit firing and Raku are traditional methods. They involve open flames and create unique finishes. These methods are great for artistic expression.
Safety is crucial when using open flames. Always have a fire extinguisher nearby and wear protective gear.
Firing Schedule And Temperature Control
Firing clay at home requires careful management of temperature. This ensures your creations come out strong and beautiful.
Understanding the firing schedule helps you control the heating and cooling process. This keeps your clay safe from cracking.
Ramp Up And Cool Down Times
The ramp-up time is how quickly the kiln heats. The cool-down time is how slowly it returns to room temperature. Both are crucial for avoiding stress in the clay.
- Begin with a slow ramp-up to 200°C (392°F) to remove water.
- Increase to 600°C (1112°F) to begin the bisque phase.
- Raise to the final temperature required for your clay type.
- Allow the kiln to cool gradually to room temperature.
Monitoring Temperature Accurately
Accurate temperature monitoring is important for consistent results. Use a reliable thermometer for this.
Consider using a digital pyrometer for precise readings.
Place thermocouples at different kiln levels for accurate temperature mapping.
| Stage | Target Temperature |
| Water Removal | 200°C (392°F) |
| Bisque Phase | 600°C (1112°F) |
| Final Firing | Varies by clay type |
Glazing And Decorating Tips
Glazing clay adds color and shine to your pottery. It also helps protect the surface. Decorating with glaze lets you create unique designs.
Knowing how to choose and apply glaze will improve your fired clay pieces. Always follow safety and firing instructions carefully.
Choosing Safe Glazes
Choose glazes labeled safe for home firing. Avoid glazes with harmful chemicals like lead or cadmium. These can release toxins when fired.
Look for glazes tested for food safety if you plan to use your pottery for eating or drinking. Check the firing temperature range on the package.
- Use non-toxic, lead-free glazes
- Check if glazes are food safe
- Match glaze to your kiln’s firing temperature
- Buy from trusted ceramic suppliers
Applying Glaze Before Firing
Apply glaze on clean, dry clay to get smooth results. Remove dust or grease before glazing. This helps the glaze stick well.
Use brushes, dipping, or pouring to apply glaze. Apply even coats and avoid thick spots. Let the glaze dry completely before firing.
- Clean pottery surface before glazing
- Apply glaze evenly with brush or dip
- Remove extra glaze from base to avoid sticking
- Let glaze dry fully before firing
Troubleshooting Common Issues
Firing clay at home can lead to some common problems. These issues affect the look and strength of your pieces.
Knowing how to fix these problems helps you get better results with each firing session.
Handling Cracks And Warping
Cracks and warping happen when clay dries or fires unevenly. This can make your piece weak or misshaped.
To avoid cracks, dry your clay slowly and evenly. Keep the temperature changes in the kiln gradual to prevent warping.
- Cover pieces with plastic to slow drying
- Avoid very thin areas in your design
- Use a kiln with controlled temperature settings
- Place pieces on kiln shelves that support them well
Fixing Uneven Firing Results
Uneven firing can cause parts of your clay to be too soft or too hard. This damages the piece’s surface and strength.
Check that your kiln heats evenly. Arrange pieces so heat flows well around each one.
- Do not overload the kiln with many pieces
- Place similar sized items together
- Use kiln shelves to separate pieces evenly
- Test your kiln with small pieces before big firings
Credit: www.leelachakravarti.com
Maintaining Your Equipment
Firing clay at home needs care for your tools and machines. Proper maintenance keeps your equipment safe and working well.
Regular upkeep can stop problems and save money on repairs. It also helps your projects turn out better.
Kiln Cleaning And Care
Keep your kiln clean to make sure it heats evenly. Dust and debris can cause damage or uneven firing.
Wipe the inside gently after each use. Avoid using water or harsh chemicals that could harm the kiln walls.
- Remove ashes and dust with a soft brush
- Check the shelves for cracks or glaze buildup
- Replace worn kiln wash to protect shelves
- Inspect the door seal for tightness
Extending Equipment Lifespan
Use your equipment carefully to make it last longer. Follow all instructions and avoid overloading your kiln.
Store tools in a dry place to stop rust and damage. Check parts often and fix small issues fast.
- Turn off the kiln after firing and let it cool slowly
- Use kiln furniture that fits your kiln size
- Keep electrical cords and plugs clean and dry
- Schedule regular inspections of heating elements
Frequently Asked Questions
What Materials Do I Need To Fire Clay At Home?
You need air-dry or kiln clay, a kiln or oven, heat-resistant gloves, and ventilation. Optional tools include a kiln shelf and kiln wash for protection.
Can I Fire Clay In A Regular Kitchen Oven?
No, a regular oven cannot reach the high temperatures needed. Use a kiln or a specialized home clay firing oven.
What Temperature Is Required To Fire Clay Properly?
Firing temperature depends on clay type, usually between 1,800°F and 2,400°F (982°C to 1,316°C). Follow clay packaging instructions for exact heat settings.
How Long Does It Take To Fire Clay At Home?
Firing time varies but generally takes 6 to 12 hours. Cooling time is equally important to prevent cracking.
Conclusion
Firing clay at home can be simple and fun. Use the right tools and follow safety steps. Control heat carefully for the best results. Patience helps clay harden without cracks. Each piece will improve with practice. Enjoy the process and your handmade creations.
Try different techniques to find what works best. Keep learning and experimenting with your clay projects. Home firing opens new chances to create art. You can make beautiful pottery right in your space.