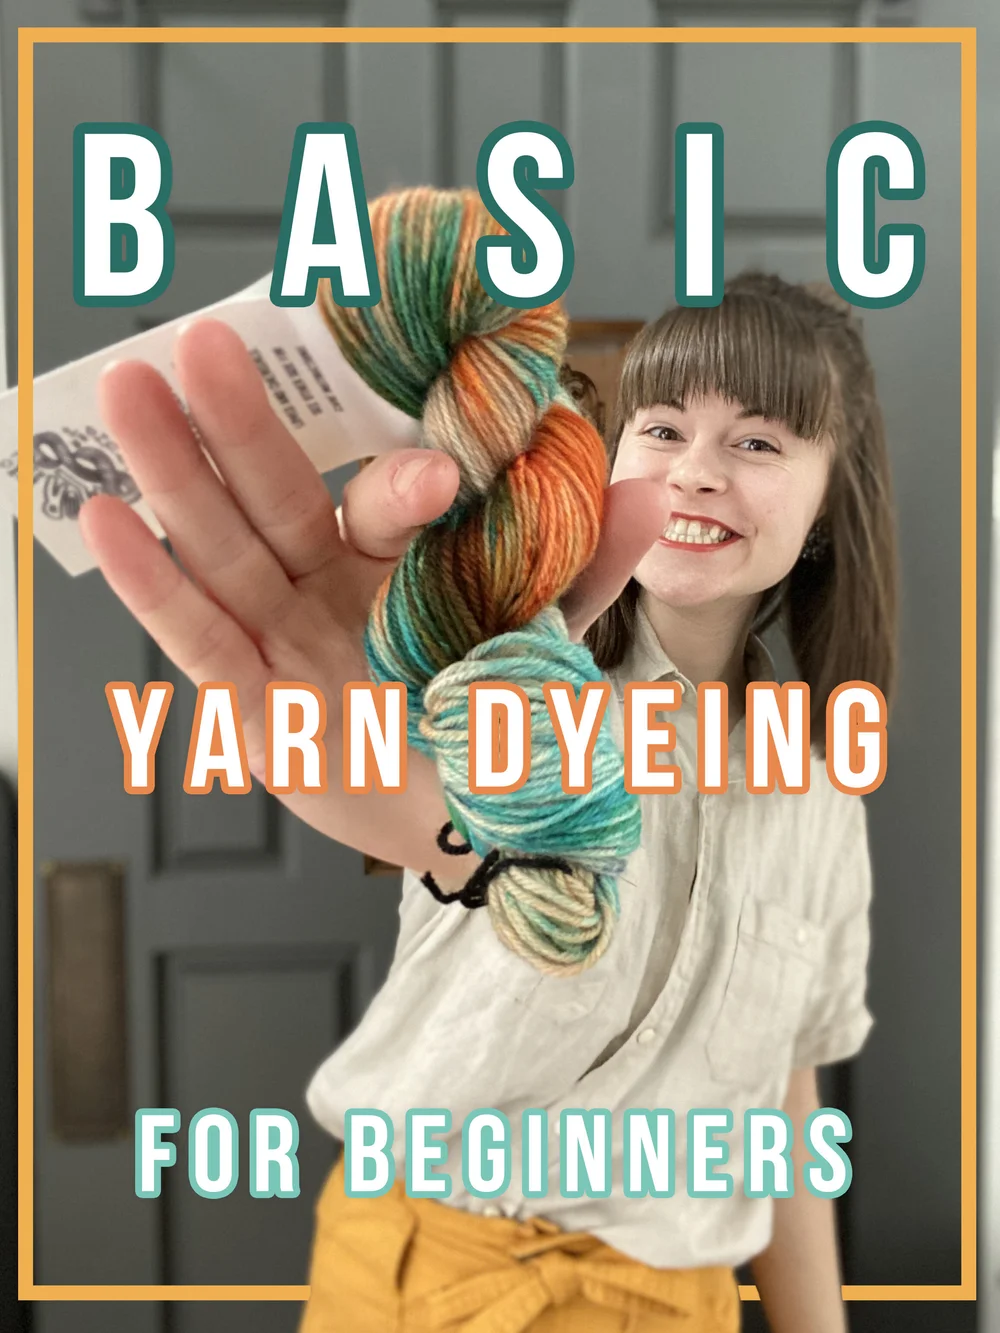
Have you ever wanted to give your wool projects a fresh, vibrant look without spending a fortune? Dyeing wool at home is easier than you think, and it lets you create colors that match your style perfectly.
Imagine turning plain wool into something truly unique with just a few simple steps. In this guide, you’ll discover how to dye wool safely and effectively, even if you’ve never tried it before. Ready to add a splash of color to your crafting?
Keep reading, and you’ll be dyeing like a pro in no time.
Choosing The Right Wool
Dyeing wool at home is fun and creative. Picking the right wool is key for good results.
Different wools react differently to dyes. Knowing which wool to use helps you get bright colors.
Types Of Wool Suitable For Dyeing
Not all wool is easy to dye. Natural wool fibers absorb dye better than synthetic ones.
Look for wool that is clean and untreated for the best dyeing results.
- Merino wool: soft and absorbs dye well
- Cheviot wool: strong and takes color nicely
- Corriedale wool: good for beginners
- Alpaca wool: natural fiber but dyes lighter
- Synthetic wool blends: harder to dye evenly
Preparing Wool For Dyeing
Clean wool holds dye better. Remove dirt and oils before dyeing.
Soak the wool in warm water to open the fibers. This helps the dye go deep.
- Use mild soap to wash wool gently
- Rinse well to remove soap
- Soak in warm water for 30 minutes
- Handle wool carefully to avoid tangling
Credit: www.morthunder.com
Selecting Dye And Materials
Dyeing wool at home is a fun way to add color to your yarn. Picking the right dye and tools helps you get good results.
Understanding your options for dyes and gathering the correct supplies will make the process smooth and enjoyable.
Natural Vs Synthetic Dyes
Natural dyes come from plants, insects, and minerals. They offer soft, earthy colors but can fade faster.
Synthetic dyes are made in labs. They give bright, lasting colors and are easier to use for beginners.
- Natural dyes: eco-friendly, subtle shades, may need mordants
- Synthetic dyes: vibrant, colorfast, usually require less preparation
- Choose based on the look you want and how much effort you want to spend
Essential Tools And Supplies
Having the right tools helps you dye wool safely and well. Some items are basic, while others depend on your dye choice.
| Tool | Purpose | Notes |
| Wool yarn | Fiber to dye | Use clean, dry wool |
| Dye | Add color | Natural or synthetic |
| Large pot | Heat dye bath | Use stainless steel or enamel |
| Stirring spoon | Mix dye and wool | Wood or plastic preferred |
| Mordant (optional) | Fixes natural dyes | Alum is common |
| Gloves | Protect hands | Wear to avoid stains |
| Measuring cups/spoons | Measure dye and mordant | Accurate amounts matter |
Preparing The Dye Bath
Preparing the dye bath is an important step for dyeing wool at home. It helps the wool absorb the color evenly.
A well-prepared dye bath ensures bright and long-lasting colors on your wool projects.
Measuring And Mixing Dye
Measure your dye carefully to get the right color strength. Use a digital scale for accuracy.
Mix the dye powder or liquid with warm water until it dissolves completely. Stir well to avoid clumps.
- Use gloves to protect your hands
- Measure dye based on wool weight
- Stir the dye bath gently but thoroughly
- Mix dye in a separate container before adding to water
Setting The Right Temperature
Keep the dye bath temperature steady to help the dye absorb properly. Wool needs warm water but not boiling.
Temperature between 120°F and 140°F (49°C to 60°C) is ideal for most wool dyes. Use a thermometer to check.
- Heat water slowly to avoid shocking the wool
- Maintain temperature throughout the dyeing process
- Remove wool if water gets too hot
Dyeing Process
Dyeing wool at home is a simple and creative activity. It allows you to add color to your wool using natural or synthetic dyes.
The dyeing process involves soaking the wool in a dye bath and controlling the timing to get the color you want.
Soaking Wool In Dye Bath
First, prepare the dye bath by mixing the dye with hot water. Wet the wool before placing it in the dye bath. This helps the wool absorb the color evenly.
- Fill a container with hot water and add dye according to instructions.
- Wet the wool completely with warm water.
- Place the wool gently into the dye bath.
- Stir the wool carefully to avoid tangling.
- Keep the wool in the dye bath for the needed time.
Timing For Desired Color Intensity
The longer you soak the wool, the deeper the color will be. Short soaking gives a light shade, while longer soaking creates a strong color.
| Soaking Time | Color Intensity |
|---|---|
| 5-10 minutes | Light shade |
| 15-30 minutes | Medium shade |
| 30+ minutes | Deep, strong color |
Rinsing And Drying Wool
After dyeing wool, rinsing and drying are important steps. These steps help keep the color vibrant and the wool soft.
Proper rinsing removes extra dye that did not bind to the fibers. Drying wool carefully prevents damage and keeps its shape.
Washing Out Excess Dye
To wash out extra dye, use cool water. Gently rinse the wool without rubbing or twisting. This avoids felting and damage.
- Fill a basin with cool water.
- Place the dyed wool in the water.
- Swish gently to release loose dye.
- Drain the water carefully.
- Repeat until the water runs clear.
Best Practices For Drying
Dry wool flat on a clean towel in a shaded area. Avoid hanging, which can stretch the fibers. Keep it away from direct sunlight or heat.
| Drying Method | Effect on Wool |
| Flat on towel | Prevents stretching and keeps shape |
| Hanging | May stretch and distort fibers |
| Direct sunlight | Fades color and weakens fibers |
| Heat source | Can shrink or harden wool |

Credit: www.morthunder.com
Tips For Vibrant And Long-lasting Colors
Dyeing wool at home can be a fun and creative activity. To get vibrant and long-lasting colors, you need to follow some simple steps. Using the right fixatives and mordants is crucial for colorfast results.
Understanding common mistakes can also help you achieve better results. With a little care, you can enjoy beautiful wool projects that last.
Fixatives And Mordants
Fixatives and mordants help wool absorb dye better. They ensure colors stay bright and do not fade quickly. Some natural options include vinegar and alum.
Always use the right amount of fixative for the wool you are dyeing. Too much or too little can affect the final color. Measure carefully for the best results.
- Vinegar is good for acid dyes
- Alum works well with natural dyes
- Salt can help fix some types of dye
Avoiding Common Mistakes
Common mistakes can ruin your dyeing project. One mistake is not washing the wool before dyeing. Dirty wool will not absorb dye evenly.
Another mistake is using water that is too hot. High temperatures can damage wool fibers. Use warm water instead to keep the wool safe.
- Wash wool to remove oils and dirt
- Use warm water, not hot
- Avoid over-stirring to prevent felting

Credit: www.youtube.com
Frequently Asked Questions
What Materials Do I Need To Dye Wool At Home?
You need wool yarn or fabric, acid dye, vinegar, gloves, and pots. Use stainless steel or enamel pots for safety. Prepare a workspace with protective covers.
How Do I Prepare Wool Before Dyeing?
Soak wool in lukewarm water with mild soap. Rinse gently to remove oils. This helps the dye absorb evenly and prevents felting.
What Is The Best Dye For Wool At Home?
Acid dyes are best for wool. They bond well and provide vibrant, long-lasting colors. Use food-grade vinegar to fix the dye.
How Long Should Wool Be Dyed For?
Simmer wool with dye for 30 to 60 minutes. Stir gently to avoid felting. Longer time deepens color but avoid overheating.
Conclusion
Dyeing wool at home is a fun and creative activity. It allows you to add color to your projects easily. You just need basic supplies and simple steps. Experiment with different colors to find what you like best. Remember to work carefully and protect your space.
Enjoy the process and the beautiful results you create. Wool dyeing brings a personal touch to your crafts. Try it and see how satisfying it feels. Your handmade items will stand out with vibrant colors. Keep practicing and have fun with each dye session.