Have you ever looked at a worn out living room chair and thought, “I wish I could capture its story on paper”? Drawing a chair that shows its age isn’t just about sketching shapes—it’s about bringing character to life.
You might think it’s hard to get those faded cushions and creaky legs just right. But what if you could learn simple steps to create a drawing that feels real and full of personality? Keep reading, and you’ll discover easy techniques to turn your blank page into a worn out chair that tells a story—your story.
Credit: www.hgtv.com
Materials Needed
Drawing a worn out living room chair needs specific materials. These tools help capture the details and texture of the chair.
Gather all the materials before you start. This makes the drawing process smoother and more enjoyable.
Drawing Tools
Use pencils and pens that allow you to create different shades and lines. Soft pencils help with shading, while fine liners add details.
- Graphite pencils (2B, 4B, 6B)
- Mechanical pencil for fine lines
- Fine liner pens (0.1 mm and 0.5 mm)
- Erasers (kneaded and rubber)
- Sharpener
Paper And Surface
Choose a paper type that holds pencil marks well and allows shading. Smooth or lightly textured drawing paper works best for this project.
| Paper Type | Weight | Texture |
| Sketching Paper | 100-150 gsm | Smooth to medium |
| Drawing Paper | 150-200 gsm | Lightly textured |
| Mixed Media Paper | 200+ gsm | Medium texture |
Reference Materials
Collect photos or observe a worn chair in real life. This helps you notice small details like fabric wear and cracks in the wood.
Reference tips:
- Use clear, close-up pictures
- Look for different angles
- Note the chair’s texture and damage
Sketching The Basic Shape
Drawing a worn out living room chair starts with simple shapes. Sketching the basic shape helps build a strong foundation.
Focus on the chair’s main parts before adding details. This makes the drawing clear and easy to develop.
Drawing The Chair Frame
Begin by sketching the chair’s frame using light lines. The frame includes the legs, arms, and support beams.
- Draw four legs with uneven thickness to show wear.
- Add the armrests as simple rectangles or curves.
- Sketch the frame’s outline lightly to adjust shapes easily.
- Use straight and curved lines to capture the frame’s form.
Adding Seat And Backrest
Next, add the seat and backrest shapes on the frame. These parts show the chair’s comfort and wear.
| Part | Shape | Tips |
|---|---|---|
| Seat | Rectangle or trapezoid | Draw slightly uneven edges to show damage |
| Backrest | Tall rectangle or curved shape | Add soft curves to show sagging fabric |
Adding Worn Details
Drawing a worn out living room chair adds character and story. Small details show the chair’s age and use.
Focus on fabric tears, frays, and cushion dents to make your chair look real and used.
Creating Fabric Tears And Frays
Start by sketching small tears on the chair’s fabric edges. Use short, jagged lines to show frays.
Draw loose threads around the tears. Vary the size of the tears for a natural look.
- Use thin lines for threads
- Make some tears bigger than others
- Add slight shading near the tears
- Show worn edges with rough outlines
Incorporating Cushion Dents
Cushion dents show where people have sat many times. Draw soft, curved lines on cushions to form dents.
Shade inside the dents lightly to add depth. Make sure the dents follow the cushion shape.
- Draw curved lines inward on cushions
- Use soft shading inside dents
- Place dents where weight rests often
- Keep cushion edges slightly uneven
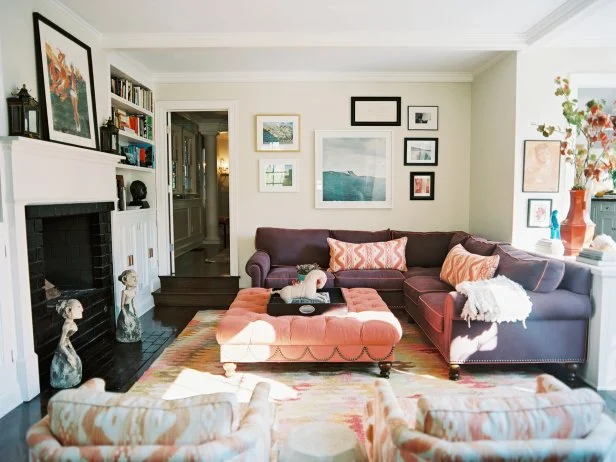
Credit: www.hgtv.com
Shading And Texture
Drawing a worn out living room chair needs attention to shading and texture. These details show the chair’s age and use.
We will focus on how to simulate fabric texture and highlight worn areas. Both add realism to your drawing.
Simulating Fabric Texture
To simulate fabric texture, start with light, small strokes. Use different shading styles for various fabrics.
- Use short, parallel lines for velvet or suede.
- Draw crosshatching for rougher fabrics like burlap.
- Apply gentle dots for soft, worn cotton.
- Blend shading softly to show smooth fabric areas.
Vary pressure on your pencil to create darker and lighter areas. This gives depth to the fabric texture.
Highlighting Worn Areas
Worn areas show where the fabric is thin or faded. Use shading to emphasize these spots.
| Worn Area | Shading Tip | Texture Effect |
| Armrests | Lighten shading | Faded fabric |
| Seat Cushion | Use rougher strokes | Flattened texture |
| Edges | Add small tears or loose threads | Frayed fabric |
| Backrest | Blend softly with less detail | Smooth but worn |
Draw thin lines or tiny dots to show fabric wear. Keep some areas lighter to suggest fading.
Final Touches
Adding final touches brings your worn out living room chair drawing to life. These steps help make the image look more real and detailed.
Focus on refining the details and including background elements. This will complete the overall scene and enhance your artwork.
Refining Lines And Shadows
Go over your initial lines to sharpen edges and add depth. Use darker pencil strokes or ink to highlight worn areas.
- Darken the creases and folds in the fabric to show wear.
- Use cross-hatching or shading to create shadow under cushions.
- Softly blend shadows on the chair legs for a rounded look.
- Erase stray marks that distract from the chair’s shape.
- Add fine lines to indicate texture and fabric fraying.
Adding Background Elements
Simple background details help place the chair in a living room setting. These elements give context and improve realism.
| Background Element | Purpose |
| Rug under the chair | Creates floor texture and anchors the chair |
| Side table | Adds balance and everyday objects |
| Wall shadow | Suggests light direction and depth |
| Plants or books | Introduce life and interest |

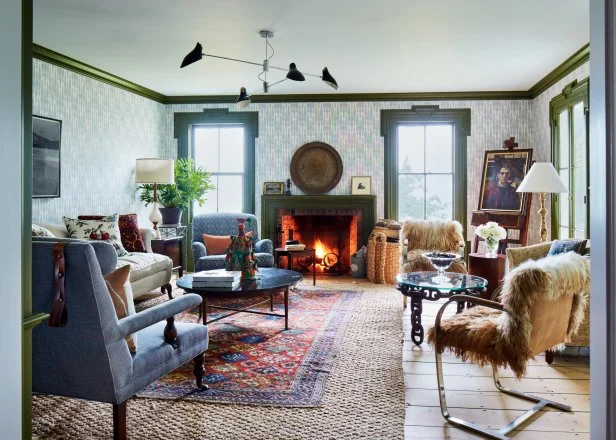
Credit: www.create-enjoy.com
Frequently Asked Questions
How Do I Start Drawing A Worn-out Living Room Chair?
Begin by sketching the basic shape lightly. Focus on the chair’s structure before adding details like tears or stains. This helps maintain proportions and guides your shading.
What Materials Work Best For Drawing Worn-out Chairs?
Use pencils for sketching and shading. Charcoal or ink pens add texture for worn areas. Blending tools help create soft, aged fabric effects.
How Can I Show Fabric Wear And Tear Realistically?
Add small tears, wrinkles, and faded spots with varied shading. Use cross-hatching or stippling to mimic texture. Highlight frayed edges for authenticity.
What Lighting Should I Consider When Drawing This Chair?
Choose soft, diffused lighting to emphasize texture and fabric wear. Shadows enhance depth and worn details. Avoid harsh light that flattens the image.
Conclusion
Drawing a worn-out living room chair can be fun and relaxing. Take your time and enjoy each step. Use simple shapes and add details little by little. Notice the textures and small tears carefully. Practice often to improve your drawing skills.
This project helps you see everyday objects in new ways. Keep your pencil light and erase mistakes easily. Soon, your worn chair will look real on paper. Drawing like this sharpens your eye and hand coordination. Try different chairs to keep learning and having fun.