Have you ever wanted to add a personal touch to your living room design? Learning how to draw a living room table can be easier than you think.
Whether you’re an artist, a DIY enthusiast, or just someone who loves creativity, this simple guide will help you create a beautiful table sketch step by step. By the end, you’ll have the skills to bring your ideas to life and impress everyone with your drawing.
Ready to get started? Let’s dive in!
:strip_icc()/BHG-How-to-Decorate-an-End-Table_1_2A5UijpIqyj9Op77imMT4f-854f5d943feb4182b9797485069fbb0a.jpg)
Credit: www.bhg.com
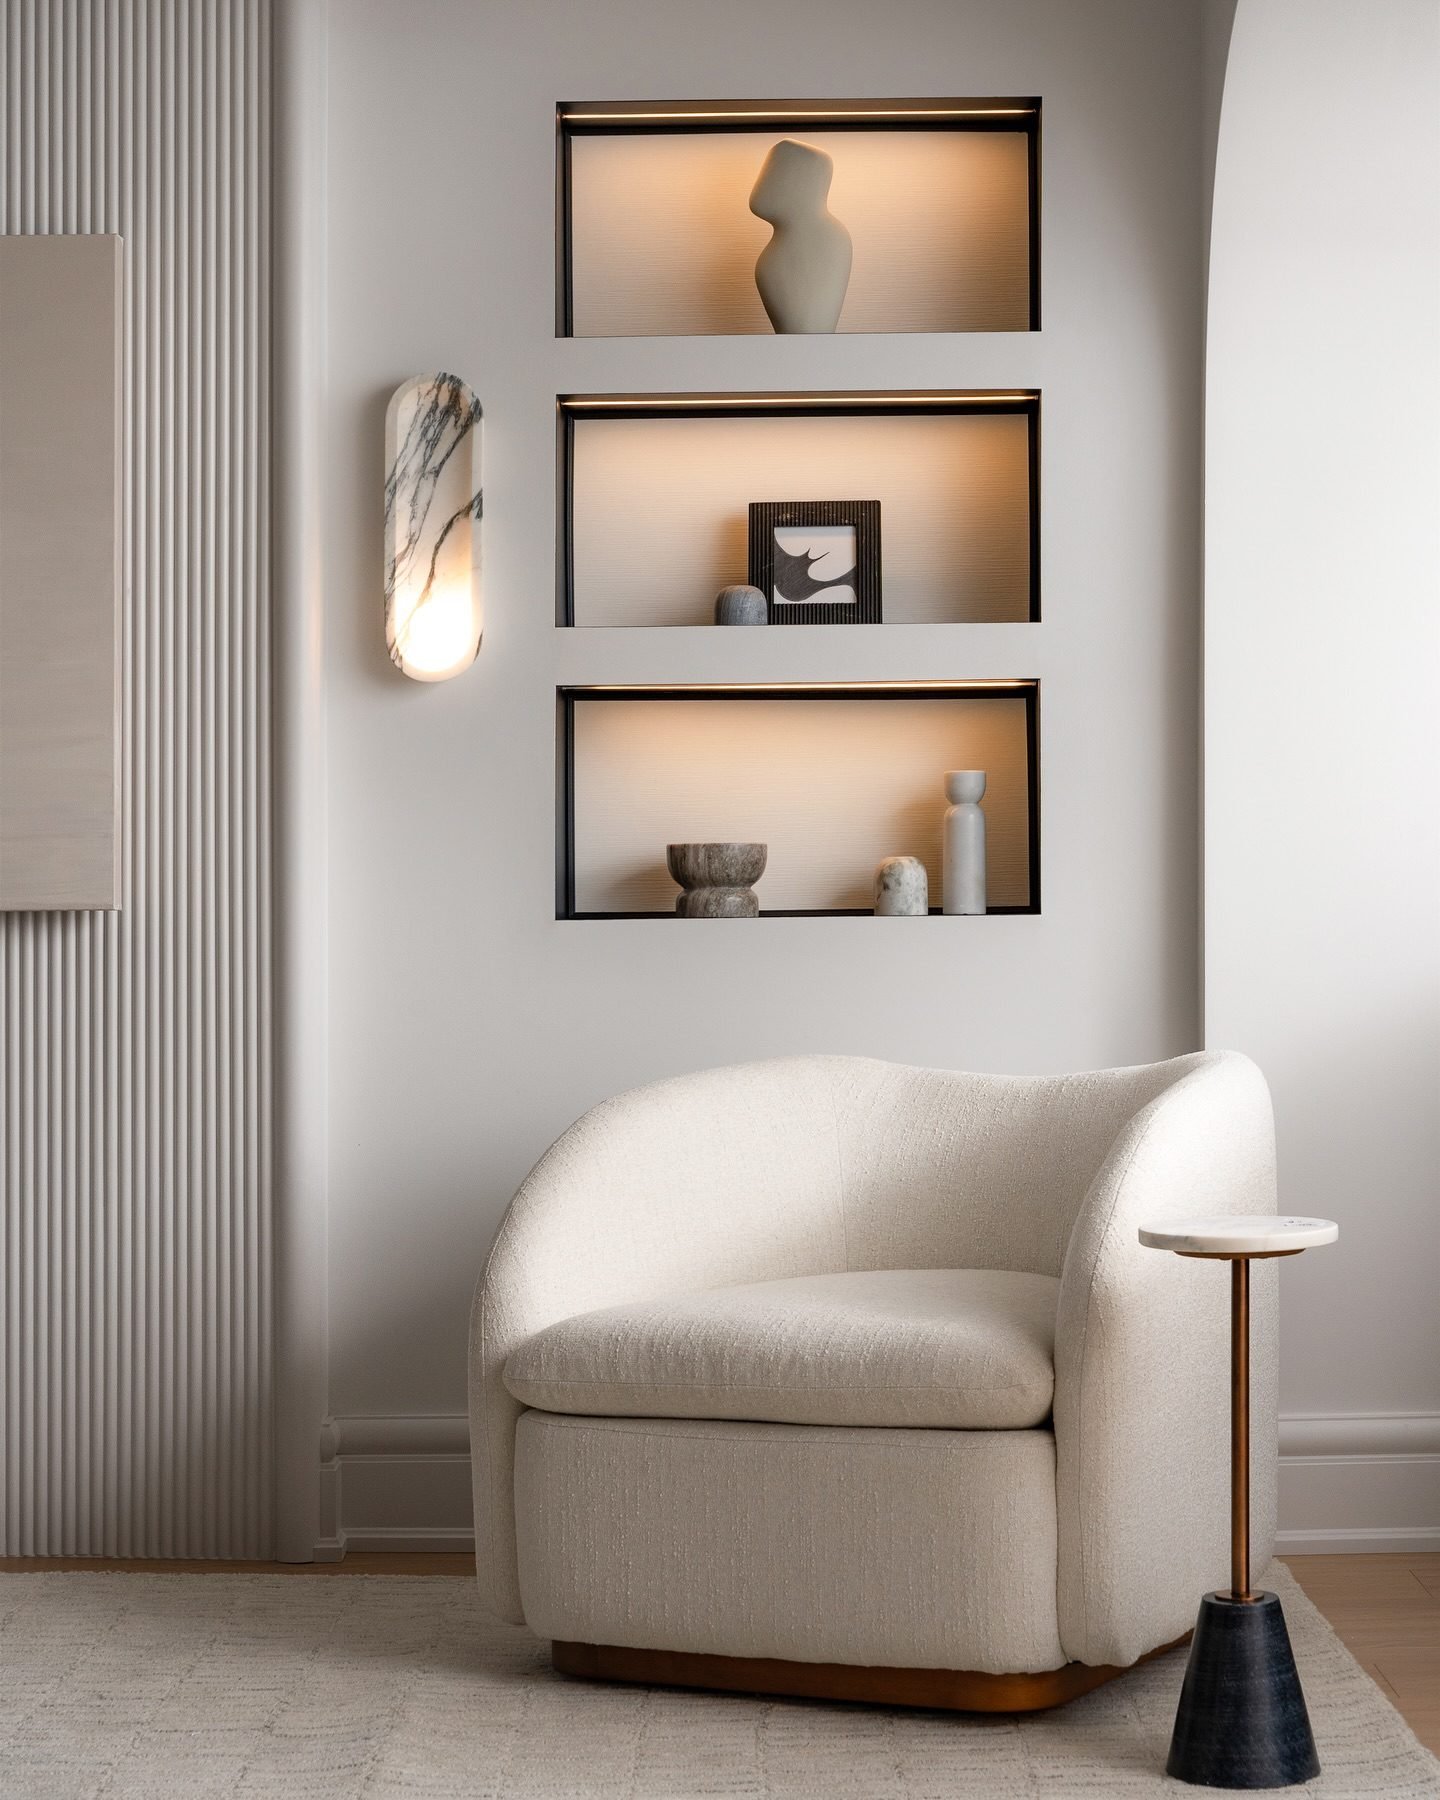
Choosing The Right Table Style
Choosing the right table style sets the tone for your living room. A table should match your room’s look and feel. It also needs to fit your daily needs and space.
Think about your style preferences before you start drawing. This helps you create a table that blends well with your living room.
Modern Vs Traditional Designs
Modern tables often have clean lines and simple shapes. Traditional tables show more detail and classic designs. Your choice affects the room’s mood.
- Modern designs use metal, glass, or smooth wood finishes.
- Traditional styles include carved wood and ornate details.
- Modern tables suit minimalist rooms.
- Traditional tables fit cozy, classic spaces.
Material Options
| Material | Look | Durability |
|---|---|---|
| Wood | Warm and classic | Strong and lasts long |
| Glass | Light and modern | Fragile but stylish |
| Metal | Industrial and sleek | Very durable |
| Plastic | Casual and colorful | Less durable |
Choose a material that fits your lifestyle and cleaning habits. Wood is easy to repair, glass needs careful handling.
Size And Proportion
Your table size must fit your living room space. It should not block walking paths or feel too small.
- Measure the room before choosing a size.
- Pick a table height that matches your seating.
- Leave enough space around the table for movement.
- Consider a shape that fits your room shape.
Gathering Essential Drawing Tools
Before you start drawing a living room table, gather the tools you need. Having the right tools helps you draw better and faster.
Good tools make it easier to create clear and neat drawings. Let's look at the basic tools you need.
Pencils And Erasers
Pencils are the main tool for drawing your table. Use different pencil types for light and dark lines.
An eraser helps fix mistakes and clean your drawing. Choose a soft eraser to avoid paper damage.
- Use HB or 2B pencils for sketching
- Use 4B or 6B pencils for shading
- Soft erasers remove marks without tearing paper
- Kneaded erasers shape easily for detail work
Rulers And Templates
A ruler helps you draw straight lines and measure parts of your table. It keeps your drawing accurate.
Templates are shapes that guide your drawing. They help with curves and round parts of the table.
- Use a clear ruler for easy measuring
- Try a triangle ruler for perfect angles
- Use circle templates for round table tops
- Use flexible curves for smooth edges
Coloring Supplies
Coloring supplies add life to your table drawing. Use colors to show wood, metal, or glass textures.
Choose supplies that blend well and are easy to control for neat coloring.
- Colored pencils for detailed coloring
- Markers for bold and bright colors
- Watercolors for soft, natural looks
- Blending tools to smooth colors
Sketching Basic Shapes
Drawing a living room table starts with simple shapes. These shapes form the base of your sketch.
Focus on the main parts first. This makes the drawing easier to build and adjust.
Outlining The Tabletop
Begin by drawing the tabletop as a flat shape. Use a rectangle or oval depending on the table style.
- Draw a light rectangle for a square or rectangular table.
- Use an oval shape for round or oval tabletops.
- Keep the edges soft to adjust later.
- Make sure the shape matches the table’s size and style.
Drawing The Legs
Next, add the legs under the tabletop. Legs can be straight or curved shapes.
| Leg Type | Shape | Notes |
| Straight | Rectangles | Simple and sturdy look |
| Curved | Lines with curves | More decorative style |
| Tapered | Triangles | Legs get thinner at the bottom |
| Block | Squares | Thick and chunky appearance |
Adding Perspective
Perspective gives your table depth and realism. Use lines to guide the view angle.
Try this to add perspective:
- Draw a horizon line at eye level.
- Use vanishing points where lines converge.
- Sketch the tabletop edges pointing toward vanishing points.
- Align legs with these lines to keep proportions.
Adding Details And Textures
Drawing a living room table looks better with details and textures. These elements make your sketch feel real.
Focus on wood grain, shadows, highlights, and decorations. These help show the table’s shape and style.
Wood Grain And Patterns
Wood grain shows the natural lines and knots in the wood. It adds character and makes the table look real.
Draw long, curved lines to mimic the wood’s flow. Add small knots or swirls for more detail.
- Use light strokes for subtle grain
- Follow the shape of the table surface
- Vary line thickness to show depth
Shadows And Highlights
Shadows give the table a solid look by showing where light is blocked. Highlights show where light hits the surface.
Use soft shading under the table and legs. Add bright spots on top edges to show shine.
- Shade darker under the table and corners
- Use lighter areas on the table’s top
- Blend shadows smoothly for a natural effect
Decorative Elements
Decorations add style and personality. These include carvings, inlays, or metal handles.
Draw small shapes or patterns on the table edges or legs. Keep decorations simple but clear.
- Use small curved lines for carvings
- Add tiny dots or shapes for inlays
- Sketch metal handles with smooth, shiny lines
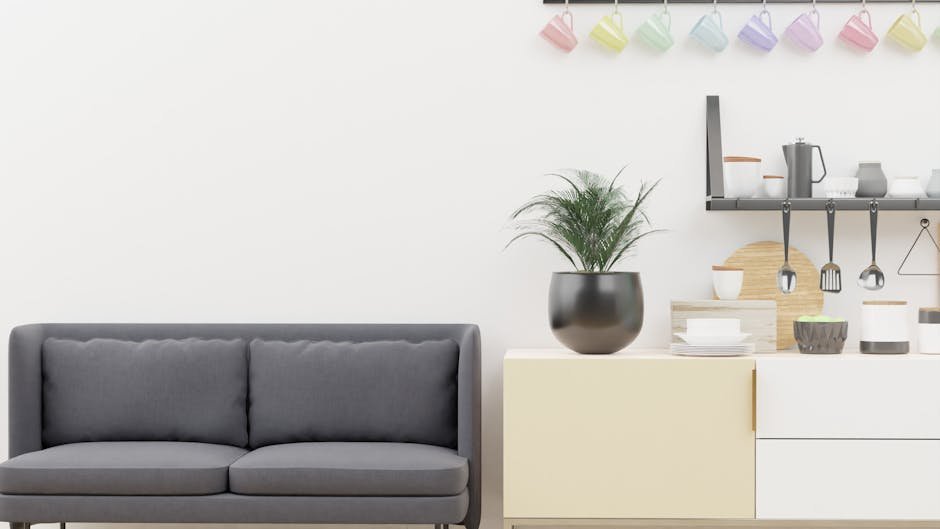
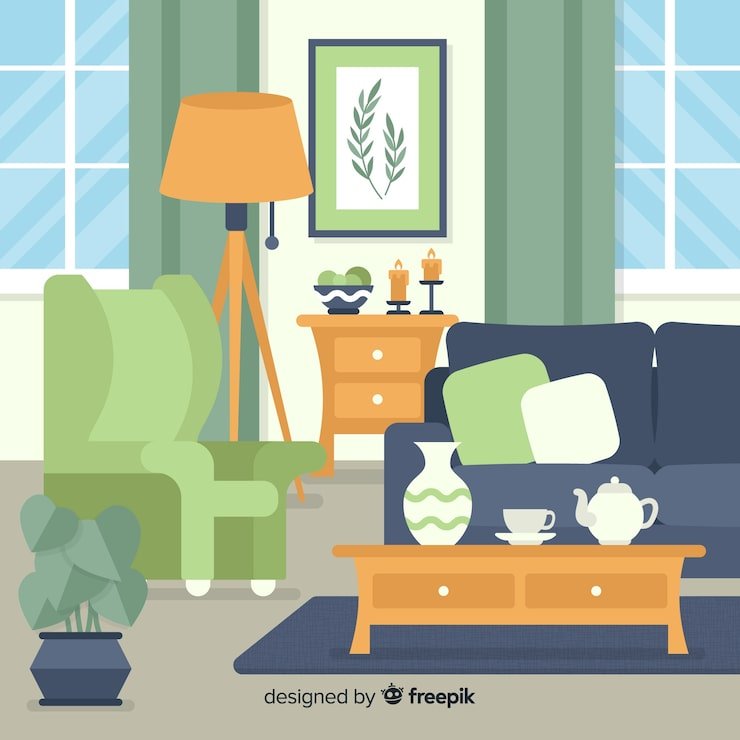
Incorporating Surrounding Elements
Drawing a living room table is not just about the table itself. You need to include the space around it. This makes the drawing look real and balanced.
Adding chairs, rugs, and accessories helps set the scene. It also shows how the table fits in the room’s style.
Placing Chairs And Rugs
Chairs around the table give it context and scale. Rugs under the table add texture and ground the furniture in the space.
- Draw chairs evenly spaced around the table.
- Make sure chair sizes match the table height.
- Place a rug big enough to hold the table and chairs.
- Use simple patterns on the rug to avoid distraction.
- Show chair legs touching the rug for realism.
Adding Room Accessories
Accessories bring life to your drawing. They add detail and personality to the room.
| Accessory | Placement | Effect |
| Vase with flowers | Center of the table | Draws attention and color |
| Books or magazines | On one corner of the table | Adds casual feel |
| Table lamp | Side table nearby | Creates cozy lighting |
| Wall art | Behind the table | Enhances room depth |
Balancing The Composition
Balance your drawing by spreading visual weight. Avoid crowding one side with too many elements.
- Keep similar shapes and sizes on both sides of the table.
- Use negative space to prevent clutter.
- Place taller objects opposite shorter ones.
- Check that no element blocks the main view of the table.
:max_bytes(150000):strip_icc()/image_1-efc79718919c4641b8c4f3292cd061cd.png)
Credit: www.thespruce.com
Finalizing And Coloring The Drawing
Completing your living room table drawing involves refining lines and adding color. Learn how to enhance your artwork with different techniques.
Explore the use of digital tools for a polished finish. These steps will guide you in making your drawing stand out.
Line Refinement
Refine your lines to ensure they are clean and clear. This step is crucial for adding definition to your drawing.
- Use a fine-tipped pen for sharp lines.
- Erasers can help to remove unwanted marks.
- Practice steady hand movements for consistent pressure.
Color Techniques
Color brings your drawing to life. Choose colors that complement your room's theme.
| Technique | Effect |
| Blending | Soft transitions between colors |
| Layering | Depth and texture |
| Highlighting | Focus on light areas |
Using Digital Tools
Digital tools offer precision and flexibility. Use them to enhance your drawing's final look.

Credit: www.youtube.com
Frequently Asked Questions
What Materials Are Best For Drawing A Living Room Table?
Use pencils, erasers, and quality sketch paper for precise lines. Colored pencils or markers add depth and vibrancy. Choose materials that are easy to blend and shade for realistic effects.
How Do I Start Sketching A Living Room Table?
Begin by drawing a simple rectangle for the tabletop. Add perspective lines to create depth. Sketch the legs and other details lightly before refining the drawing.
How Can I Add Realistic Shadows To The Table Drawing?
Observe light direction carefully. Use softer pencils for shading shadows. Blend edges smoothly to create a natural shadow effect under and around the table.
What Perspective Techniques Improve Living Room Table Drawings?
Use one- or two-point perspective to show depth accurately. Draw horizon lines and vanishing points to guide proportions. This makes the table look three-dimensional and realistic.
Conclusion
Drawing a living room table can be simple and fun. Start with basic shapes, then add details step by step. Practice often to improve your skills and confidence. Use this guide to create your own unique table design. Enjoy the process and see how your drawing grows.
Keep experimenting with different styles and ideas. Soon, you will feel proud of your artwork. Remember, every artist begins with simple lines. Keep drawing and have fun!