Have you ever wanted to create your own stainless steel items right at home? Imagine turning raw metal into something useful or artistic with your own hands.
Casting stainless steel might sound complicated, but with the right steps, you can do it safely and successfully. In this guide, you'll discover simple techniques and tips that make the process clear and manageable. Ready to unlock a new skill and bring your ideas to life?
Keep reading, and you’ll learn exactly how to cast stainless steel at home.
Tools And Materials Needed
Casting stainless steel at home needs the right tools and materials. You must prepare carefully to get good results. This guide covers the key items you will need.
Using proper equipment and materials ensures safety and quality in your casting projects. Below are the main points to consider.
Essential Equipment
You need several tools to melt and shape stainless steel safely and effectively. Having the correct equipment makes the process smoother.
- Metal melting furnace or kiln
- Crucible made for high temperatures
- Tongs to handle hot materials
- Mold for shaping the molten metal
- Heat-resistant gloves
- Protective apron
- Metal stirring rods
- Cooling area with sand or water
Choosing The Right Stainless Steel
Select the stainless steel type based on your project needs. Different grades have different melting points and qualities.
| Grade | Common Use | Melting Point (°C) |
| 304 | General purpose | 1400-1450 |
| 316 | Marine and chemical | 1375-1400 |
| 430 | Kitchen utensils | 1425-1510 |
| 410 | Cutlery and tools | 1425-1540 |
Safety Gear
Safety is important when casting metal. Wear proper gear to protect against heat, sparks, and fumes.
- Heat-resistant gloves
- Safety glasses or face shield
- Fireproof apron or jacket
- Closed-toe shoes made of leather
- Respirator mask for fumes
- Ear protection if working with loud equipment
Credit: www.temu.com
Setting Up Your Workspace
Casting stainless steel at home needs a well-prepared workspace. This helps keep you safe and makes the process smooth.
Organize your area before you start. This saves time and lowers risks.
Creating A Safe Environment
Choose a workspace away from flammable materials. Use heat-resistant surfaces to avoid accidents. Wear protective gear like gloves, goggles, and a face shield. Keep a fire extinguisher nearby.
Ventilation And Fire Safety
Good airflow removes harmful fumes from melting metal. Open windows and use fans to keep air moving. Avoid casting indoors without ventilation. Know where your fire extinguisher is and how to use it. Check smoke alarms regularly.
- Place fans near open windows
- Use a respirator mask if needed
- Keep a bucket of sand nearby
- Have a clear exit path
Organizing Tools
| Tool | Purpose | Storage Tip |
|---|---|---|
| Crucible | Holds metal during melting | Keep on a heat-resistant surface |
| Tongs | Handle hot materials safely | Hang near your workspace |
| Mold | Shape molten metal | Store in a dry place |
| Protective Gear | Safety for eyes, hands, and skin | Place where easy to reach |
Preparing The Mold
Casting stainless steel at home needs a strong and precise mold. Preparing the mold carefully helps the metal shape well. This guide covers the basics of mold preparation.
Good mold preparation protects your work and improves the final casting quality. Use the right materials and assembly methods to avoid mistakes.
Selecting Mold Materials
Choose mold materials that can handle high heat and do not stick to molten steel. Common options include sand, graphite, and fireclay. Each has pros and cons.
- Sand molds are easy to shape and affordable.
- Graphite molds resist heat and wear well.
- Fireclay molds can withstand very high temperatures.
- Metal molds need special coatings to prevent sticking.
Designing Your Mold
Design the mold so it matches the object shape exactly. Include a pouring basin and vents for gases to escape. Think about how you will remove the casting.
| Design Element | Purpose |
| Pouring Basin | Allows smooth metal flow |
| Vents | Let air and gases escape |
| Risers | Feed metal to reduce shrinkage |
| Draft Angles | Help remove casting easily |
Mold Assembly Tips
Assemble the mold carefully to avoid leaks and cracks. Seal edges tightly and check the mold for damage before pouring metal.
- Clean the mold parts thoroughly before assembly.
- Apply mold release agents to prevent sticking.
- Clamp or secure mold halves firmly together.
- Check vents and risers for blockages.
- Test the mold fit by closing it without metal.
Melting Stainless Steel
Melting stainless steel at home requires the right tools and methods. You need a furnace that can reach very high temperatures. Safety and control are important during the process.
This guide explains furnace choices, temperature control, and pouring methods for home casting. Each part helps you work safely and get good results.
Furnace Options For Home Use
Choose a furnace that can reach at least 1500°C (2732°F). Common types include electric arc, propane, and induction furnaces. Each has pros and cons for home use.
- Electric arc furnace:Uses electricity to create high heat. It is clean but needs good wiring.
- Propane furnace:Burns gas to produce heat. It is cheaper but needs proper ventilation.
- Induction furnace:Heats metal with magnetic fields. It is fast but expensive.
Temperature Control
Keeping the right temperature is key for melting stainless steel. Too low will not melt the metal. Too high can damage it or cause safety risks.
| Temperature (°C) | Purpose |
| 1400 | Starting to melt stainless steel |
| 1500 - 1600 | Ideal melting range for smooth flow |
| Above 1600 | Risk of oxidation and metal loss |
Pouring Techniques
Pouring molten stainless steel requires steady hands and proper tools. Use heat-resistant gloves and a clean mold. Pour slowly to avoid splashing.
- Wear safety gear including goggles and gloves.
- Use a ladle made of heat-resistant material.
- Keep the mold preheated to reduce metal cooling too fast.
- Pour in a steady, controlled stream.
- Do not rush; wait for the metal to flow smoothly.
Casting Process
Casting stainless steel at home is a careful process. It involves melting metal and shaping it in molds.
You must follow steps to pour, cool, and remove the cast safely and correctly.
Pouring Molten Metal
First, heat stainless steel until it melts. Use a high-temperature furnace for this.
Pour the molten metal slowly into the prepared mold. Be careful to avoid splashing.
- Wear protective gloves and face shield
- Hold the crucible steady
- Pour in a steady, even flow
- Fill the mold completely without overfilling
Cooling And Solidification
After pouring, let the metal cool inside the mold. This makes it solid and strong.
Cooling time depends on the size of the cast. Larger pieces need more time to harden.
- Keep the mold still while cooling
- Avoid moving the mold to prevent defects
- Wait until the metal feels cool to touch
Removing The Cast
Once cool, carefully remove the solid metal from the mold. Use tools to avoid damage.
Clean off any leftover mold material and check the cast for flaws.
- Tap the mold gently to release the metal
- Use a brush to clean the cast surface
- Inspect for cracks or holes
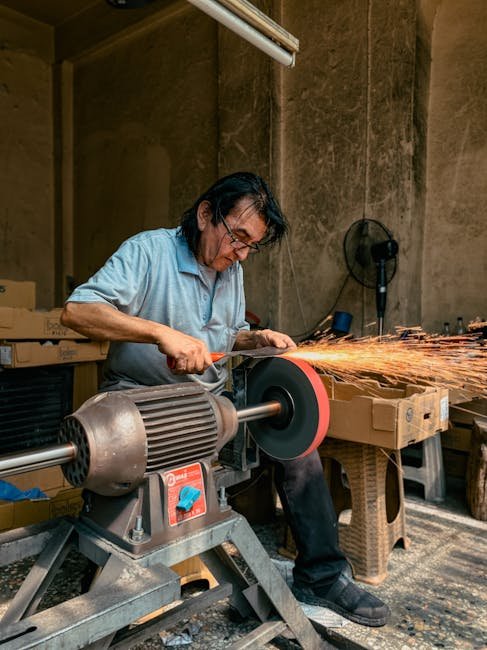
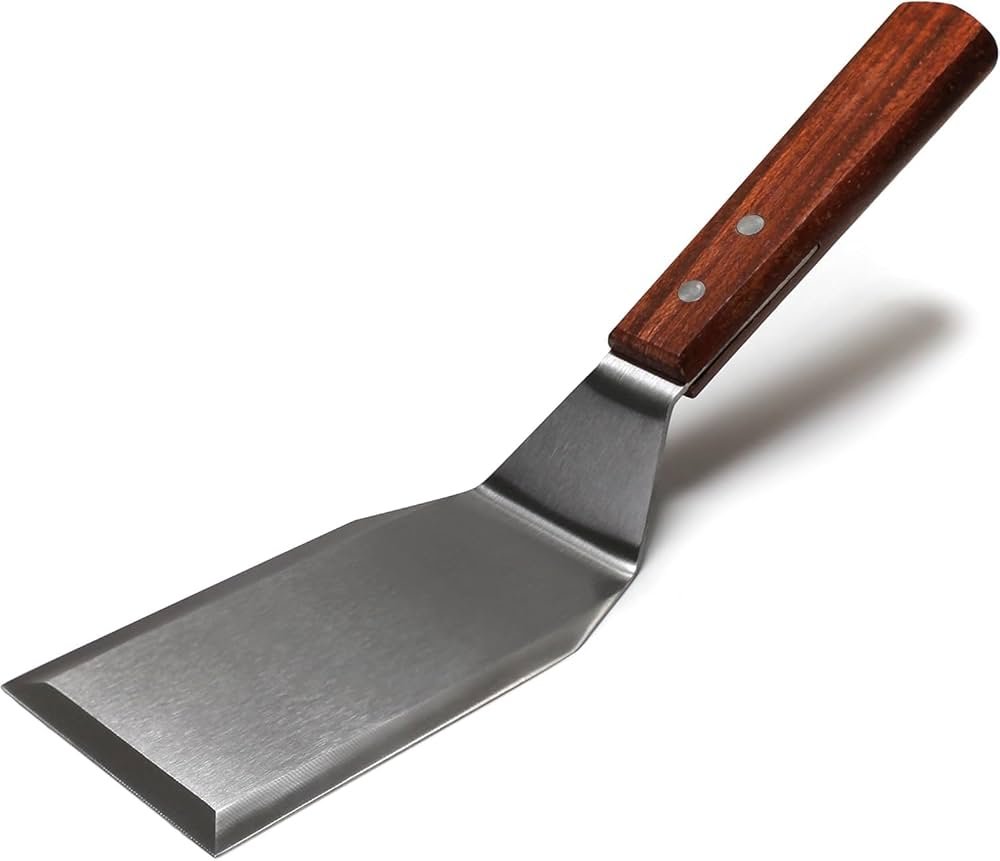
- Smooth rough edges with a file or grinder

Credit: www.amazon.ca
Finishing Touches
Finishing your stainless steel casting at home is important for a great result. These steps help in giving a polished and professional finish.
Paying attention to the last details ensures your castings are clean and functional. Let's explore the steps involved.
Cleaning And Deburring
After casting, cleaning and deburring are essential. These processes remove unwanted material and smoothen the surface.
- Use a wire brush to clean the surface.
- Sandpaper can help remove small burrs.
- For larger burrs, use a file carefully.
Polishing Stainless Steel
Polishing gives your stainless steel a shiny and smooth finish. It enhances the look and feel of the final product.
- Cloth wheel
- Polishing compound
- Protective eyewear
Inspecting For Defects
Inspecting your casting ensures there are no defects. This step is crucial to ensure quality and durability.
| Defect Type | Inspection Method |
| Cracks | Visual check |
| Porosity | Use a magnifying glass |
| Surface flaws | Run your hand over the surface |
Common Challenges
Casting stainless steel at home can be difficult. Many face problems during the process. Knowing these challenges can help you prepare better.
Common issues include cracks, bubbles, and mold failures. Learning how to manage these can improve your results.
Avoiding Cracks And Bubbles
Cracks and bubbles often occur during cooling. They weaken the final product. To prevent them, control the cooling rate carefully.
Using the right materials and tools also helps. Ensure your equipment is clean and in good condition.
- Cool the metal slowly to avoid stress
- Keep all tools clean and dry
- Use high-quality stainless steel
Dealing With Mold Failures
Molds can fail if not prepared well. Proper preparation is key. Make sure your mold is strong and heat-resistant.
Check the mold for cracks or weaknesses. A good mold ensures a smooth casting process.
- Inspect molds for damage before use
- Choose molds made of durable material
- Reinforce molds if necessary
Troubleshooting Tips
If problems arise, stay calm and analyze the issue. Understanding the root cause helps find a solution.
Keep a checklist to troubleshoot common issues. This aids in quick identification and correction.
- Document each step of your process
- Review your methods regularly
- Consult experienced casters for advice
Advanced Tips And Tricks
Casting stainless steel at home can be tricky. Using advanced tips helps improve your results.
These tips cover improving cast quality, customizing designs, and scaling up projects safely.
Improving Cast Quality
Clean molds reduce defects in your castings. Always remove dust and debris before pouring steel.
Control the temperature carefully. Pouring steel too hot or too cold causes cracks or bubbles.
- Preheat molds to avoid thermal shock
- Use high-quality stainless steel alloys
- Pour steel smoothly to reduce air pockets
- Allow slow cooling to prevent stress
Customizing Your Designs
Create unique shapes by designing custom molds. Use clay or silicone to form detailed patterns.
Try adding textures to molds for a special finish. Sandpaper or stamps work well for this.
- Sketch your design before making molds
- Test small samples to check details
- Use different mold materials for varied results
- Experiment with casting angles for shapes
Scaling Up Projects
Larger projects need bigger molds and more steel. Plan carefully to manage weight and heat.
Use strong supports to hold heavy molds. Ensure your workspace is safe and well-ventilated.
- Use a furnace with higher capacity
- Work with helpers for safety
- Keep fire safety equipment nearby
- Allow extra time for cooling large casts
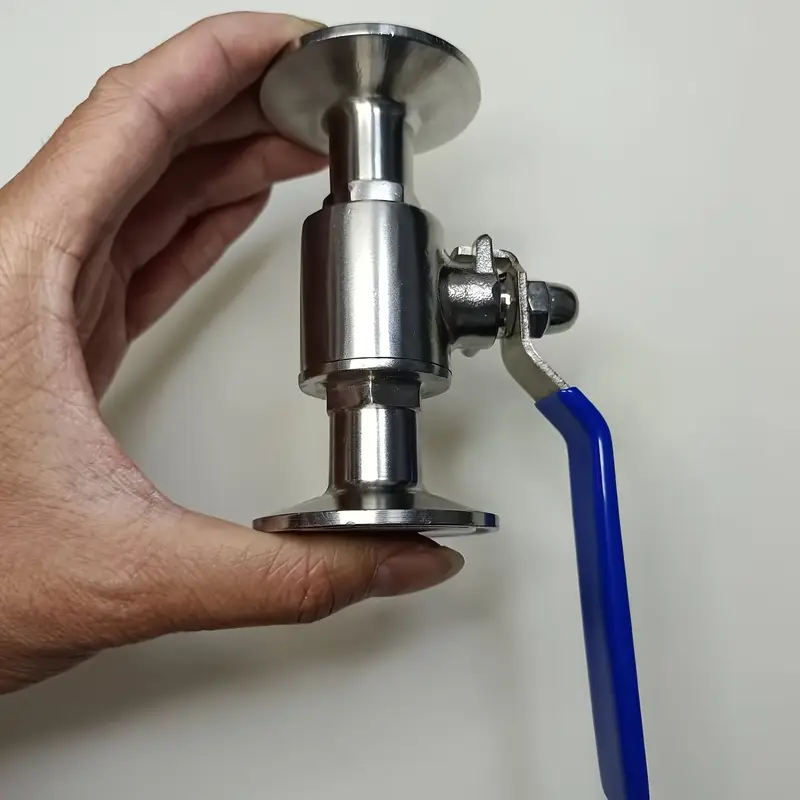
Credit: www.temu.com
Frequently Asked Questions
What Materials Are Needed To Cast Stainless Steel At Home?
You need stainless steel scrap, a high-temperature furnace, a crucible, protective gear, and molds. Safety equipment is crucial for handling molten metal safely.
How Do I Safely Melt Stainless Steel At Home?
Use a furnace that reaches over 2500°F. Wear heat-resistant gloves, goggles, and protective clothing. Work in a well-ventilated area to avoid fumes.
What Type Of Mold Works Best For Stainless Steel Casting?
Use steel or graphite molds for durability and heat resistance. Sand molds can also be used but may require more preparation.
Can I Cast Stainless Steel Without Professional Tools?
Home casting requires specialized tools for safety and precision. Improvised tools increase risk and reduce quality. Investing in proper equipment is essential.
Conclusion
Casting stainless steel at home takes care and patience. Follow safety steps and use the right tools. Practice helps improve your skills over time. Small projects build confidence and knowledge. Enjoy the process and learn from mistakes. Soon, you can create strong, useful metal items.
Keep experimenting and stay curious about casting methods. This craft can become a fun hobby or useful skill.