

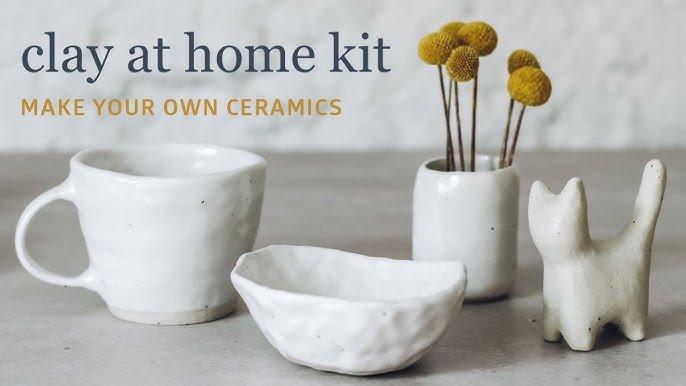
Are you ready to turn your creative ideas into beautiful pottery right in your own home? Baking pottery clay at home is easier than you might think, and it opens up a world of possibilities for making personalized art, gifts, and decor.
Whether you’re a beginner or looking to improve your skills, this guide will show you simple steps to bake your clay safely and effectively. Keep reading, and you’ll discover tips that can save you time, avoid common mistakes, and help your pottery come out perfect every time.
Your next masterpiece is just a bake away!
Choosing The Right Clay
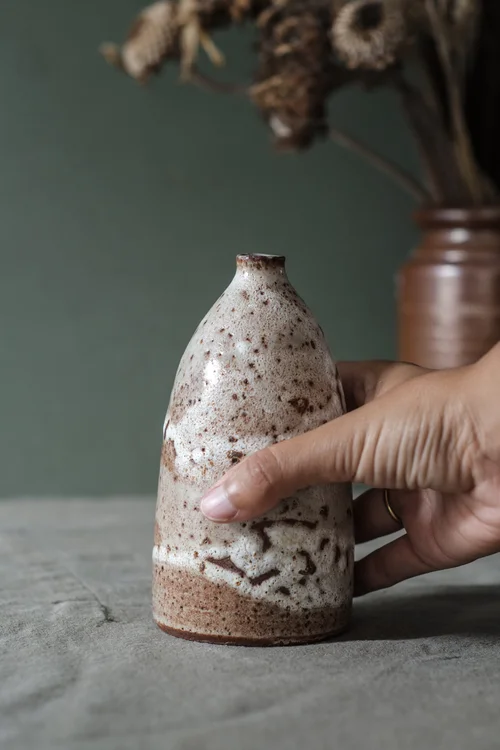
Choosing the right clay is important for baking pottery at home. Different clays have different baking needs and results.
Some clays need high heat and special kilns. Others bake well in a regular oven. Knowing your clay helps you bake safely.
Types Of Pottery Clay
There are many types of pottery clay. Each type has unique features and uses. Some common types are earthenware, stoneware, and porcelain.
Earthenware is soft and easy to shape. Stoneware is stronger and harder. Porcelain is smooth and delicate but needs high heat.
- Earthenware:Low firing temperature, porous after baking.
- Stoneware:Medium to high firing temperature, durable.
- Porcelain:High firing temperature, smooth finish.
Clay Suitable For Home Baking
Not all pottery clay works for home baking. Oven-bake clay and polymer clay are best for home use. They harden at low temperatures.
Oven-bake clays cure at 200-275°F (90-135°C). Polymer clay bakes between 230-275°F (110-135°C). These clays do not need a kiln.
- Oven-bake clay:Easy to shape, bakes in a home oven.
- Polymer clay:Comes in many colors, bakes solid and strong.
- Air-dry clay:Does not need baking but dries hard at room temperature.
Preparing Your Workspace
Baking pottery clay at home needs a clean and organized workspace. This helps you work safely and get good results.
Before you start, gather your tools and make sure your baking area is safe and ready. This guide will help you prepare well.
Tools You’ll Need
Having the right tools makes baking pottery clay easier and safer. You need items for shaping, baking, and cooling your clay pieces.
- Oven thermometer to check temperature accuracy
- Heat-resistant gloves to protect your hands
- Metal baking tray or ceramic kiln shelf
- Wire rack for cooling the pottery
- Timer to monitor baking time
- Worktable covered with a heatproof mat
Setting Up A Safe Baking Area
Safety is important when baking clay at home. Set up your baking area away from flammable items and good ventilation is key.
| Safety Tip | Reason |
| Keep area free of paper and cloth | Prevents fire hazards |
| Use oven thermometer | Ensures correct baking temperature |
| Place heatproof mat under baking tray | Protects surfaces from heat damage |
| Open windows or use fan | Improves ventilation and air quality |
| Wear heat-resistant gloves | Protects hands from burns |
Shaping Your Pottery
Shaping pottery clay is a fun and creative step in making your own pieces. It lets you give your clay the form you want before baking it at home.
You can use simple tools and your hands to mold the clay into different shapes. The key is to be patient and gentle.
Basic Techniques For Molding
Start by kneading the clay to make it soft and easy to work with. This removes air bubbles and helps the clay hold its shape.
- Pinch the clay to create bowls or cups.
- Roll the clay into coils for making pots or vases.
- Use a flat surface to press and shape slabs of clay.
- Join pieces by scoring and adding slip (liquid clay) to stick parts together.
Tips For Smooth Finishing
Smooth finishing makes your pottery look neat and professional. Use these tips to improve the surface.
| Method | Description | Tools Needed |
| Water smoothing | Lightly wet your fingers and rub the surface to smooth bumps. | Water, fingers |
| Sanding | After drying, gently sand rough areas with fine sandpaper. | Fine sandpaper |
| Using a sponge | Rub a damp sponge on the clay to even out texture. | Damp sponge |
Drying Before Baking
Drying pottery clay before baking is very important. It helps prevent cracks and breaks during baking.
Proper drying makes your clay stronger and lasts longer. Learning how to dry it well is key to good results.
Importance Of Proper Drying
Clay holds moisture that can cause problems if not dried. Baking wet clay may create steam inside, causing cracks or explosions.
Drying helps the clay shrink slowly and evenly. This avoids warping or breaking your piece during baking.
- Prevents cracks and breaks
- Ensures even shrinking
- Improves strength and durability
- Makes baking safer
Methods To Speed Up Drying
Drying clay can take several days. You can use some tricks to make it dry faster without damage.
| Method | Description | Tips |
| Air Drying | Leave clay in a dry, warm place | Turn pieces often for even drying |
| Use a Fan | Circulate air around the clay | Keep fan low speed, not too close |
| Sunlight | Place clay where it gets indirect sunlight | Avoid strong direct sun to prevent cracks |
| Clay Drying Box | Use a container with controlled airflow | Check humidity and temperature regularly |
Baking Process At Home
Baking pottery clay at home can be a fun and rewarding activity. You only need a few tools and some patience to get started.
Understanding the right temperature and timing is important. It ensures your pottery is strong and durable.
Oven Temperature And Timing
Temperature control is crucial when baking clay. Too high can crack your pottery. Too low, and it might not harden properly.
Most clays need to be baked at around 220°F to 300°F. Timing can vary, but usually, it takes about 30 minutes to one hour.
- Check the clay package for specific instructions
- Preheat the oven before placing the clay inside
- Use an oven thermometer for accurate temperature
Using A Toaster Oven Or Conventional Oven
A toaster oven can be convenient for small pieces. It heats up quickly and uses less energy.
A conventional oven is great for larger pieces. It provides even heating, which is important for consistent results.
| Toaster Oven | Conventional Oven |
| Quick heating | Even heating |
| Small pieces | Large pieces |
| Less energy | More space |
Cooling And Finishing Touches
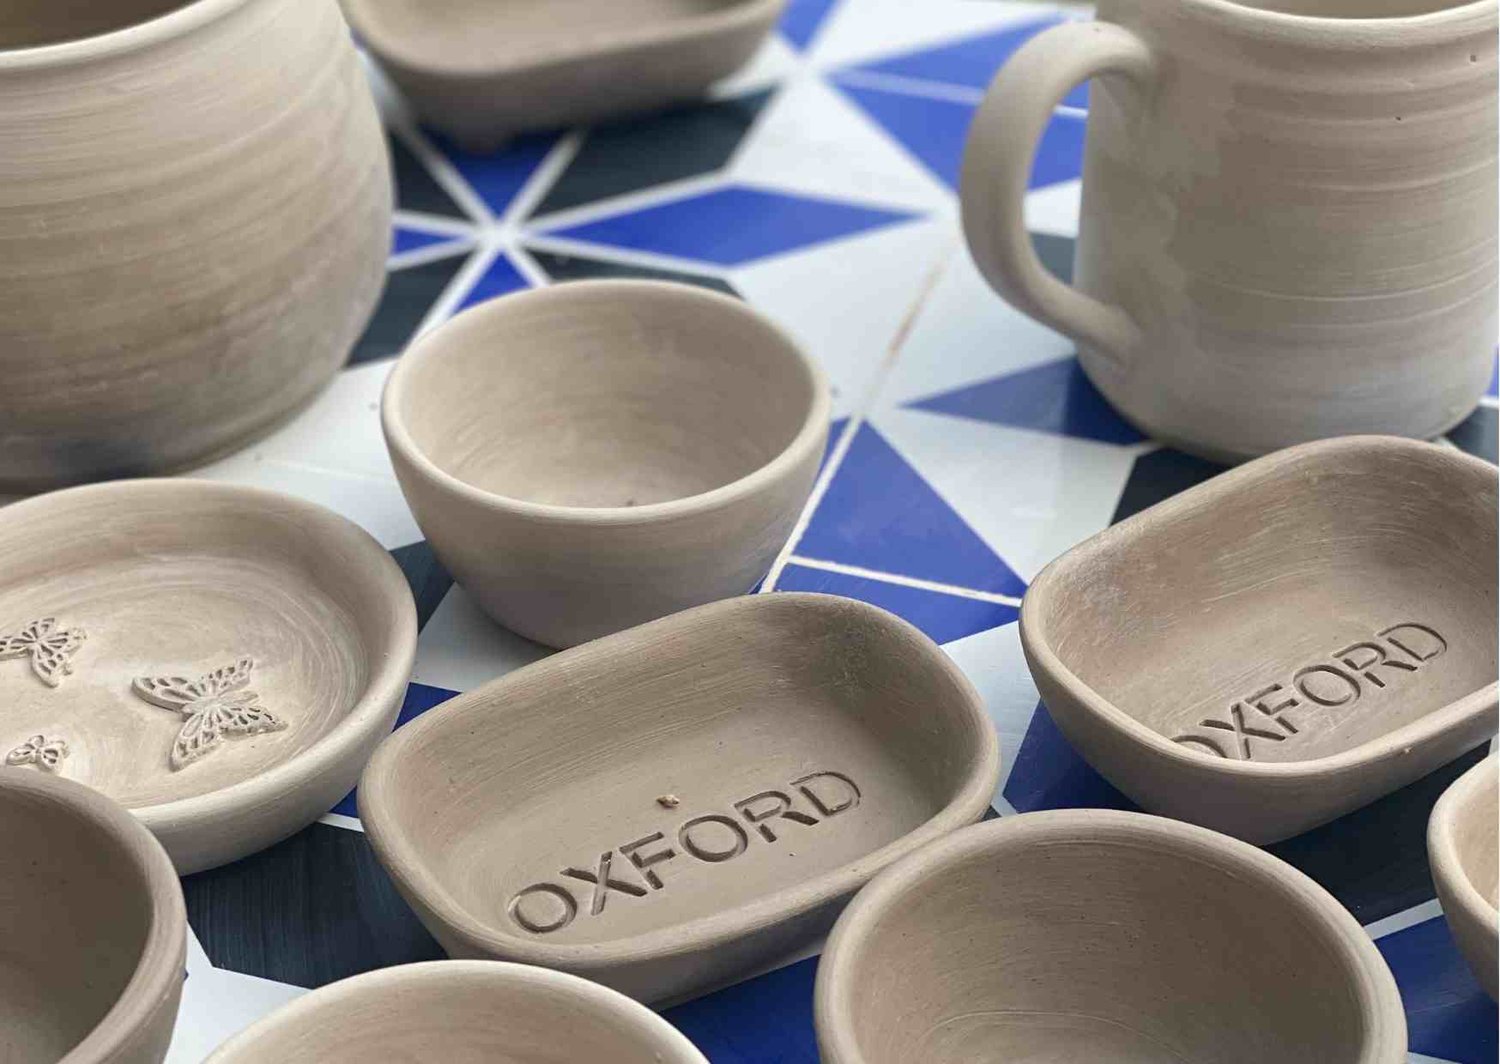
After baking pottery clay, cooling is a crucial step. Proper cooling prevents cracks and damage. Finishing touches improve the look and feel of your piece.
Take your time with cooling and finishing. These steps make your pottery last longer and look better.
Safe Cooling Practices
Let your pottery cool down slowly at room temperature. Avoid moving it while warm. Sudden changes in temperature can cause cracks.
Do not put hot pottery in cold water or outside in cold weather. Keep it on a heat-safe surface. This helps the clay cool evenly.
- Turn off the oven before opening it
- Leave pottery inside the oven to cool for 30-60 minutes
- Move pottery gently after it reaches room temperature
- Avoid drafts or sudden temperature drops
Sanding And Painting Options
Once cool, you can sand the pottery to smooth rough edges. Use fine-grit sandpaper and sand gently. This makes painting easier and cleaner.
Choose paints made for clay or ceramics. Acrylic paints work well. Paint your pottery in thin layers for the best results.
- Sand with 220-400 grit sandpaper
- Clean dust off with a soft cloth after sanding
- Apply acrylic paint in thin coats
- Let paint dry fully between coats
- Seal painted pottery with a clear acrylic sealer
Common Mistakes To Avoid
Baking pottery clay at home can be a fun activity. But, it is easy to make mistakes that can ruin your work. Knowing these errors helps you create better pottery pieces.
In this guide, you will learn about common mistakes. Avoid them to ensure your clay projects turn out well.
Overbaking And Cracking
Overbaking clay makes it brittle and prone to cracking. Always follow the baking time and temperature on the clay package. Check your oven’s heat settings to ensure accuracy.
If your clay cracks, it might be because of rapid temperature changes. Let the clay cool down gradually after baking. This helps to prevent cracks.
- Use an oven thermometer to check temperature
- Set a timer to avoid overbaking
- Cool clay in the oven with the door slightly open
Uneven Thickness Issues
Uneven thickness in clay pieces causes problems. Thin areas may break easily. Thick spots take longer to bake and may not harden properly.
Before baking, check your piece for uniform thickness. Use tools like a rolling pin to make the clay even. This ensures that your pottery bakes evenly.
- Check thickness with a ruler
- Use spacers for even rolling
- Inspect the piece before baking

Care And Maintenance Of Baked Pottery
Baked pottery can last for many years with proper care. Taking time to clean and store your pottery right keeps it looking good. This guide helps you maintain your pottery at home.
Proper care prevents damage and preserves the beauty of your clay pieces. Follow these simple tips to keep your pottery in top shape.
Cleaning Tips
Cleaning baked pottery needs a gentle approach. Avoid harsh chemicals that can damage the surface. Use soft tools and mild cleaners.
- Rinse pottery with warm water after use.
- Use a soft sponge or cloth for cleaning.
- Apply mild dish soap if needed.
- Do not use abrasive scrubbers or steel wool.
- Dry pottery completely with a soft towel before storing.
- For stubborn stains, soak in warm soapy water briefly.
Handling And Storage
Proper handling and storage protect your pottery from chips and cracks. Always be careful when moving or stacking your pieces.
| Tip | Details |
| Handle with care | Hold pottery with both hands to avoid drops. |
| Avoid stacking | Place soft padding between stacked items. |
| Store in dry place | Keep pottery away from moisture to prevent damage. |
| Use display shelves | Showcase pottery safely on stable shelves. |
| Keep away from direct sunlight | Sunlight can fade painted or glazed surfaces. |
Frequently Asked Questions
How Long Should I Bake Pottery Clay At Home?
Bake pottery clay for 15 to 30 minutes at 275°F (135°C). Baking time varies by clay thickness. Always follow your clay manufacturer's instructions for best results.
Can I Use A Regular Oven To Bake Pottery Clay?
Yes, a regular kitchen oven works well for baking pottery clay. Ensure your oven temperature is accurate and avoid higher temperatures that can burn the clay.
What Temperature Is Best For Baking Pottery Clay?
The ideal temperature for baking pottery clay is 275°F (135°C). Avoid exceeding this to prevent cracking or burning. Always check specific clay guidelines.
How Do I Know When Pottery Clay Is Fully Baked?
Pottery clay is fully baked when it hardens and cools to room temperature. It should feel firm but not brittle or soft inside.
Conclusion
Baking pottery clay at home is simple with the right steps. Use the correct temperature and time for best results. Always prepare your clay pieces carefully before baking. Keep safety in mind and bake in a well-ventilated area. Practice helps you improve your skills every time.
Enjoy creating your own pottery with confidence. Start small, stay patient, and have fun!






