Have you ever wanted to bring your ceramic creations to life right in your own home? Baking ceramic clay might seem tricky, but it’s easier than you think.
Whether you’re a beginner or looking to perfect your craft, knowing how to bake ceramic clay at home can save you time and money. In this guide, you’ll discover simple steps and insider tips that make your clay strong, durable, and beautiful.
Ready to turn your ideas into lasting art? Keep reading, and you’ll master the process in no time.

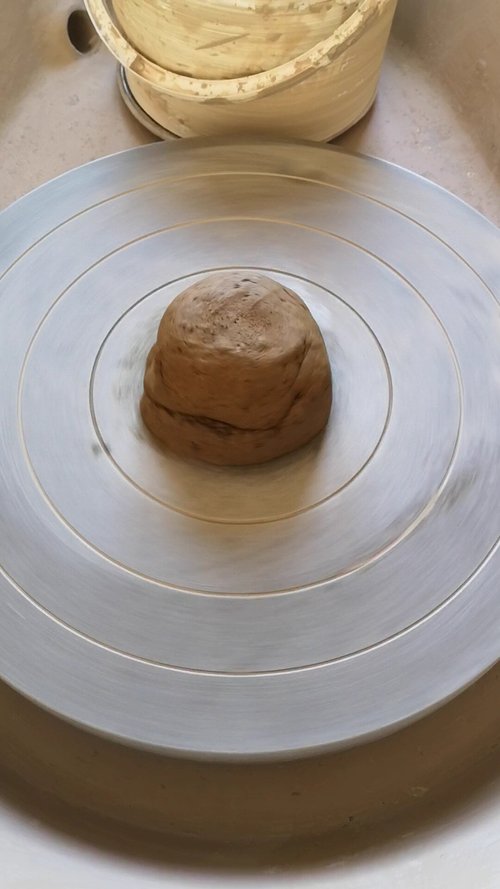
Credit: potterycrafters.com
Choosing The Right Clay
Baking ceramic clay at home needs the right type of clay. Not all clays work well with home ovens.
Choosing the right clay makes your project easier and your results better. It also keeps your oven safe.
Types Of Ceramic Clay
Ceramic clay comes in many types. Each has different qualities and firing needs.
- Earthenware: Low firing temperature, porous and soft.
- Stoneware: Medium to high firing, strong and dense.
- Porcelain: High firing, very smooth and white.
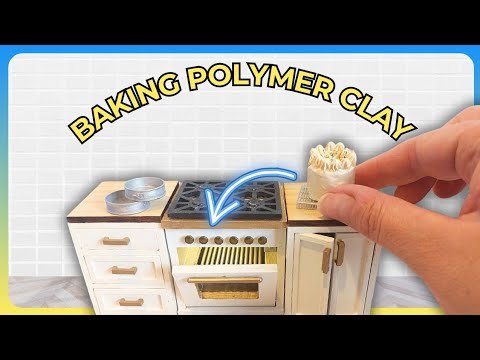
- Polymer Clay: Not real clay, bakes at low temperature in home ovens.
Choosing the right type depends on the tools you have and your project goals.
Clay Suitable For Home Baking
Most ceramic clays need a kiln to bake at high temperatures. Kilns are not common at home.
Polymer clay is best for home baking. It hardens at low temperatures in regular ovens.
- Polymer clay bakes at 265°F to 275°F (130°C).
- It is easy to shape and comes in many colors.
- It does not need a kiln or special tools.
- Always follow baking instructions on the package.
Some air-dry clays are also good for home use but do not bake. They harden by drying.
Credit: www.leelachakravarti.com
Preparing Your Workspace
Creating a clean and organized workspace helps you bake ceramic clay safely and well. It makes the process easier and keeps your clay free from dirt.
Before you start, set up everything you need in one place. This saves time and keeps your work neat.
Essential Tools And Materials
Gather all the tools and materials before you bake ceramic clay. This prevents interruptions and mistakes.
- Ceramic clay pieces you want to bake
- Oven or kiln suitable for baking clay
- Heat-resistant gloves to protect your hands
- Baking tray or ceramic kiln shelf
- Thermometer to check oven temperature
- Protective surface cover, like aluminum foil or ceramic tiles
- Timer to track baking time
Safety Precautions
Safety is important when baking ceramic clay at home. Follow these rules to avoid accidents.
| Safety Precaution | Why It Matters |
|---|---|
| Use heat-resistant gloves | Protects hands from burns when handling hot items |
| Work in a well-ventilated area | Prevents inhaling harmful fumes from clay or glaze |
| Keep a fire extinguisher nearby | Allows quick response in case of fire |
| Do not leave oven or kiln unattended | Prevents overheating and accidents |
| Check oven temperature with a thermometer | Ensures correct baking temperature and safety |
Shaping Your Clay
Shaping ceramic clay is the first step in creating your artwork. It allows you to form the base of your piece. Good shaping helps your clay hold its form during baking.
Using simple tools and hands, you can shape your clay into many designs. This section explains basic ways to shape and smooth your clay at home.
Basic Techniques
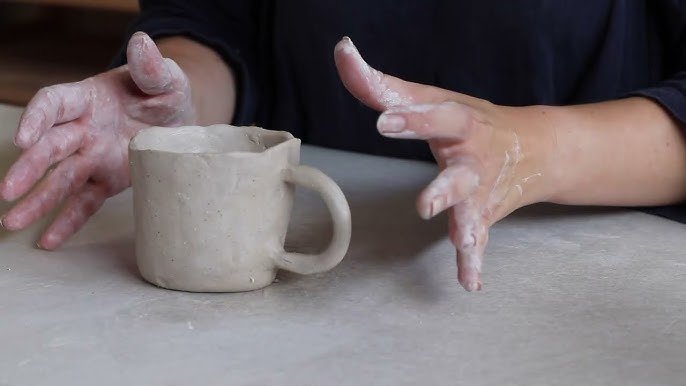
Start by kneading your clay to make it soft and even. Roll it into balls or logs to prepare for different shapes. You can pinch, coil, or slab your clay depending on your design.
- Knead the clay to remove air bubbles.
- Use your fingers to pinch the shape gently.
- Roll coils for pots or vases.
- Flatten slabs for tiles or flat surfaces.
- Join pieces by scoring and adding slip (watered clay).
Tips For Smooth Surfaces
Smooth surfaces improve the look of your clay piece. You can use simple tools and water to get a clean finish. Avoid rough patches that may crack during baking.
| Tool | Use | Tip |
| Sponge | Moisten and smooth clay | Use damp sponge gently |
| Rubber Rib | Shape and smooth curves | Work in circular motions |
| Brush | Apply slip for joining | Use soft brush for thin slip |
| Fingers | Blend seams and edges | Keep hands slightly wet |
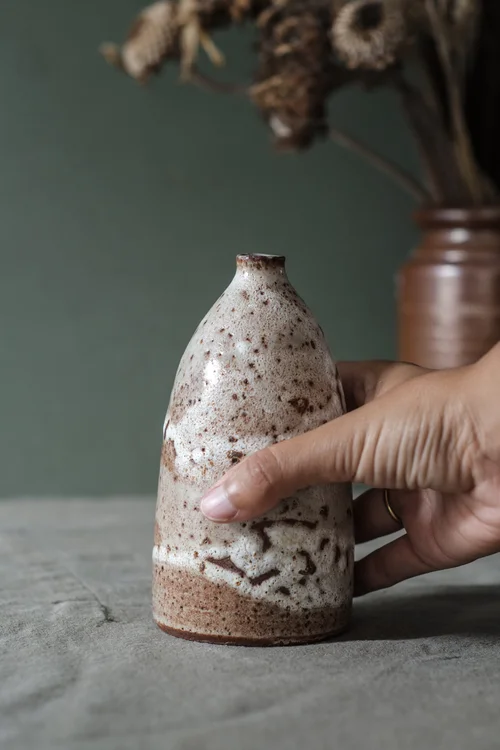
Credit: www.leelachakravarti.com
Drying The Clay
Drying is a crucial step before baking ceramic clay. It helps the clay harden and prepare for firing.
Proper drying prevents damage and ensures a smooth finish on your clay pieces.
Air Drying Methods
Air drying is the most common way to remove moisture from ceramic clay at home. It takes time but is gentle on the clay.
- Place the clay piece on a flat surface with good air flow.
- Turn the piece regularly to dry all sides evenly.
- Keep the clay away from direct sunlight to avoid quick drying.
- Use a fan to speed up drying but avoid strong blasts of air.
- Cover the clay lightly with a cloth to control drying speed.
Avoiding Cracks
Cracks happen when clay dries too fast or unevenly. You can avoid cracks by following simple rules.
| Cause | How to Prevent |
| Drying too fast | Dry clay slowly, avoid direct sun and heat |
| Uneven drying | Turn clay regularly and cover it loosely |
| Thick clay areas | Make clay thickness even throughout the piece |
| Trapped air | Remove air bubbles during clay shaping |
Baking Clay At Home
Baking ceramic clay at home lets you create strong, durable items. You can use your kitchen oven to harden the clay safely.
Follow simple steps on temperature, time, and cooling to get the best results for your clay projects.
Oven Temperature Settings
Set your oven to the correct temperature for the type of ceramic clay you use. Most clays bake well between 215°F and 275°F (102°C to 135°C).
- Check the clay package for exact temperature instructions.
- Preheat the oven before placing clay inside.
- Use an oven thermometer to confirm the temperature.
Baking Duration
Baking time depends on clay thickness and size. Usually, it takes 15 to 30 minutes per 1/4 inch (6 mm) of thickness.
| Clay Thickness | Baking Time |
| 1/8 inch (3 mm) | 10 to 15 minutes |
| 1/4 inch (6 mm) | 15 to 30 minutes |
| 1/2 inch (12 mm) | 30 to 60 minutes |
Cooling Process
After baking, let the clay cool slowly inside the oven. This prevents cracks and warping.
Follow these tips for cooling:
- Turn off the oven and leave the clay inside.
- Wait at least 30 minutes or until the oven reaches room temperature.
- Remove clay carefully once cool.
Finishing Touches
Once your ceramic clay piece is baked, it's time for the finishing touches. These steps help your creation look polished and professional.
Finishing touches include sanding, smoothing, painting, and glazing. Each step enhances the final appearance of your work.
Sanding And Smoothing
After baking, your clay piece may have rough edges. Sanding is essential to achieve a smooth surface.
Use fine-grit sandpaper for best results. Gently sand the surface until it feels smooth to the touch.
- Sand in a circular motion
- Check for uneven spots
- Wear a mask to avoid dust
Painting And Glazing Options
Painting and glazing add color and shine to your ceramic piece. Choose the right option for your design.
Acrylic paints work well for bright colors. For a glossy finish, apply glaze after painting.
- Select colors that suit your style
- Apply glaze evenly for a smooth finish
- Follow glaze instructions carefully
Common Mistakes To Avoid
Baking ceramic clay at home can be rewarding, but it requires care. Mistakes can ruin your project and waste materials.
Knowing common pitfalls helps you avoid them, ensuring better results with your clay creations.
Overbaking Issues
Overbaking clay is a frequent problem. It can cause your project to crack or even explode in the kiln.
- Check kiln temperature often to prevent overheating.
- Use a timer to avoid extending baking time.
- Refer to clay packaging for recommended settings.
Improper Drying
Improper drying of clay can lead to uneven surfaces and cracks. Drying time varies based on the clay thickness.
| Clay Thickness | Recommended Drying Time |
| 1 cm | 24 hours |
| 2 cm | 48 hours |
| 3 cm | 72 hours |
Frequently Asked Questions
How Hot Should I Bake Ceramic Clay At Home?
Bake ceramic clay at 275°F to 350°F for 30 minutes. Follow your clay brand's instructions for exact temperature and time. Proper baking ensures durability and prevents cracks.
Can I Use A Regular Oven To Bake Ceramic Clay?
Yes, a regular oven works well for baking ceramic clay. Avoid microwave ovens as they don't heat evenly. Use an oven thermometer for accurate temperature control.
How Long Does Ceramic Clay Take To Bake Properly?
Baking time ranges from 15 to 30 minutes depending on clay thickness. Thicker pieces need longer baking to harden fully. Always check the manufacturer's recommendations for best results.
What Happens If I Bake Ceramic Clay Too Long?
Overbaking can cause discoloration, burning, or brittleness in ceramic clay. It may also crack or warp. Stick to recommended baking times to maintain quality and appearance.
Conclusion
Baking ceramic clay at home is simple with the right steps. Follow safety tips and control your oven temperature well. Take time to prepare your clay and bake it evenly. Enjoy creating your own pottery pieces without needing special tools.
Practice helps you improve with every project you try. Have fun with your clay and watch your skills grow. Keep your workspace clean and stay patient during baking. Soon, you will make beautiful ceramic art right from your home.