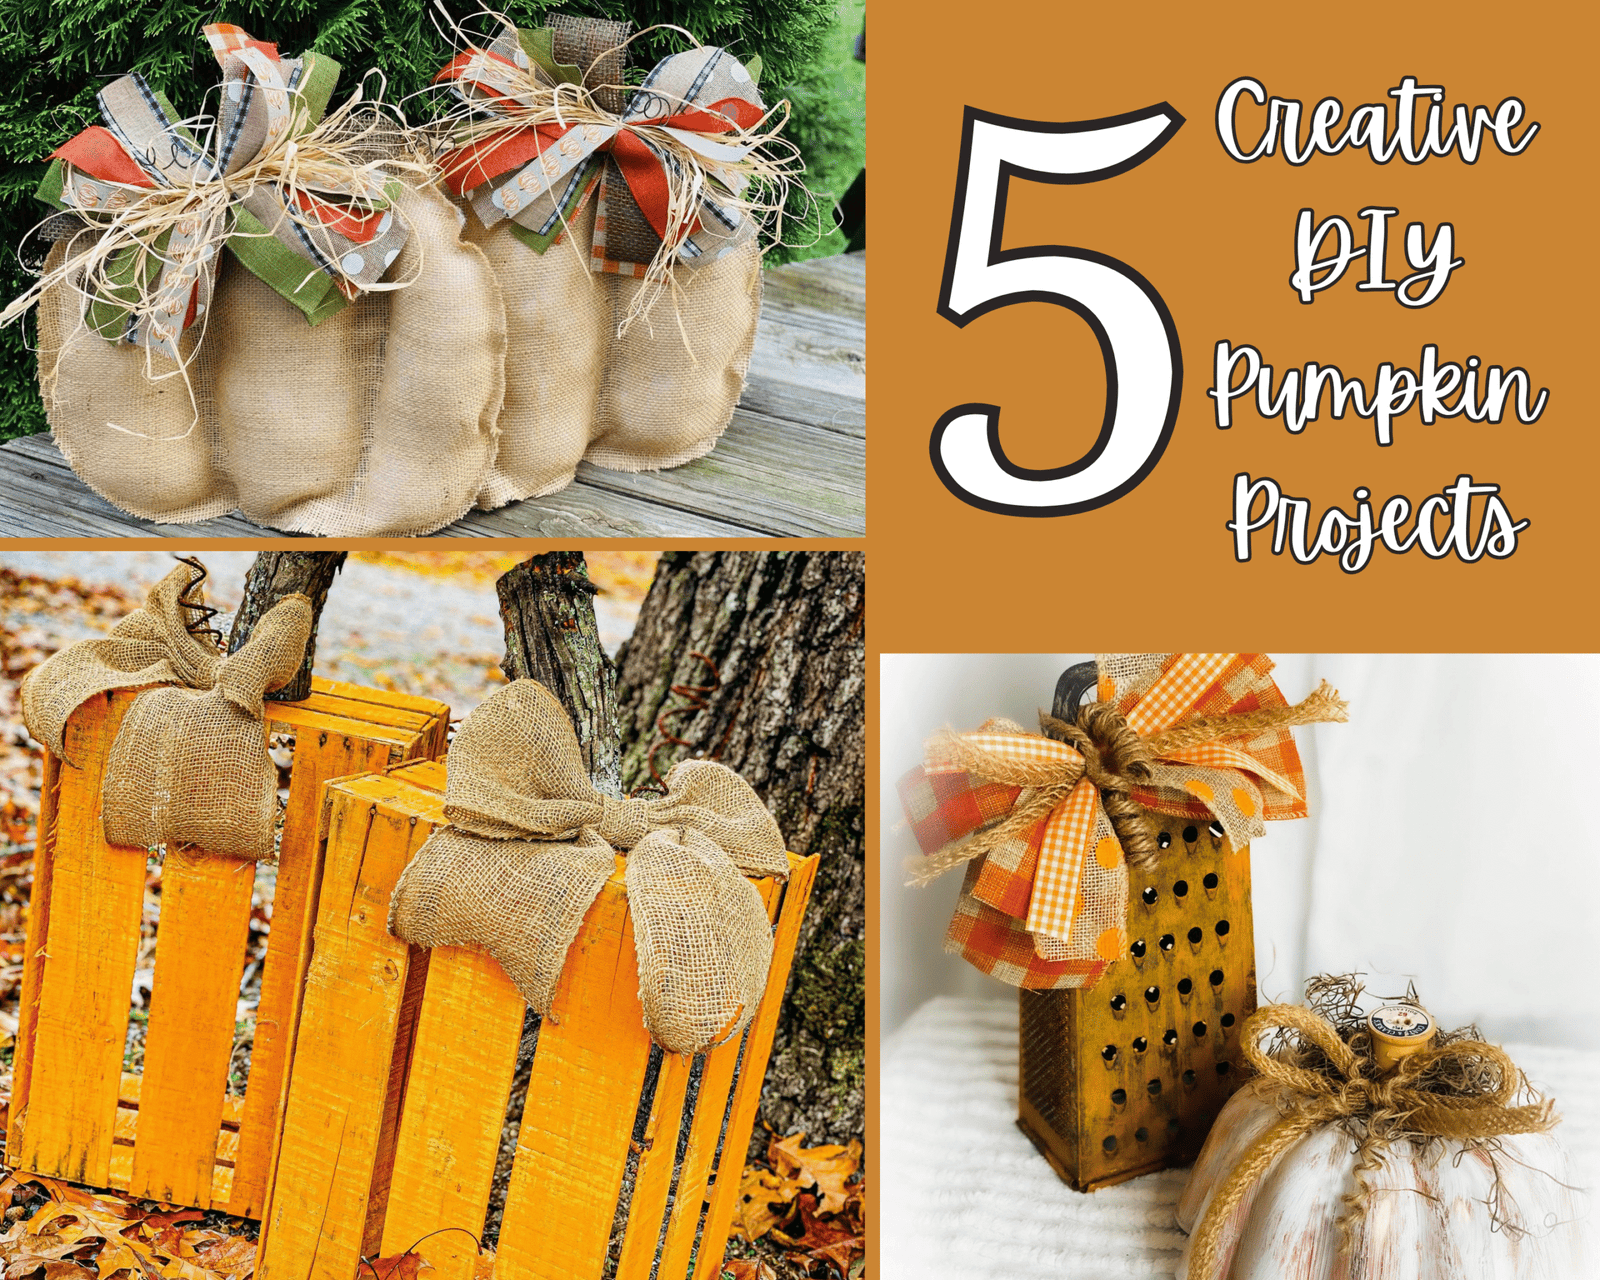
Are you looking for a simple and charming way to bring the cozy feeling of fall into your home? A Fall Burlap Pumpkin Craft is the perfect project for you.
It’s easy to make, budget-friendly, and adds a warm, rustic touch to any room. Imagine creating a beautiful pumpkin decoration with your own hands—no special skills needed. Keep reading, and you’ll discover step-by-step tips that make this craft fun and relaxing.
By the end, you’ll have a unique piece that not only brightens your space but also fills you with pride every time you see it. Ready to get started? Let’s dive in!
Materials Needed
This fall burlap pumpkin craft is fun and easy. You only need a few supplies to get started.
Gather the right materials to make your pumpkin look great and last long.
Choosing The Right Burlap
Pick burlap that is soft but sturdy. Natural colors like tan or brown work best. Avoid very rough burlap to keep your craft neat.
- Natural burlap fabric (cut into squares or strips)
- Colors: tan, brown, or orange
- Soft texture for easy shaping
- Enough fabric to cover the pumpkin base
Essential Craft Supplies
| Supply | Purpose |
| Hot glue gun | To attach burlap and decorations |
| Scissors | To cut burlap and ribbon |
| Foam pumpkin form | Base shape for the craft |
| Ribbon or twine | To tie and decorate the pumpkin |
| Floral wire | To secure pieces if needed |
Optional Decorative Items
Add extra flair with decorations. These items help personalize your pumpkin for fall themes.
- Small faux leaves or flowers
- Buttons or beads
- Glitter or paint for accents
- Mini pine cones or acorns
- Jute or burlap ribbon for bows

Basic Burlap Pumpkin Steps
Creating a fall burlap pumpkin is a simple and fun craft. You only need a few materials and some basic steps to get started.
This guide will help you with the main parts of making a burlap pumpkin. Follow each step carefully to get the best results.
Cutting And Shaping Burlap
Start by cutting a square or circle of burlap fabric. The size depends on how big you want your pumpkin to be.
Make sure the edges are neat to avoid fraying. You can fold or trim the fabric for a cleaner look.
- Use sharp scissors for clean cuts
- Choose burlap with a tight weave for strength
- Trim any loose threads
Creating The Pumpkin Form
Place the burlap piece flat and put some stuffing in the center. This can be cotton, fabric scraps, or polyfill.
Gather the edges of the burlap up around the stuffing. Pull the fabric tightly to shape it like a pumpkin.
- Use your hands to smooth the shape
- Add more stuffing if needed
- Make sure the shape is round and even
Securing The Edges
Once the pumpkin shape is formed, secure the edges by tying the fabric. Use strong twine or thread.
Tie the twine tightly to hold the shape. You can wrap the twine around the pumpkin to add ridges.
- Make a knot at the bottom to keep stuffing inside
- Wrap twine around the pumpkin 3-5 times
- Tie a knot at the top or side for decoration
Adding Texture And Dimension
Creating a burlap pumpkin adds warmth to your fall decor. Texture and dimension make your craft stand out. Use simple materials to build a rich, tactile look.
Small details bring life to your pumpkin. Focus on stems, leaves, and stuffing to add depth. These parts make your craft feel natural and inviting.
Using Twine For Stems
Twine works well for pumpkin stems. It adds a rustic, rough texture. Wrap twine tightly around a small stick or rolled cardboard to form the stem. Glue the stem to the top center of your burlap pumpkin for a natural look.
Incorporating Leaves And Vines
Add leaves and vines to enhance the pumpkin's shape and texture. Use green burlap or felt for leaves. Curl thin strips of twine or wire to create vines. Attach these around the stem and sides to mimic real pumpkin growth.
- Cut leaf shapes from green fabric
- Use a hot glue gun to attach leaves near the stem
- Twist twine to form curly vines
- Glue vines spiraling down the pumpkin sides
Stuffing Techniques
Stuffing adds volume and dimension to your pumpkin. Use fiberfill, scrap fabric, or cotton balls. Fill the pumpkin tightly to keep its shape firm. Soft stuffing materials help create a smooth, rounded surface.
| Stuffing Material | Texture | Effect on Pumpkin |
|---|---|---|
| Fiberfill | Soft and fluffy | Gives a smooth, full shape |
| Scrap Fabric | Varied textures | Adds firmness and rustic feel |
| Cotton Balls | Soft and light | Creates a light and soft pumpkin |

Creative Variations
Fall burlap pumpkin crafts come in many creative styles. You can make simple or detailed pumpkins to decorate your home.
Try different ideas to add variety. Use colors, textures, and sizes to make each pumpkin unique and fun.
Mini Burlap Pumpkins
Mini burlap pumpkins are perfect for small spaces. They look cute on shelves, tables, or mantelpieces.
- Use small pieces of burlap to make tiny pumpkins.
- Add twine or ribbon for stems and leaves.
- Group several mini pumpkins for a charming display.
- Mix natural and dyed burlap for color contrast.
Painted And Stenciled Designs
Painting and stenciling add patterns and colors to your burlap pumpkins. This makes each one stand out.
| Technique | Description |
| Hand Painting | Use brushes to create freehand designs like stripes or dots. |
| Stencil Art | Apply paint through stencils for precise shapes and letters. |
| Spray Paint | Lightly spray paint for a soft, blended look. |
Layering Different Fabrics
Layering fabrics gives your pumpkins texture and depth. Combine burlap with other materials for a unique look.
- Place lace or cotton fabric over burlap for a soft touch.
- Use felt pieces to create leaves and stems with bold colors.
- Mix burlap with plaid or floral fabrics for a fall theme.
- Glue layers carefully to keep the shape neat.
Displaying Your Pumpkins
Fall burlap pumpkins add a warm touch to any space. Displaying them well makes your home feel cozy.
You can place these pumpkins indoors or outdoors. Use different ideas to create a festive look.
Indoor Decoration Ideas
Place burlap pumpkins on shelves or tables inside your home. They look great with candles and books.
Group pumpkins in different sizes for a nice display. Add a small vase with fall leaves or flowers.
- Use a wooden tray to hold pumpkins
- Place near the fireplace or window
- Mix with fairy lights for a soft glow
- Set on a mantel with autumn garlands
Outdoor Arrangements
Place burlap pumpkins on your porch or front steps. They welcome guests with a fall vibe.
Arrange pumpkins with hay bales or corn stalks. Use pots or wooden crates for a rustic look.
- Line pumpkins along the walkway
- Combine with mums or potted plants
- Place near your door for easy view
- Use outdoor lanterns to highlight pumpkins
Combining With Other Fall Crafts
Mix burlap pumpkins with other fall crafts for a creative display. This adds texture and color.
Pair pumpkins with wreaths, painted leaves, or wooden signs. Use natural items like pine cones or acorns.
- Place pumpkins near handmade wreaths
- Add painted wooden signs with fall sayings
- Scatter pine cones and small gourds around
- Use burlap ribbons to tie crafts together

Tips For Longevity
Creating burlap pumpkins for fall is fun and easy. Keeping them looking good for years is also simple.
With a few care steps, your burlap pumpkins can last through many seasons.
Protecting From Weather
Burlap can wear out if left outside. Protect your pumpkins from rain and sun.
Place them under a covered porch or inside when it rains. This helps keep them dry and safe.
- Use a weatherproof spray to seal burlap
- Display in shaded areas to prevent sun damage
- Bring indoors during heavy storms
Storage Suggestions
Proper storage is key to keeping burlap pumpkins nice. Store them in a cool, dry place.
Keep them in a sealed box or bin to avoid dust and pests. This helps maintain their look and quality.
- Wrap each pumpkin in tissue paper
- Store in a plastic bin with a lid
- Label the bin for easy identification
Refreshing Your Crafts Each Season
Refresh your burlap pumpkins to keep them looking new. Small updates can make a big difference.
Add new bows or leaves for a fresh look. Clean them with a soft brush to remove dust.
- Replace faded decorations with new ones
- Use a lint roller to clean the burlap
- Consider new color accents for variety
Frequently Asked Questions
What Materials Are Needed For A Fall Burlap Pumpkin Craft?
To make a fall burlap pumpkin, you need burlap fabric, stuffing, hot glue, twine, and scissors. Optional items include faux leaves and pumpkin stems for decoration.
How Do You Create The Shape Of A Burlap Pumpkin?
Cut burlap into strips, gather them in the center, and stuff with filling. Tie tightly with twine to form a round, pumpkin-like shape.
Can I Customize The Size Of The Burlap Pumpkin?
Yes, you can make any size by adjusting burlap strip length and stuffing amount. Larger pumpkins need more stuffing and longer burlap strips.
How Do I Decorate My Burlap Pumpkin For Fall?
Add faux leaves, small pinecones, or a cinnamon stick stem. Use hot glue to attach decorations for a festive autumn look.
Conclusion
Crafting a fall burlap pumpkin adds warmth to your home. This simple project brings autumn colors inside. You can use it as decoration or a gift. The materials are easy to find and affordable. Kids and adults both enjoy making these pumpkins.
Try different sizes and shapes for variety. It’s a fun way to celebrate the fall season. Create memories while crafting something beautiful and cozy. This project fits any skill level and style. Enjoy the charm and comfort a burlap pumpkin brings.