Are you ready to add a unique touch to your living room without spending a fortune? Building your own living room table is easier than you think, and it gives you full control over the style, size, and materials.
Imagine having a piece that perfectly fits your space and reflects your personality. In this guide, you’ll discover simple steps and tips to create a beautiful, functional table that you’ll be proud to show off. Keep reading to unlock the secrets to making your living room truly yours.

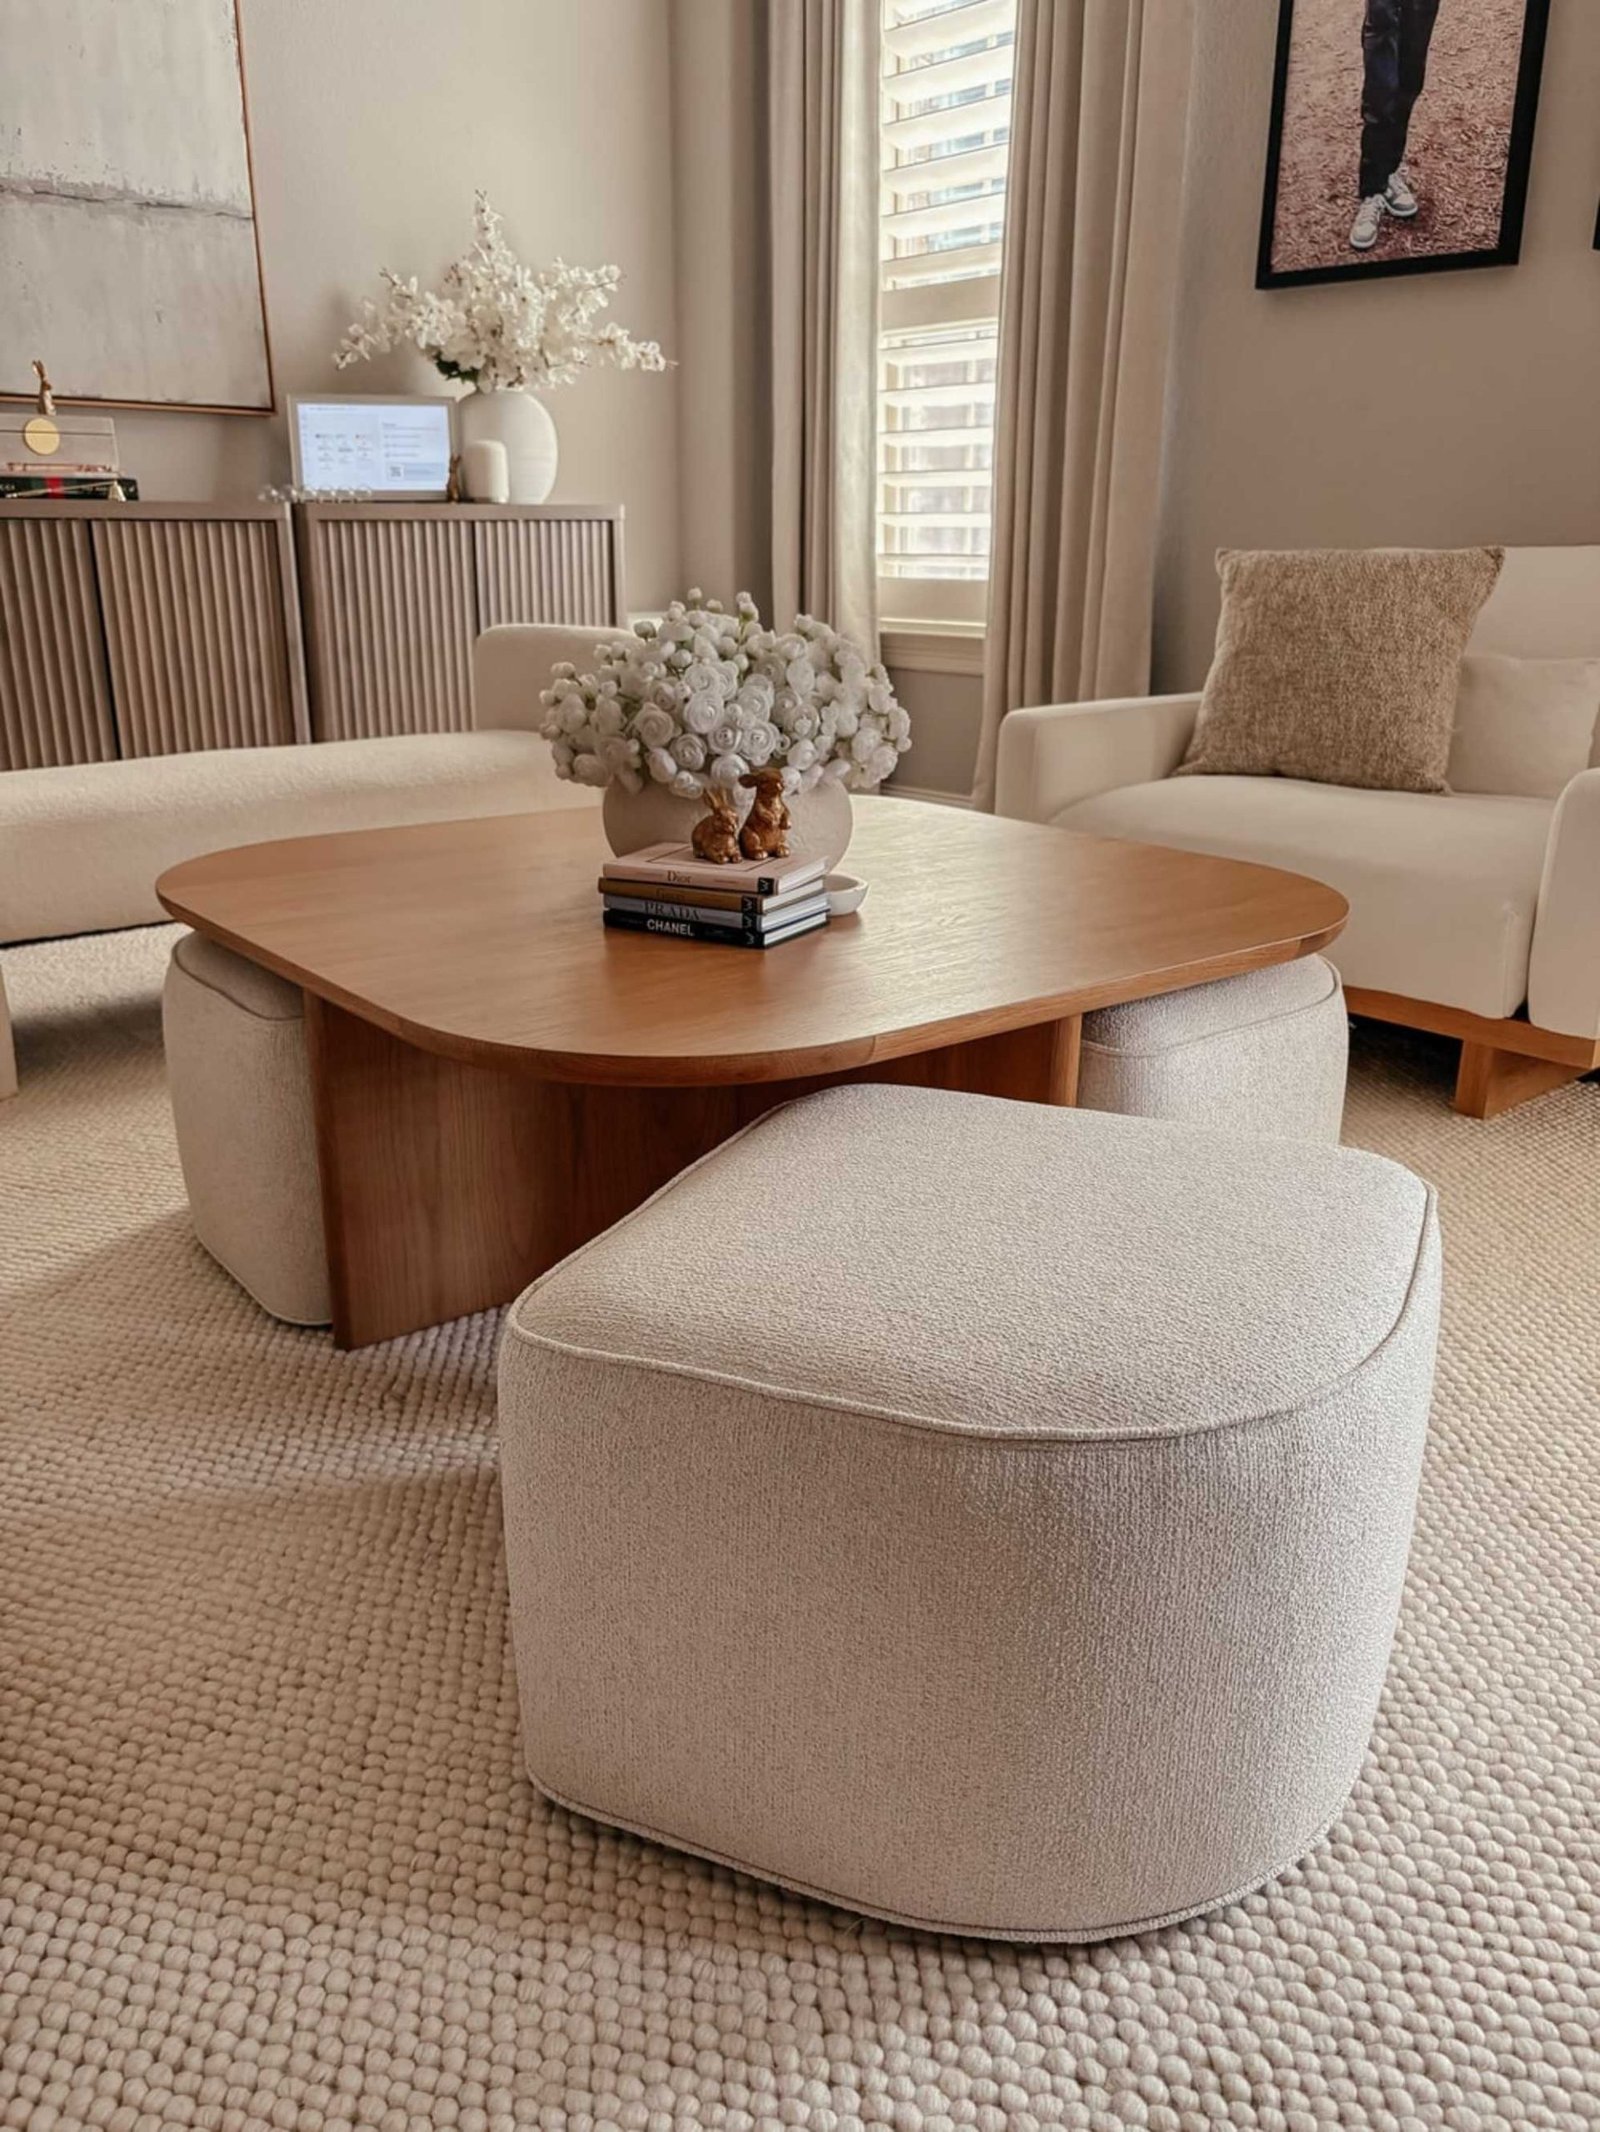
Credit: www.khaleejtimes.com
Choosing The Right Materials
Making your own living room table means picking the best materials. The right choice affects how the table looks and lasts.
Think about style, strength, and how easy it is to work with the material. This helps you build a table you will love.
Wood Types And Finishes
Wood is a popular choice for living room tables. It is strong and looks warm. Different woods have different colors and grains.
Finishes protect the wood and change its color or shine. You can use oils, varnishes, or paints to finish your table.
- Oak: strong and has a classic look
- Pine: soft and easy to work with
- Walnut: dark and rich in color
- Maple: light color and smooth grain
- Finish types: matte, glossy, satin
Repurposed And Upcycled Options
Using old materials can save money and help the environment. You can turn old doors, pallets, or wood scraps into a table.
These materials add character and a unique look. Sand and finish them well to make a smooth surface.
- Old doors make great table tops
- Wood pallets can be disassembled and reused
- Scrap wood gives a rustic feel
- Check for nails or damage before use
Glass And Metal Elements
Glass and metal parts add style and strength to your table. Glass tops look clean and modern. Metal legs are strong and durable.
Use tempered glass for safety. Choose metal with a finish that stops rust and matches your room.
- Tempered glass is safer and stronger
- Steel legs add industrial style
- Aluminum is lightweight and rust-resistant
- Mix glass and wood for a modern look

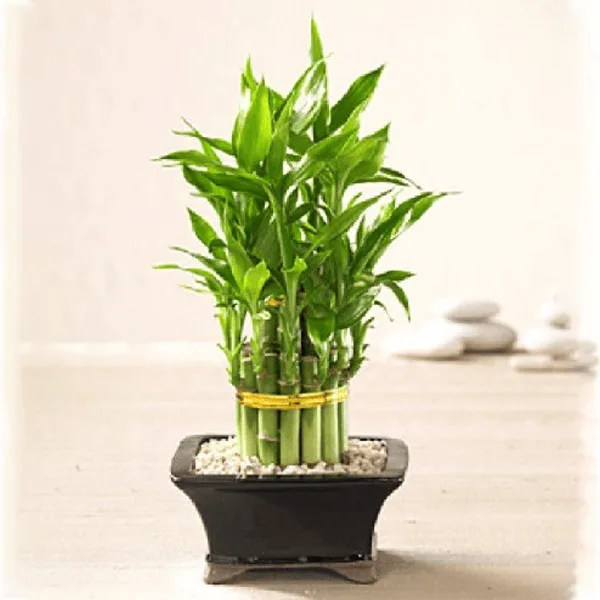
Credit: www.amazon.com.au
Design Styles To Consider
Choosing a style for your DIY living room table sets the tone for the space. The right design fits your taste and room decor.
Below are popular design styles to inspire your project. Each style has unique features and materials to think about.
Rustic And Farmhouse
This style uses natural wood with rough finishes. It brings a warm and cozy feel to your living room.
Look for reclaimed wood or distressed paint. Simple shapes and sturdy legs work best here.
Modern Minimalist
Minimalist tables have clean lines and few details. They focus on function and space.
- Use materials like glass, metal, or smooth wood
- Choose simple shapes like rectangles or circles
- Stick to neutral colors like white, black, or gray
- Avoid extra decoration or busy patterns
Industrial Chic
Industrial style uses metal and wood with a raw look. It adds an urban edge to your living room.
| Material | Description |
| Metal | Steel or iron with matte or rusty finish |
| Wood | Raw, unfinished or lightly stained planks |
| Design | Exposed hardware and simple shapes |
Bohemian Vibes
Bohemian style shows a mix of colors and textures. It feels free and artistic.
- Mix wood with colorful tiles or fabric
- Use carved or painted details
- Add plants or small decorative items
- Choose round or irregular shapes
Essential Tools And Supplies
Building your own living room table can be fun and rewarding. You need the right tools and supplies to get started.
This guide covers the essential items you need for making a simple living room table.
Basic Woodworking Tools
Woodworking tools help you cut, shape, and join wood pieces. Good tools make your work easier and more accurate.
Some basic tools include saws, drills, and measuring tools.
- Hand saw or circular saw for cutting wood
- Electric drill with drill bits for making holes
- Hammer and nails for joining parts
- Screwdriver for screws
- Measuring tape and square for precise measurements
- Sandpaper or sanding block for smoothing surfaces
- Clamps to hold pieces in place while working
Painting And Finishing Supplies
Painting and finishing protect the wood and make your table look nice. Choose supplies that fit your style.
You will need brushes, paint, or stain, plus a finish coat to protect the surface.
- Paintbrushes or foam brushes for smooth application
- Wood stain or paint to add color
- Clear varnish or polyurethane for protection
- Rags or cloths for wiping excess stain or paint
- Painter’s tape to cover areas you don’t want to paint
Safety Gear
Safety gear protects you from dust, splinters, and sharp tools. Always wear the right equipment.
Use safety glasses, gloves, and a mask to stay safe while working.
- Safety glasses to protect your eyes
- Work gloves to protect your hands
- Dust mask to avoid breathing sawdust
- Ear protection if you use loud power tools
- Proper clothing that covers arms and legs
Step-by-step Building Process
Building your own living room table can be a fun project. You will learn new skills and create something unique for your home.
This guide will walk you through each step, from planning to finishing. Follow these instructions for a successful DIY table.
Measuring And Planning
Begin by deciding how big your table should be. Measure the space in your living room to ensure it fits well.
Draw a simple design of your table on paper. Include the length, width, and height. Plan for any special features like shelves or drawers.
- Measure the length and width of your space
- Consider the height for comfortable use
- Include space for movement around the table
Cutting And Assembling
Gather the necessary materials like wood, screws, and glue. Use your measurements to cut the wood to the right sizes.
Assemble the table according to your design. Start with the legs and frame, then attach the tabletop securely.
- Use a saw for precise cuts
- Check your measurements twice before cutting
- Assemble on a flat surface for stability
Sanding And Finishing Touches
Sand the table to make the surface smooth. This will help paint or stain adhere better and prevent splinters.
Apply your choice of paint, stain, or varnish. Let each coat dry completely before adding another. This will protect the wood and enhance its appearance.
- Use fine-grit sandpaper for a smooth finish
- Apply finishes in a well-ventilated area
- Consider adding felt pads to protect floors
Creative Embellishments
Do it yourself projects can transform your living room table. Adding creative embellishments makes it unique and personal. Let's explore some exciting ways to enhance your table.
From stenciling to adding unique hardware, there are many options. These simple ideas can make your table both beautiful and functional.
Stenciling And Painting Designs
Stenciling can add patterns and designs to your table surface. Choose designs that match your room's theme. Paint them with colors that complement your decor.
Using different brushes gives varying textures. Experiment with color blending for a unique look. Simple shapes like circles and stars work well for beginners.
- Geometric patterns are trendy
- Floral designs add a natural touch
- Abstract art can be a conversation starter
Incorporating Storage Solutions
Adding storage to your table helps organize your space. Consider shelves or drawers beneath the tabletop. They keep items like magazines and remotes handy.
Use baskets or boxes for a neat look. They can slide into shelves easily. This makes it simple to access your belongings when needed.
- Shelves can hold books and decor
- Drawers keep small items hidden
- Baskets add a rustic charm
Adding Unique Hardware
Unique hardware can change the table's appearance. Consider adding decorative knobs or handles. They can reflect your personal style.
Metal accents give a modern touch. Wooden handles can create a cozy feel. Mixing materials can also add interest and depth.
- Brass knobs for a vintage look
- Glass handles for elegance
- Leather pulls for a warm texture
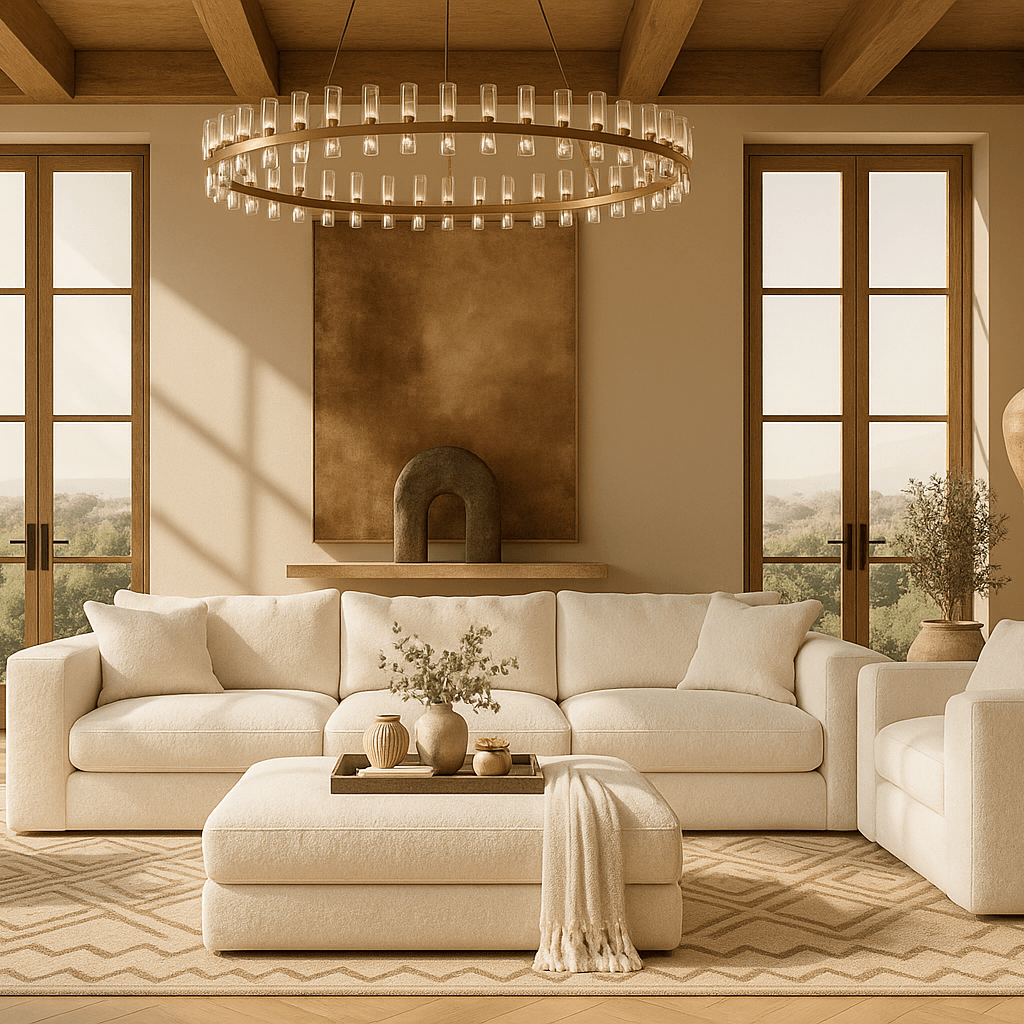
Credit: www.idealhome.co.uk
Tips For Customizing Size And Shape
Building your own living room table lets you choose the perfect size and shape. This helps your table fit well in your space and suit your needs.
Consider your room layout and how you will use the table. Customizing the table will make your living area more comfortable and functional.
Adjusting For Small Spaces
Small rooms need tables that do not take up too much space. Think about making your table compact or choosing shapes that save room.
- Choose round or oval shapes to improve flow and avoid sharp corners.
- Lower the table height for a less bulky look.
- Use foldable or extendable designs for flexible use.
- Measure your space carefully before deciding on dimensions.
Creating Multi-functional Tables
A living room table can serve many purposes beyond holding drinks. Add storage or features to make it more useful.
| Feature | Benefit |
| Storage drawers | Keep remotes and magazines hidden |
| Lift-top | Use as a desk or dining surface |
| Lower shelves | Display books or plants neatly |
| Built-in charging ports | Charge devices without clutter |
Using Modular Components
Modular parts let you change your table’s shape or size anytime. This adds flexibility for different needs or guests.
Ideas for modular components:
- Separate blocks that fit together in various ways
- Stackable sections to raise or lower table height
- Attachable trays or side tables that clip on and off
Maintenance And Care
Taking care of your DIY living room table helps it last longer. Regular maintenance keeps it looking good and strong.
Simple cleaning and small repairs can protect your table. This guide explains how to care for your table every day.
Cleaning Techniques
Clean your table often to remove dust and dirt. Use a soft cloth to avoid scratching the surface.
For wood tables, a damp cloth with mild soap works well. Dry the table right away to stop water damage.
- Use a dry microfiber cloth for dusting
- Mix mild soap with water for cleaning
- Wipe spills quickly to prevent stains
- Avoid harsh chemicals and abrasive cleaners
Protecting Finishes
Protect your table's finish from heat, water, and scratches. Use coasters and placemats for drinks and plates.
Apply a suitable finish like wax or oil to keep wood shiny. Follow the product instructions for the best results.
- Place coasters under glasses
- Use placemats during meals
- Apply wax or oil every few months
- Avoid placing hot items directly on the surface
Repairing Minor Damages
Fix small scratches and dents quickly to stop them from getting worse. Light sanding can smooth rough areas.
Use wood filler to fill holes or deep scratches. Reapply finish after repairs to blend the surface.
- Sand scratches gently with fine sandpaper
- Fill holes with wood filler or putty
- Let filler dry before sanding smooth
- Apply finish to match the rest of the table
Frequently Asked Questions
What Materials Are Best For A Diy Living Room Table?
Wood is the most popular material for DIY living room tables. It’s durable, easy to work with, and customizable. You can also use metal, glass, or reclaimed materials for unique designs. Choose based on your skill level and room style to ensure the best results.
How Long Does It Take To Build A Diy Living Room Table?
Building a DIY living room table typically takes a few hours to a weekend. The time depends on the design complexity and your experience. Simple tables can be completed in under a day, while intricate projects may require more time and patience.
What Tools Do I Need For A Diy Living Room Table?
Basic tools include a saw, drill, measuring tape, and screwdriver. Sandpaper, clamps, and wood glue are also helpful. For advanced designs, consider a jigsaw or router. Having the right tools ensures safety and a professional finish on your project.
How Can I Customize My Diy Living Room Table?
Customize by choosing wood type, paint color, and finish. Add features like shelves, drawers, or unique legs. Personalize with stencils, decals, or hardware. Customization allows your table to reflect your style and perfectly fit your living room space.
Conclusion
Building your own living room table can be fun and rewarding. You control the style and size to fit your space perfectly. It saves money and lets you use your creativity. Simple tools and materials can make a great piece.
Each table tells a story—yours. Try this project and enjoy a unique table made by you. Small efforts bring big satisfaction. Give it a go and see the difference it makes in your home.