Have you ever wondered if you can fire clay in your home oven? If you’re working on a clay project and don’t have access to a kiln, this question probably crosses your mind.
The idea of turning your kitchen oven into a pottery tool sounds simple and convenient, but is it really possible? You’ll discover the truth about firing clay at home, what works, what doesn’t, and how to keep your creations safe.
Keep reading to find out if your oven can handle your clay art—and avoid costly mistakes along the way.
Firing Clay Basics
Firing clay means heating it to harden and strengthen the material. It changes soft clay into a solid object.
People use special equipment to fire clay. This process is important for pottery and art projects.
Types Of Clay For Home Use
Some clays are made for home use without a kiln. These clays dry hard or cure in the oven.
Air-dry clay and polymer clay are popular for crafts at home. They don’t need high heat like traditional clay.
- Air-dry clay hardens by air exposure, no firing needed
- Polymer clay cures in a home oven at low heat
- Natural clay needs high heat and a kiln for firing
Temperature Requirements
Different clays need different temperatures to harden properly. Home ovens have limits for heat.
Polymer clay usually cures at about 265°F to 275°F (130°C). Air-dry clay does not need heat.
- Polymer clay: 265°F to 275°F (130°C)
- Air-dry clay: no heat needed
- Traditional clay: over 1,800°F (982°C), needs kiln
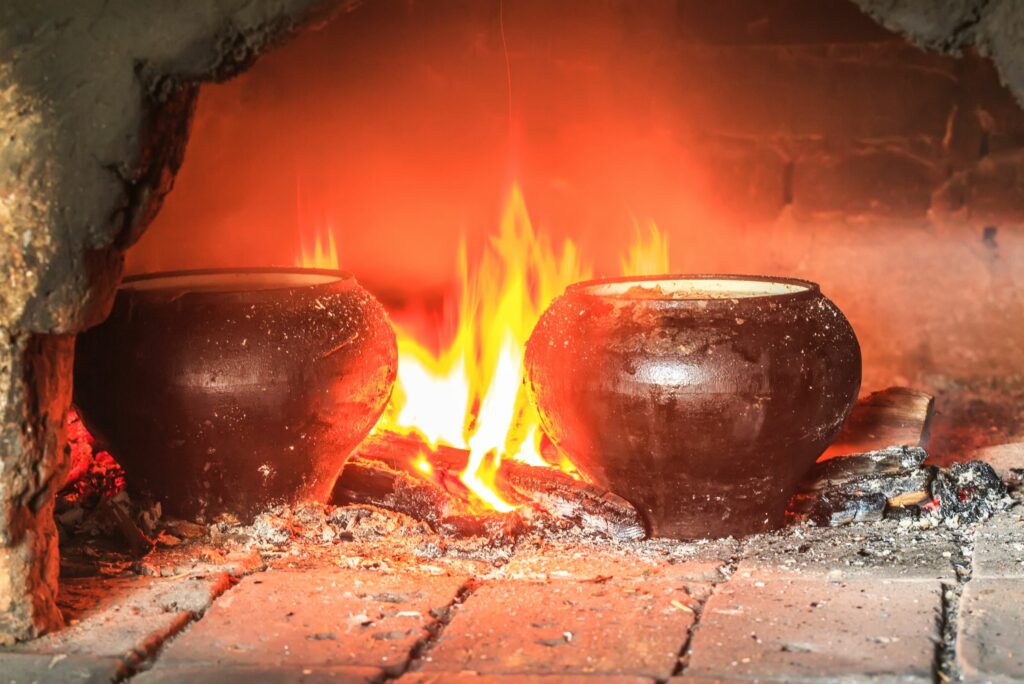
Differences Between Kiln And Oven
A kiln is designed to reach very high temperatures for firing clay. Home ovens cannot reach these temperatures.
Ovens heat food evenly but do not get hot enough to fire traditional clay. Kilns are safer for high heat.
- Kiln: reaches over 1,800°F (982°C), used for pottery
- Oven: max about 500°F (260°C), used for polymer clay
- Kiln heats slowly and evenly for strong pottery
- Ovens heat faster but cannot handle high firing
Home Oven Limitations
Firing clay in a home oven is a common question among hobbyists. Most home ovens have limits that affect how clay behaves when heated.
Understanding these limits helps you avoid damage and get better results with your clay projects.
Maximum Oven Temperatures
Home ovens usually heat up to 500°F (260°C) at most. This is much lower than the temperature needed to properly fire most clay types.
Clay often requires 1,800°F (982°C) or higher to become hard and durable. Home ovens cannot reach these temperatures.
- Typical home oven max: 500°F (260°C)
- Clay firing temperature: 1,800°F+ (982°C+)
- Home oven temperatures are too low for true firing
Effects On Clay At Low Heat
Heating clay at low temperatures in a home oven will not fully harden it. The clay may stay soft or crumbly.
Low heat can dry the clay and remove some moisture. This helps but does not replace proper firing in a kiln.
- Clay dries but remains fragile
- No chemical changes occur at low heat
- Clay can break or crumble easily
Potential Risks And Damage
Using a home oven for clay can cause problems. Clay may crack or release fumes if heated too long or too hot.
Home ovens are not designed for firing clay. This can also damage the oven or cause safety issues.
- Clay may crack or warp
- Fumes from some clays can be harmful
- Oven damage from clay dust or heat
- Fire hazard if clay contains flammable materials
Safe Diy Pottery Methods
Many people wonder if they can fire clay in a home oven. Traditional pottery needs very high heat. Home ovens do not get hot enough for that.
This guide explains safe ways to create pottery at home. You will learn about clay types and finishing techniques.
Air-dry Clay Alternatives
Air-dry clay does not need firing. It hardens naturally when left in open air. This makes it safe and easy for home projects.
Air-dry clay is good for small crafts and decorations. It is soft to shape and dries in 24 to 72 hours.
- No oven required
- Safe for kids and beginners
- Can be painted or sealed after drying
- Not waterproof unless sealed
Using Oven-bake Polymer Clay
Polymer clay is a popular choice for home ovens. It cures at low temperatures, usually 265°F to 275°F (130°C).
You can shape polymer clay and bake it in your kitchen oven. It hardens in 15 to 30 minutes depending on thickness.
- Use a dedicated baking tray for clay
- Follow package instructions for baking time
- Avoid high temperatures to prevent burning
- Keep your oven well ventilated
Sealing And Finishing Techniques
After drying or baking, sealing your clay is important. Sealing protects your work from water and damage.
Use clear acrylic sealers or varnishes. They add shine and durability to your pieces.
- Apply thin coats with a brush
- Let each coat dry fully before adding more
- Use matte or glossy finish as you like
- Seal air-dry clay well to avoid moisture damage

Credit: myslice.ca
Tools And Materials Needed
Firing clay in a home oven requires the right tools and materials. You must choose safe clays and use proper equipment.
This guide covers recommended clays, basic pottery tools, and oven safety accessories.
Recommended Clays
Not all clays can be fired in a home oven. Use air-dry or polymer clays designed for low temperatures.
These clays harden without a kiln and are safe for home ovens.
- Air-dry clay: Dries by air, no heat needed but can cure in oven for better strength.
- Polymer clay: Bakes at low temperatures (usually 230°F to 275°F).
- Oven-bake clay: Special clays made to harden in home ovens.
Basic Pottery Tools
Use simple tools to shape and finish your clay before firing. Clean tools help create smooth surfaces.
- Sculpting tools: For carving and shaping clay.
- Rolling pin: To flatten the clay evenly.
- Clay cutter or knife: For cutting shapes.
- Sanding paper: To smooth dried or baked clay.
- Water spray bottle: To keep clay moist while working.
Oven Safety Accessories
Use safety items to protect your oven and yourself when firing clay. Some clays release fumes or can damage kitchen equipment.
- Heat-resistant baking tray: To place clay pieces on and protect oven racks.
- Aluminum foil: To cover clay and prevent dust or debris.
- Oven thermometer: To monitor accurate baking temperature.
- Gloves or mitts: To safely handle hot trays.
- Ventilation fan or open window: To clear any fumes.
Step-by-step Baking Process
You can fire clay in a home oven if you follow the right steps. The process includes preparing your clay pieces, setting the correct oven temperature and time, and cooling the pieces properly. Each step ensures your clay bakes safely and evenly.
Use this guide to bake your clay at home with care. It helps you avoid cracks and damage during baking.
Preparing Clay Pieces
Before baking, make sure your clay pieces are ready. Remove any dust and smooth rough edges. Smaller pieces bake more evenly than large ones.
- Check that clay is clean and dry.
- Shape the pieces as needed.
- Let the clay air dry to remove moisture.
- Place pieces on a baking tray lined with parchment paper.
Setting Oven Temperature And Time
Clay needs the right temperature and baking time. Too hot can burn it, too cool may not harden it.
| Clay Type | Temperature (°F) | Baking Time (Minutes) |
| Polymer Clay | 265 - 275 | 15 - 30 |
| Air-Dry Clay | Not recommended | Air dry only |
| Earthen Clay (Low Fire) | 1800 - 1900 | 120 - 240 (kiln only) |
Use a dedicated oven thermometer to check your oven's true temperature. Avoid baking with food items to prevent contamination.
Cooling And Handling After Baking
Cool your clay slowly after baking. Sudden temperature change can cause cracks or breakage.
- Turn off the oven and leave the door slightly open.
- Let clay cool inside the oven for at least 30 minutes.
- Remove pieces carefully with oven mitts.
- Handle cooled pieces gently to avoid damage.
Credit: myslice.ca
Troubleshooting Common Issues
Firing clay in a home oven can lead to various issues. Understanding these problems helps in achieving better results.
This guide covers common issues like cracking, uneven baking, and color changes.
Cracking And Warping
Clay pieces often crack or warp during firing. This happens due to uneven drying or rapid temperature changes.
- Ensure even thickness of clay pieces.
- Dry pieces completely before firing.
- Gradually increase oven temperature.
Uneven Baking
Uneven baking leads to weak spots in the clay. This often occurs if the oven does not distribute heat evenly.
Use an oven thermometer to check temperature consistency.
Consider using a baking stone for even heat distribution.
Color And Texture Changes
Color and texture changes may occur if the firing temperature is incorrect. This affects the final appearance.
| Issue | Solution |
| Color fades | Check temperature settings |
| Rough texture | Sand after firing |
| Uneven color | Use consistent clay thickness |
When To Use A Kiln Instead
Firing clay in a home oven is possible but has limitations. Kilns are best for specific projects and results.
Understanding when to use a kiln can improve the quality of your clay creations.
Benefits Of Kiln Firing
Using a kiln provides many benefits that home ovens cannot offer. Kilns reach much higher temperatures than home ovens.
- Stronger finished products
- Uniform heat distribution
- Ability to use glazes
Accessing Local Kiln Services
If you don't own a kiln, local kiln services can help. Many art centers and schools offer kiln rentals.
- Check local art studios
- Contact community centers
- Look for pottery clubs
Projects Requiring High-temperature Firing
Some projects need high temperatures that only kilns provide. These projects often involve special clays and glazes.
Consider a kiln for these types of projects to ensure the best results.
- Porcelain items
- Stoneware pottery
- Vitrified sculptures

Credit: www.youtube.com
Frequently Asked Questions
Can You Fire Clay In A Regular Home Oven?
No, a regular home oven cannot reach the high temperatures needed to fire clay. Clay requires at least 1,000°C, while home ovens max out around 250°C. Using a home oven will only dry the clay, not properly harden or vitrify it.
What Temperature Is Needed To Fire Clay Properly?
Clay typically needs firing temperatures between 1,000°C and 1,300°C to harden fully. This high heat causes chemical changes that strengthen the clay. Home ovens cannot reach these temperatures, so they cannot fire clay correctly.
Can Air-dry Clay Be Hardened In A Home Oven?
Air-dry clay can be dried or slightly hardened in a home oven at low temperatures. This helps speed up drying but does not create the durability of fired clay. It is meant for craft projects, not pottery.
Why Can’t Home Ovens Fire Pottery Like Kilns?
Home ovens cannot reach the extreme heat and controlled atmosphere that kilns provide. Kilns ensure even heating and proper vitrification. Home ovens lack insulation and temperature control needed for true clay firing.
Conclusion
Firing clay in a home oven is not the best choice. Home ovens do not reach the high temperatures needed for proper firing. Clay may stay soft or even break after baking. For strong, durable pieces, a kiln is necessary.
You can try air-dry clay or oven-bake clay made for home ovens. Always follow the clay’s instructions carefully. This helps avoid ruined projects and wasted time. Remember, the right tools make your art last longer and look better.